You can natively run Android apps on Windows 11 via Windows Subsystem for Android (WSA); however, it has its limitations. The new OS only natively supports Amazon’s Appstore and not Google Play Store. And while sideloading Android apps is an option, anything that requires Google Play Services will not work.
However, you can install Google Play Store on Windows 11 to overcome this limitation. Here we show you how.
How to Install Google Play Store on Windows 11
As discussed earlier, you can sideload and run Android apps on Windows 11. However, finding APKs and installing them via the Command Prompt is cumbersome. You also need to configure Android Debug Bridge (ADB) to install Android apps.
You can install a fully functional Google Play Store to remedy this problem. Also, this allows you to run Google Play Services-dependent apps.
However, it is a complicated process and involves downloading several small packages and then moving them around. Fortunately, a developer (Yujinchang08) on GitHub has simplified this process with a custom WSA installer.
The WSA installer consists of a modified WSA package with Magisk and Open GApps integration. Magisk is a root access utility wherein Open GApps offers up-to-date Google Apps packages.
For this guide, we will focus on the second method to install Google Play Store on Windows 11. So, let’s begin.
Note that this process requires installing third-party modified files and packages and involves potential risks. Before proceeding, create a restore point in Windows 11 or recovery drive. These recovery options can help you undo the changes or repair the system if something goes wrong.
Step 1: Uninstall Android Subsystem for Android

If you have Windows Subsystem for Android installed, you can uninstall it from the Apps & features section.
To uninstall WSA:
- Press Win + I to open the Settings panel.
- Open the Apps tab in the left pane.
- Next, click on Apps & Features.
- Locate and click on Windows Subsystem for Android under App list.
- Click the three dots and select Uninstall. Click Uninstall again to confirm the action.
Step 2: Enable Developer Mode in Windows 11

Developer Mode allows you to sideload apps and access other developer features, including remote installation apps via SSH services.
To enable Developer Mode:
- Press Win + I to open the Settings app.
- Open the Privacy and Security tab in the left pane.
- In the right pane, click on For Developers.
- Toggle the switch for Developer Mode and set it to On. Click Yes to confirm the action.
Step 3: Enable Virtual Machine to Run Android Apps

You need to enable and configure Virtual Machine Platform and Windows Hypervisor Platform to run Windows Subsystem for Android on Windows 11. Skip this step if you have installed WSA previously.
To configure the Virtual Machine:
- Press Win + S to open the search bar.
- Type Windows Features and then click on Turn Windows features on or off from the search results.
- In the Windows Features window, select Virtual Machine Platform and Windows Hypervisor Platform.
- Click OK to save the changes and Windows will install the selected features. Restart your PC to apply the changes.
If successful, you will see an update status message during restart.
Step 4: Setup and Install Windows Subsystem for Linux and Linux Distro on Windows 11
To install Google Play Store on Windows 11, you’ll need to build a locally modified Windows Subsystem for Android. For this, you’ll need to install Windows Subsystem for Linux (WSL) and a Linux distro. This is necessary as you’ll need to run some commands to build Windows Subsystem for Android.
To install WSL and a Linux distro on Windows 11:
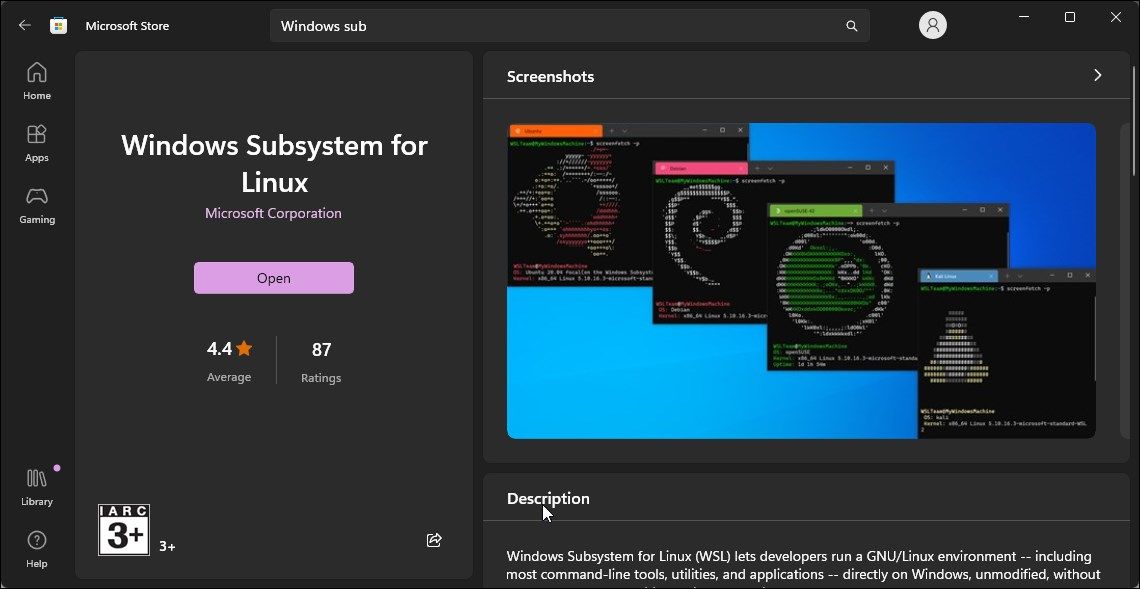
- Launch Microsoft Store.
-
In Microsoft Store, search for Windows Subsystem for Linux (WSL) and install the app. Wait for the app to install.
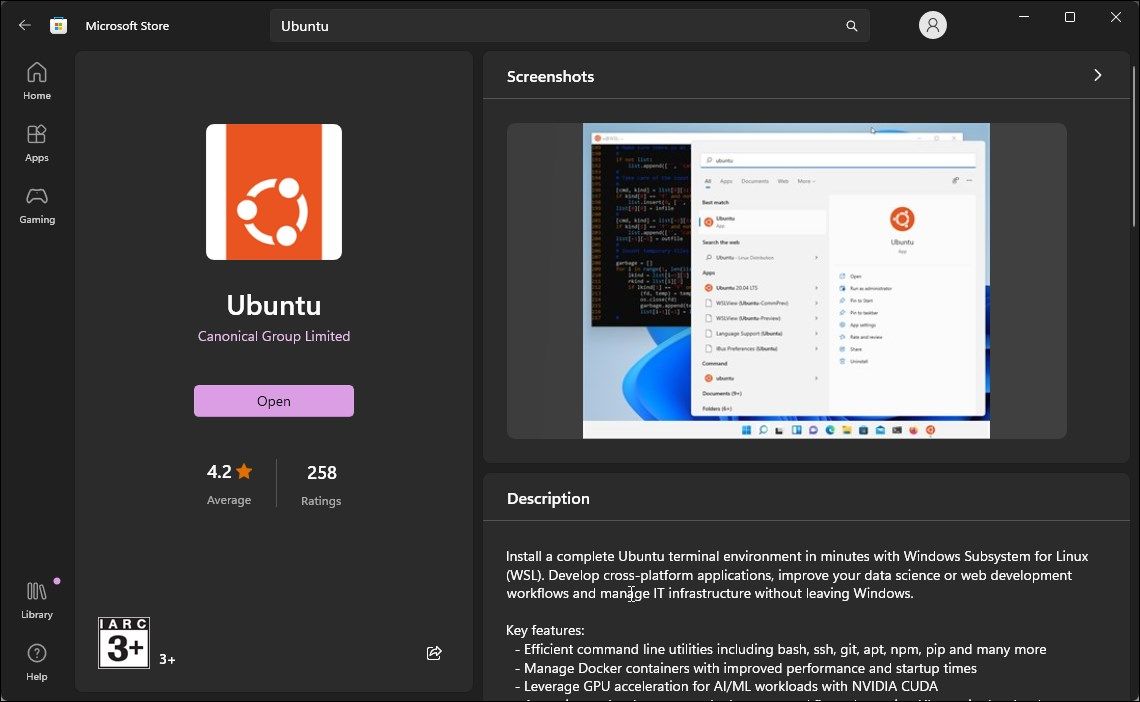
-
Next, search for a Linux distro. We’ll use Ubuntu. So, search for Ubuntu and install the distro. If you have a Linux distro installed, you can skip to the next step
- Once installed, press the Win key and type Ubuntu. Right-click on Ubuntu and select Run as administrator.
- In the Ubuntu terminal, you’ll need to create a user with a password for the Linux system. So, create a username and password. Leave the Ubuntu terminal open.


Now you’ll see a Linux\Ubuntu folder in File Explorer’s left pane.
Step 5: Setup Magisk and Windows Subsystem for Android
The next set of steps involve downloading a Gitbub repository, MagiskOnWSALocal, to integrate Magisk root and Google Apps into WSA.
- Go to the MagiskOnWSALocal page on GitHub.
-
Click the Code drop-down in the top right corner.
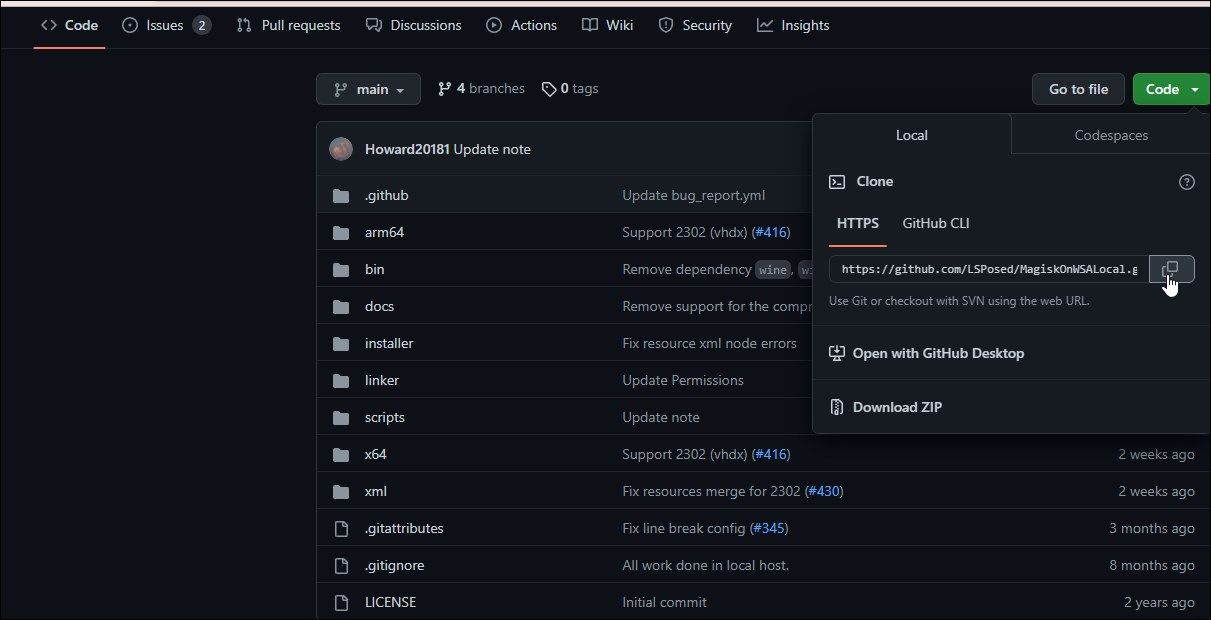
-
Copy the GitHub URL under the HTTPS tab.
-
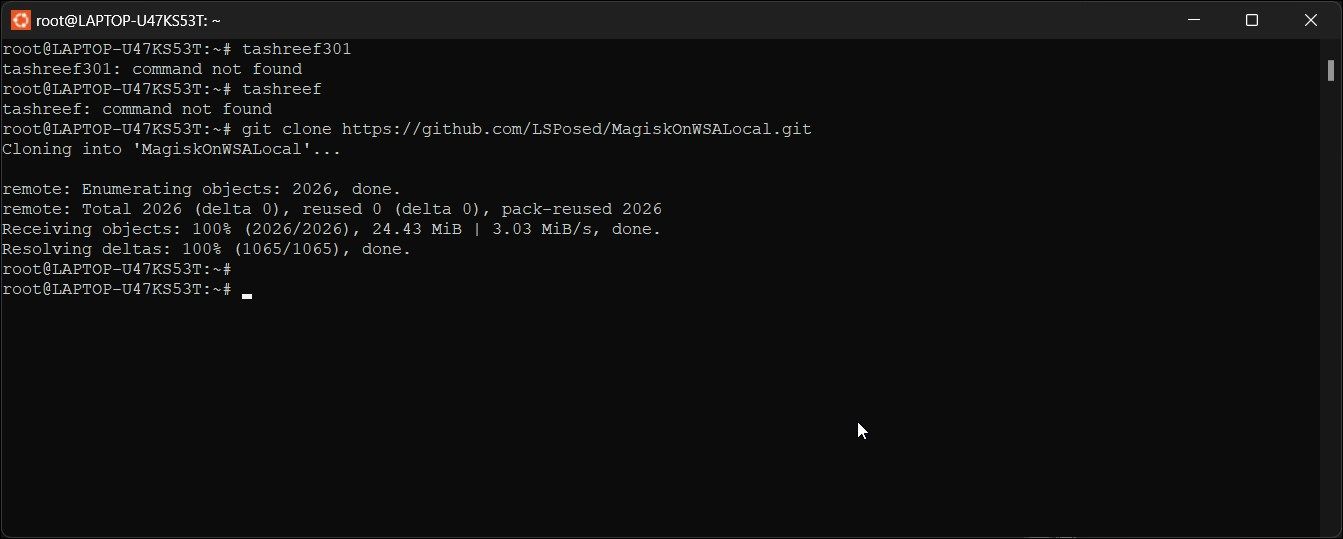
Open the Ubuntu terminal and type the following command followed by the GitHub URL:
git clone https://github.com/LSPosed/MagiskOnWSALocal.git -
Press Enter to close the GitHub repository to the Linux user account on your computer.
-
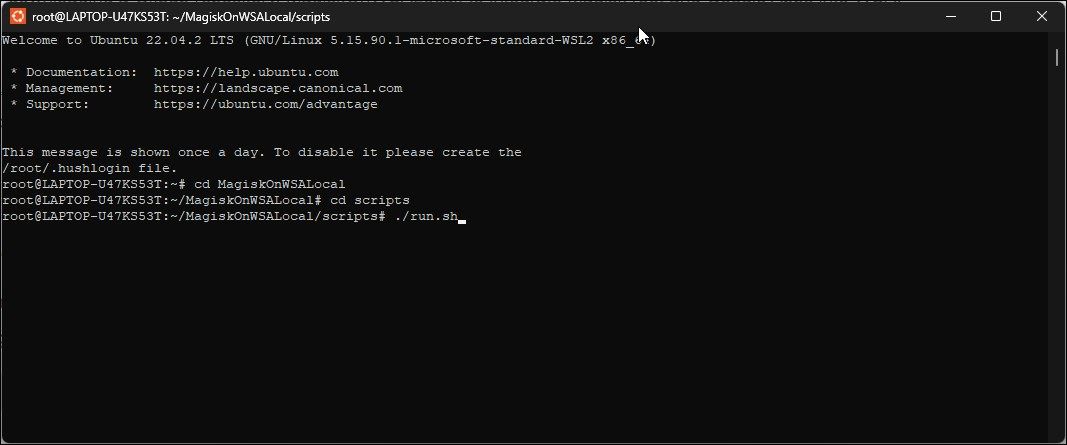
Next, type the following command to move to the scripts folder. This will change the directory to the specified folder.
        cd MagiskOnWSALocal
cd scripts -
Next, type the following command to run the script and download the necessary files to install all the necessary files for Magisk, Play Store, and Windows Subsystem for Android:
./run.sh - Depending on your Internet speed, downloading may take some time. So, wait till the process is complete.
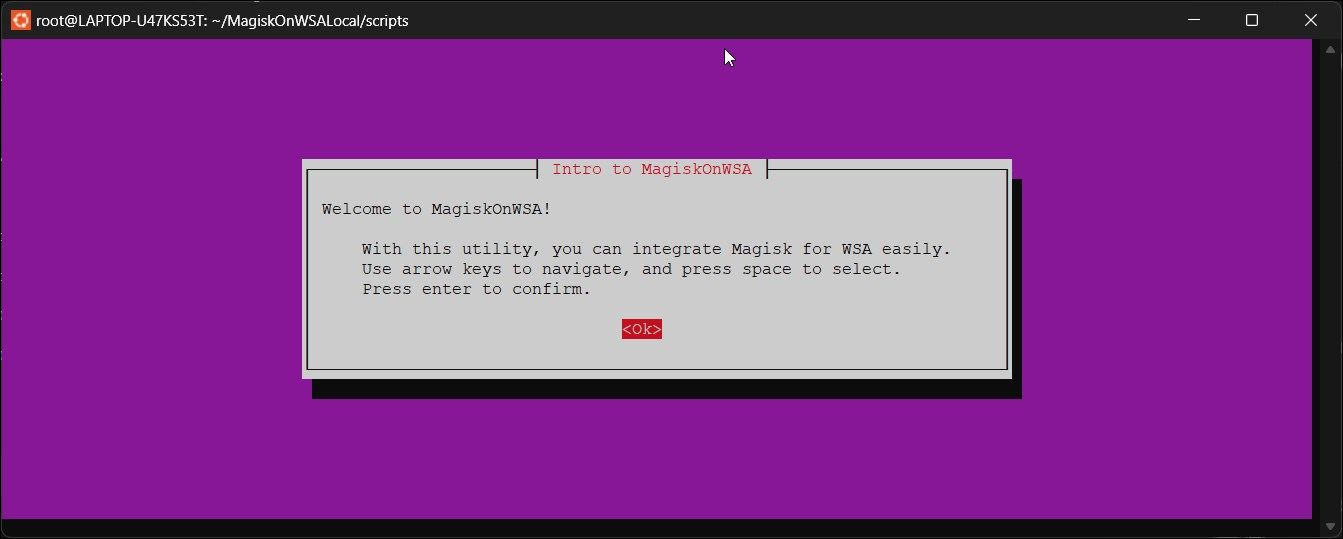
- As the process completes, you’ll see a command line installer open up.


Step 6: Install Google Play Store on Windows 11
-
Next, in the Into to MagiskOnWSA dialog, select OK.
-
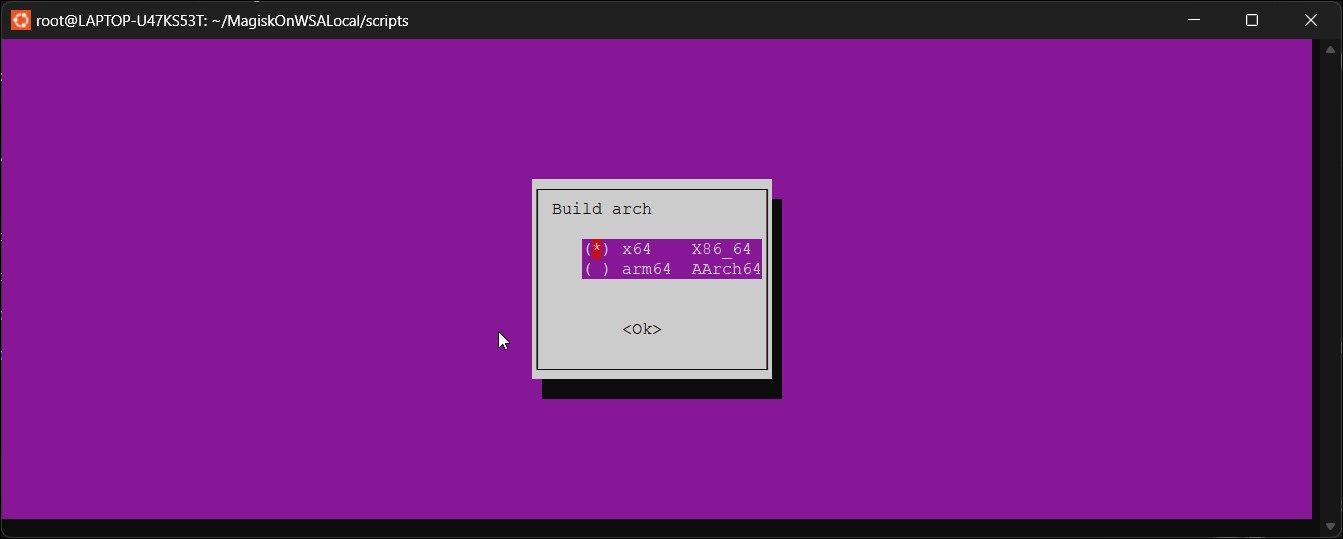
Next, select X64 X86_64 for Build Arch.
-
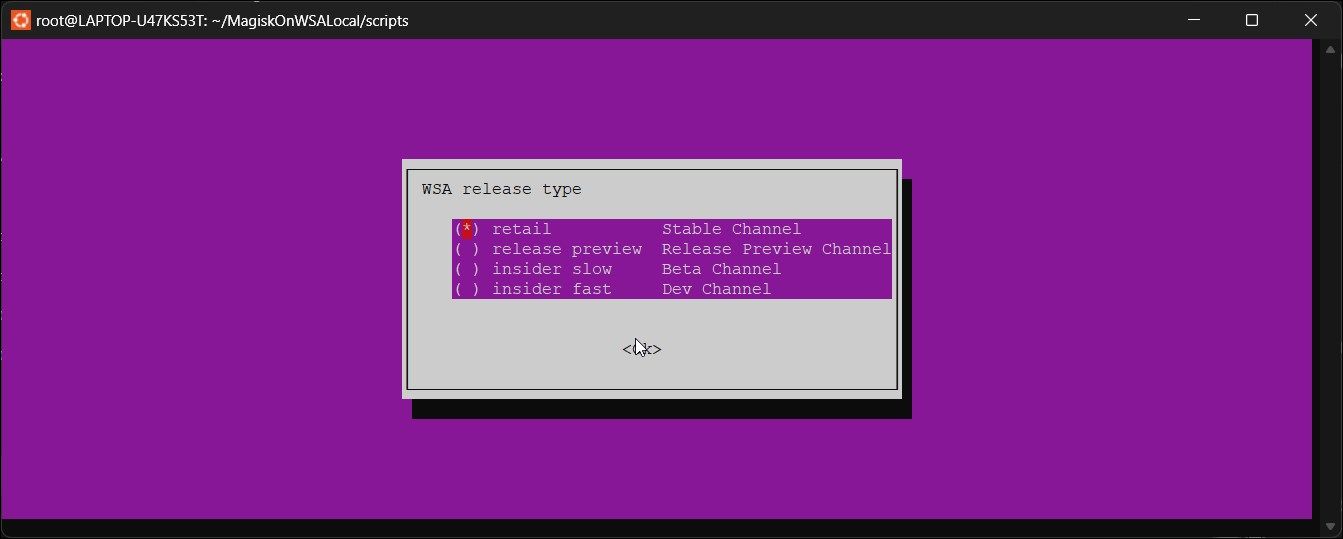
Next, for WSA release type, select Retail Stable Channel.
- Select No in the Do you want to Root WSA dialog.
-
Select Yes in the Do you want to install GApps dialog.
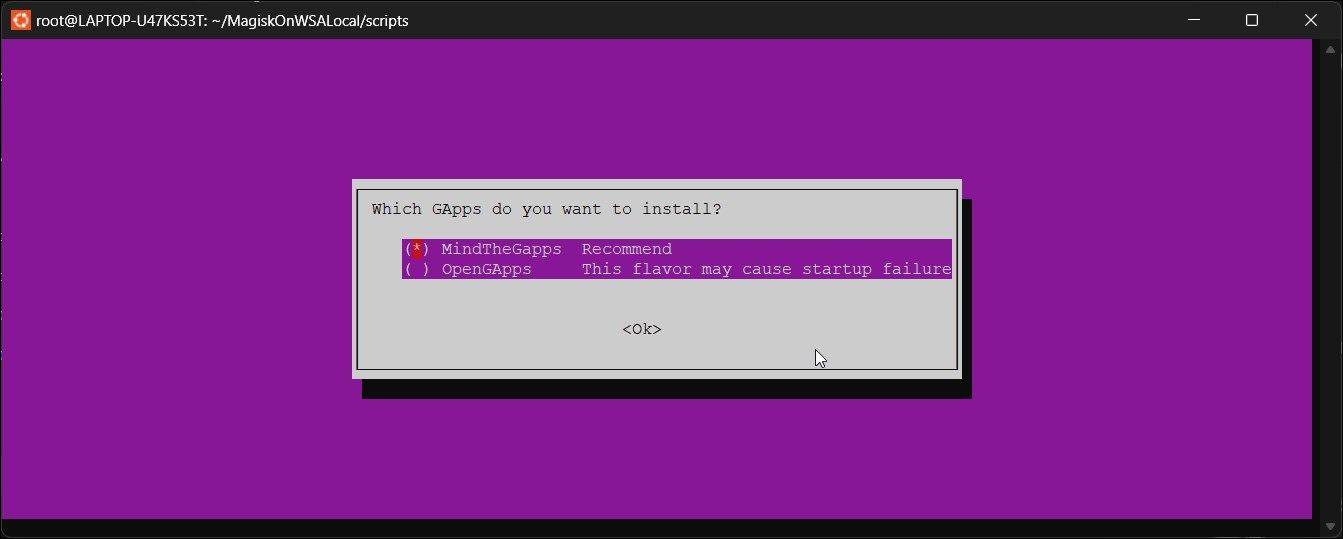
- Select OpenGApps in the Which GApps do you want to install dialog.
- Next, in the Do you want to keep Amazon Appstore dialog, select Yes or No, depending on your requirement.
- Select No in the Do you want to compress the output dialog.
- MagiskOnWSALocal will start generating custom Windows subsystem for the Android image.


This process may take some time to complete. So, wait for the process to complete.
Step 7: Install Windows Subsystem for Android
Once done, you’ll need to install WSA on Windows 11. To install WSA, you’ll need to copy the contents of the MagiskonWSALocal folder, which contains the image file, to your installation drive and then execute a command.
To install WSA, you need to enable Developer Mode on Windows 11. Once enabled, follow the below steps to install WSA.
To install WSA on Windows 11:
- Open File Explorer and go to the Linux\Ubuntu tab.
-
Next, depending on where you had installed MagiskOnWSA, go to:
        \home\username\MagiskOnWSALocal\Output
or
\root\MagiskOnWSALocal\output -
Next, open the WSA_2302.40000.9.0_x64_Release-Nightly-MindTheGapps-13.0-RemovedAmazon folder.
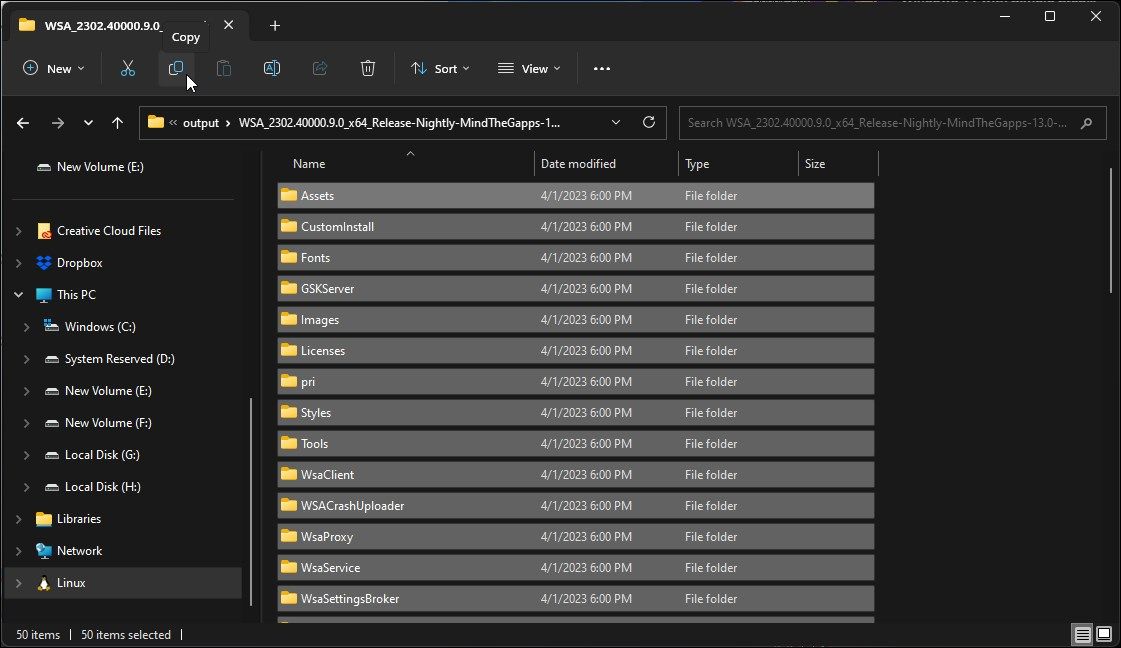
- Copy all the files and folders inside the WSA folder.
-
Next, go to your installation drive C:\ and create a new folder named WSA.
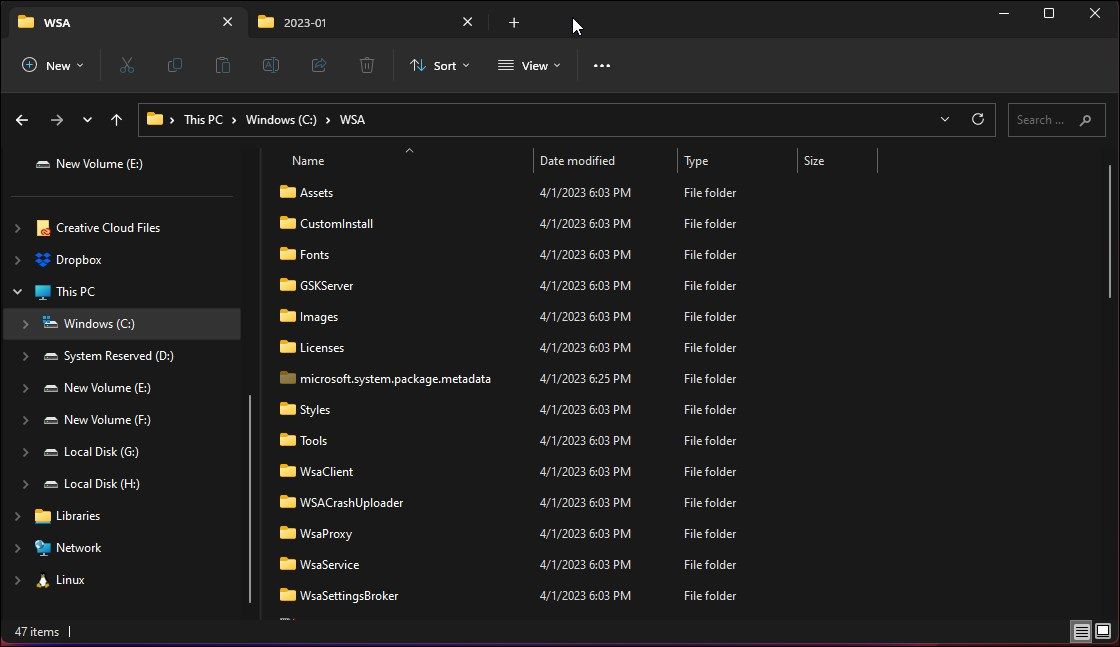
- Paste the copied files into the WSA folder.
- Close File Explorer.
-
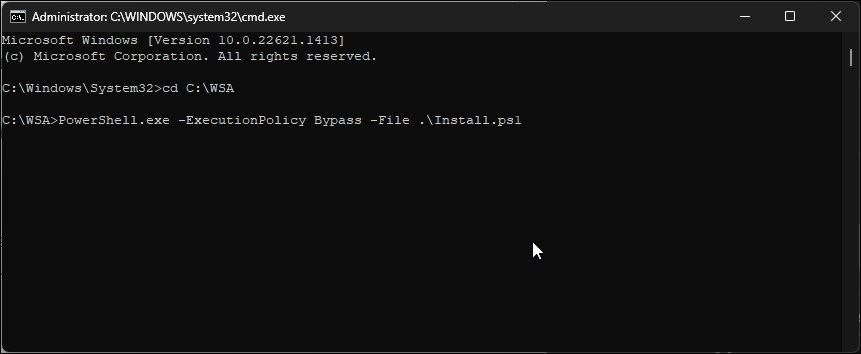
Press the Win key and type cmd. Right-click on Command Prompt and select Run as administrator.
-
In the Command Prompt window, type the following command to change the directory to the WSA folder:
cd C:\WSA -
Next, run the following command to execute the following command to install the WSA package:
PowerShell.exe -ExecutionPolicy Bypass -File .\Install.ps1 - The script will install the modified Windows subsystem for Android with Play Store support. Wait for the installation to complete and ignore any errors in the PowerShell console.
- Once done, you’ll see the Magisk and Play Store windows. However, you’ll need to enable Developer mode on Windows Subsystem for Android to use Play Store.


To enable Developer mode on Windows Subsystem for Android:

- Press the Win key, type Windows Subsystem for Android, and open the app from the search results.
- Next, open the Developer tab in the left pane.
- Toggle the Developer mode switch to turn it On.
- Next, open the Play Store App and sign in with your Google account. You may need to authenticate and sign in on your Android device.
After signing in, you can download and install all the Play Store apps just like on an Android phone. Also, you can open the installed apps from the Start menu, Windows search, and apps list.
Now you can install Android apps on Windows 11 from Google Play Store. That said, some apps may still not work properly due to the region and licensing restrictions.
Installing the Google Play Store on Windows 11
Being able to run Android apps natively on Windows 11 removes the hassle of Android emulators. Now with the Play Store support, you can install most if not all the Android apps without sideloading.
That said, for the apps that are not available in Play Store, you can sideload them on your Windows 11 PC using Command Prompt or the WSA Tool.