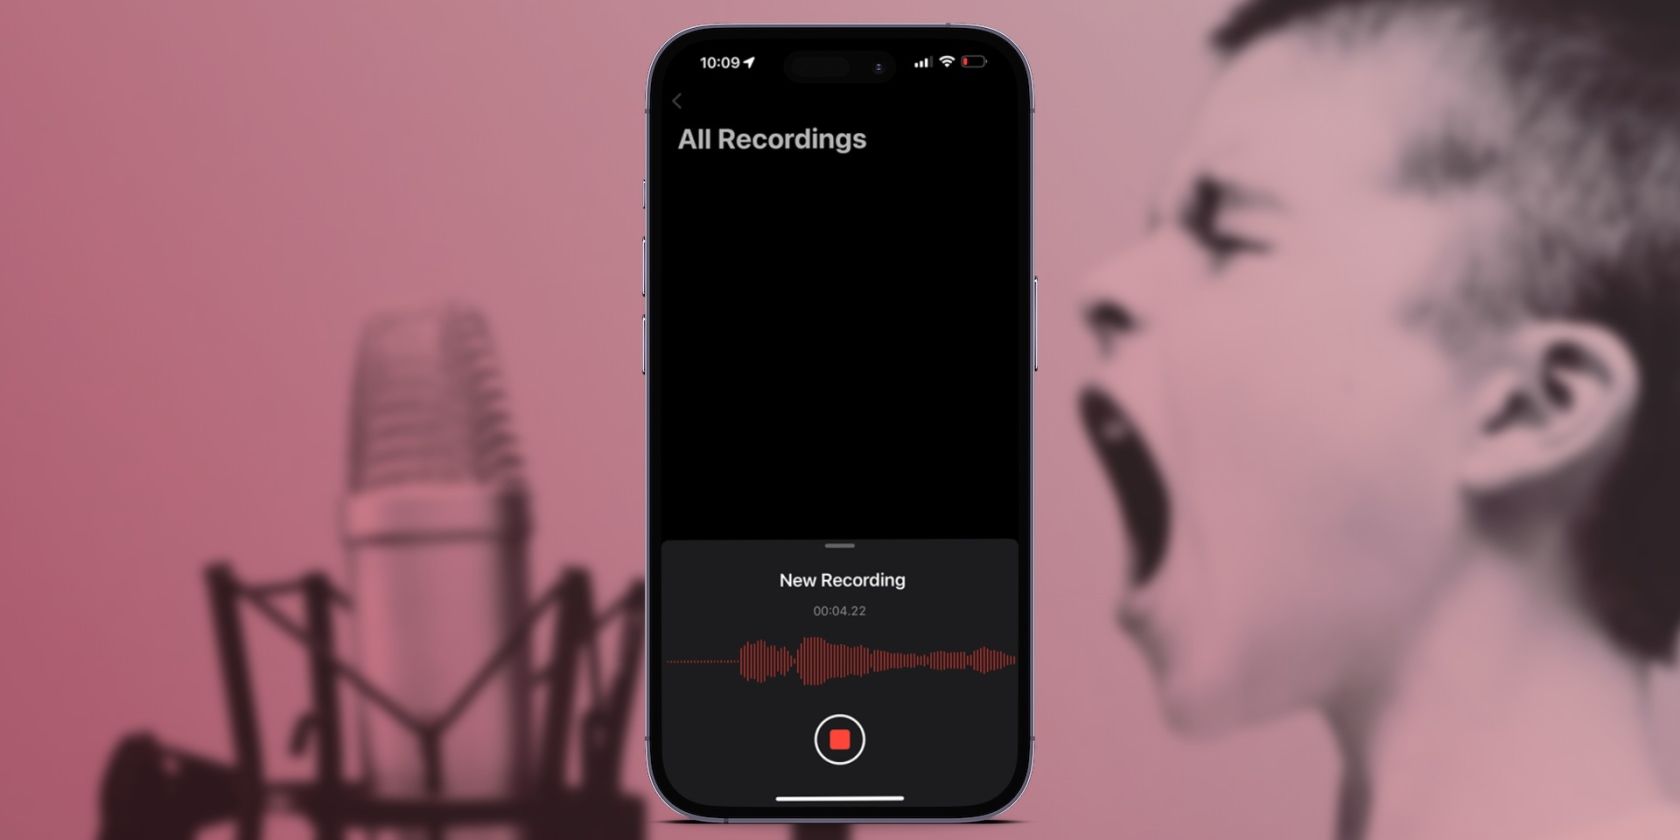
The Voice Memos app on your iPhone is a great option for recording interviews, a couple of quick tunes, random thoughts to yourself, and more. There is no fixed time limit for your recordings; you just need to make sure you have sufficient storage on your device.
Here's a complete guide on how to get started using your iPhone's Voice Memos app. Below, we cover the steps to record, edit, and transcribe a voice memo on your iPhone.
How to Record a Voice Memo on Your iPhone
The first step is recording a voice memo. The steps are pretty straightforward:
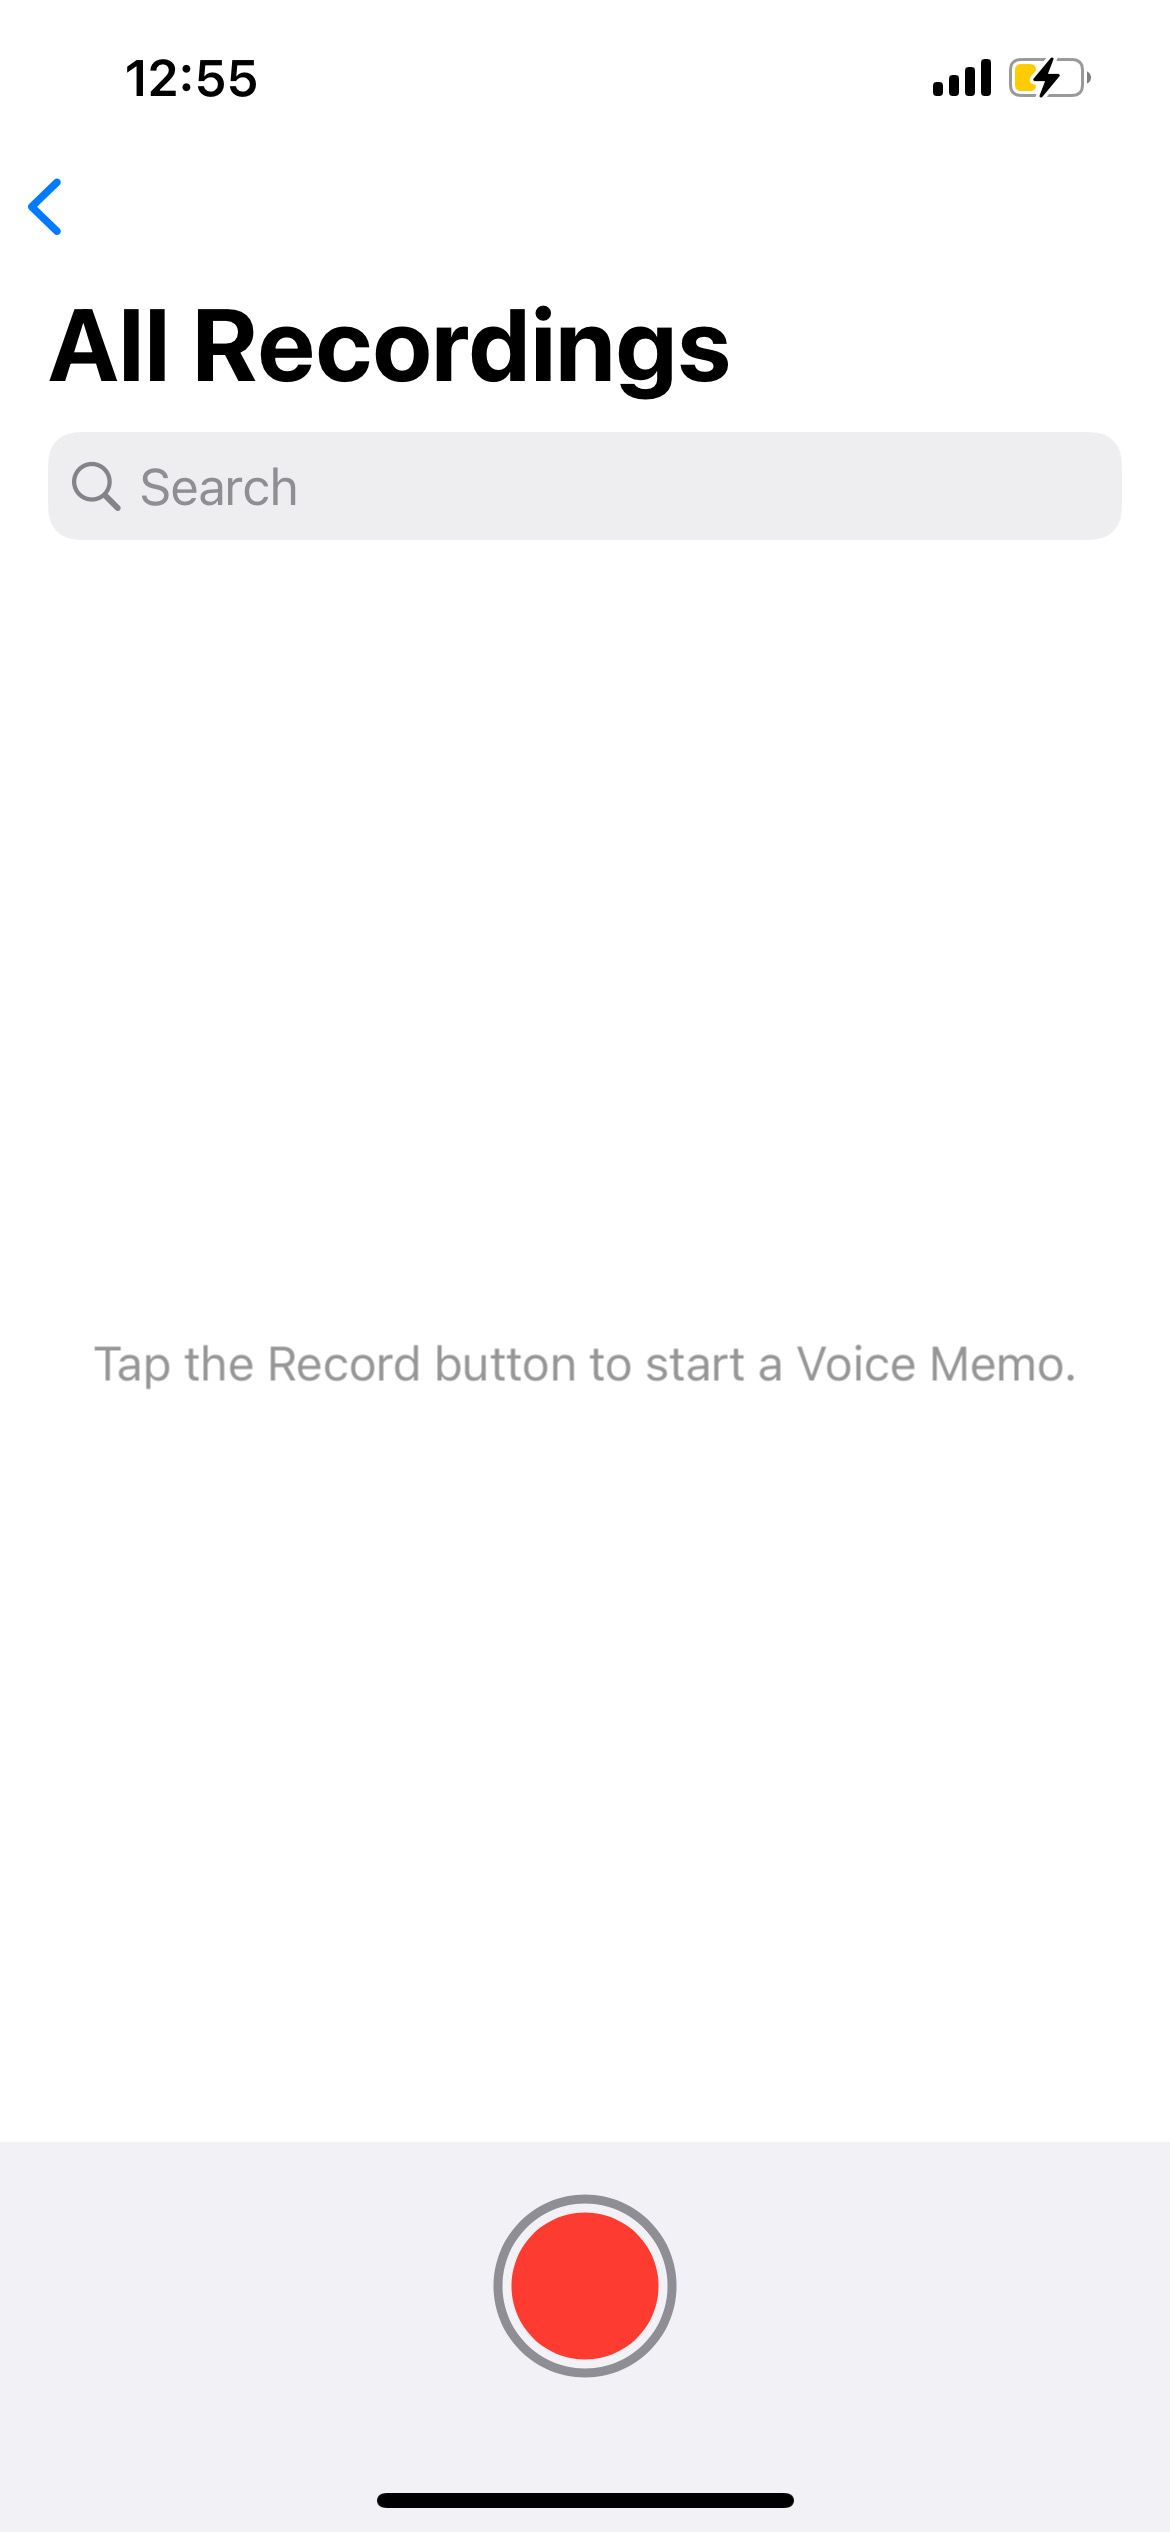
- Open the Voice Memos app and tap the red Record button.
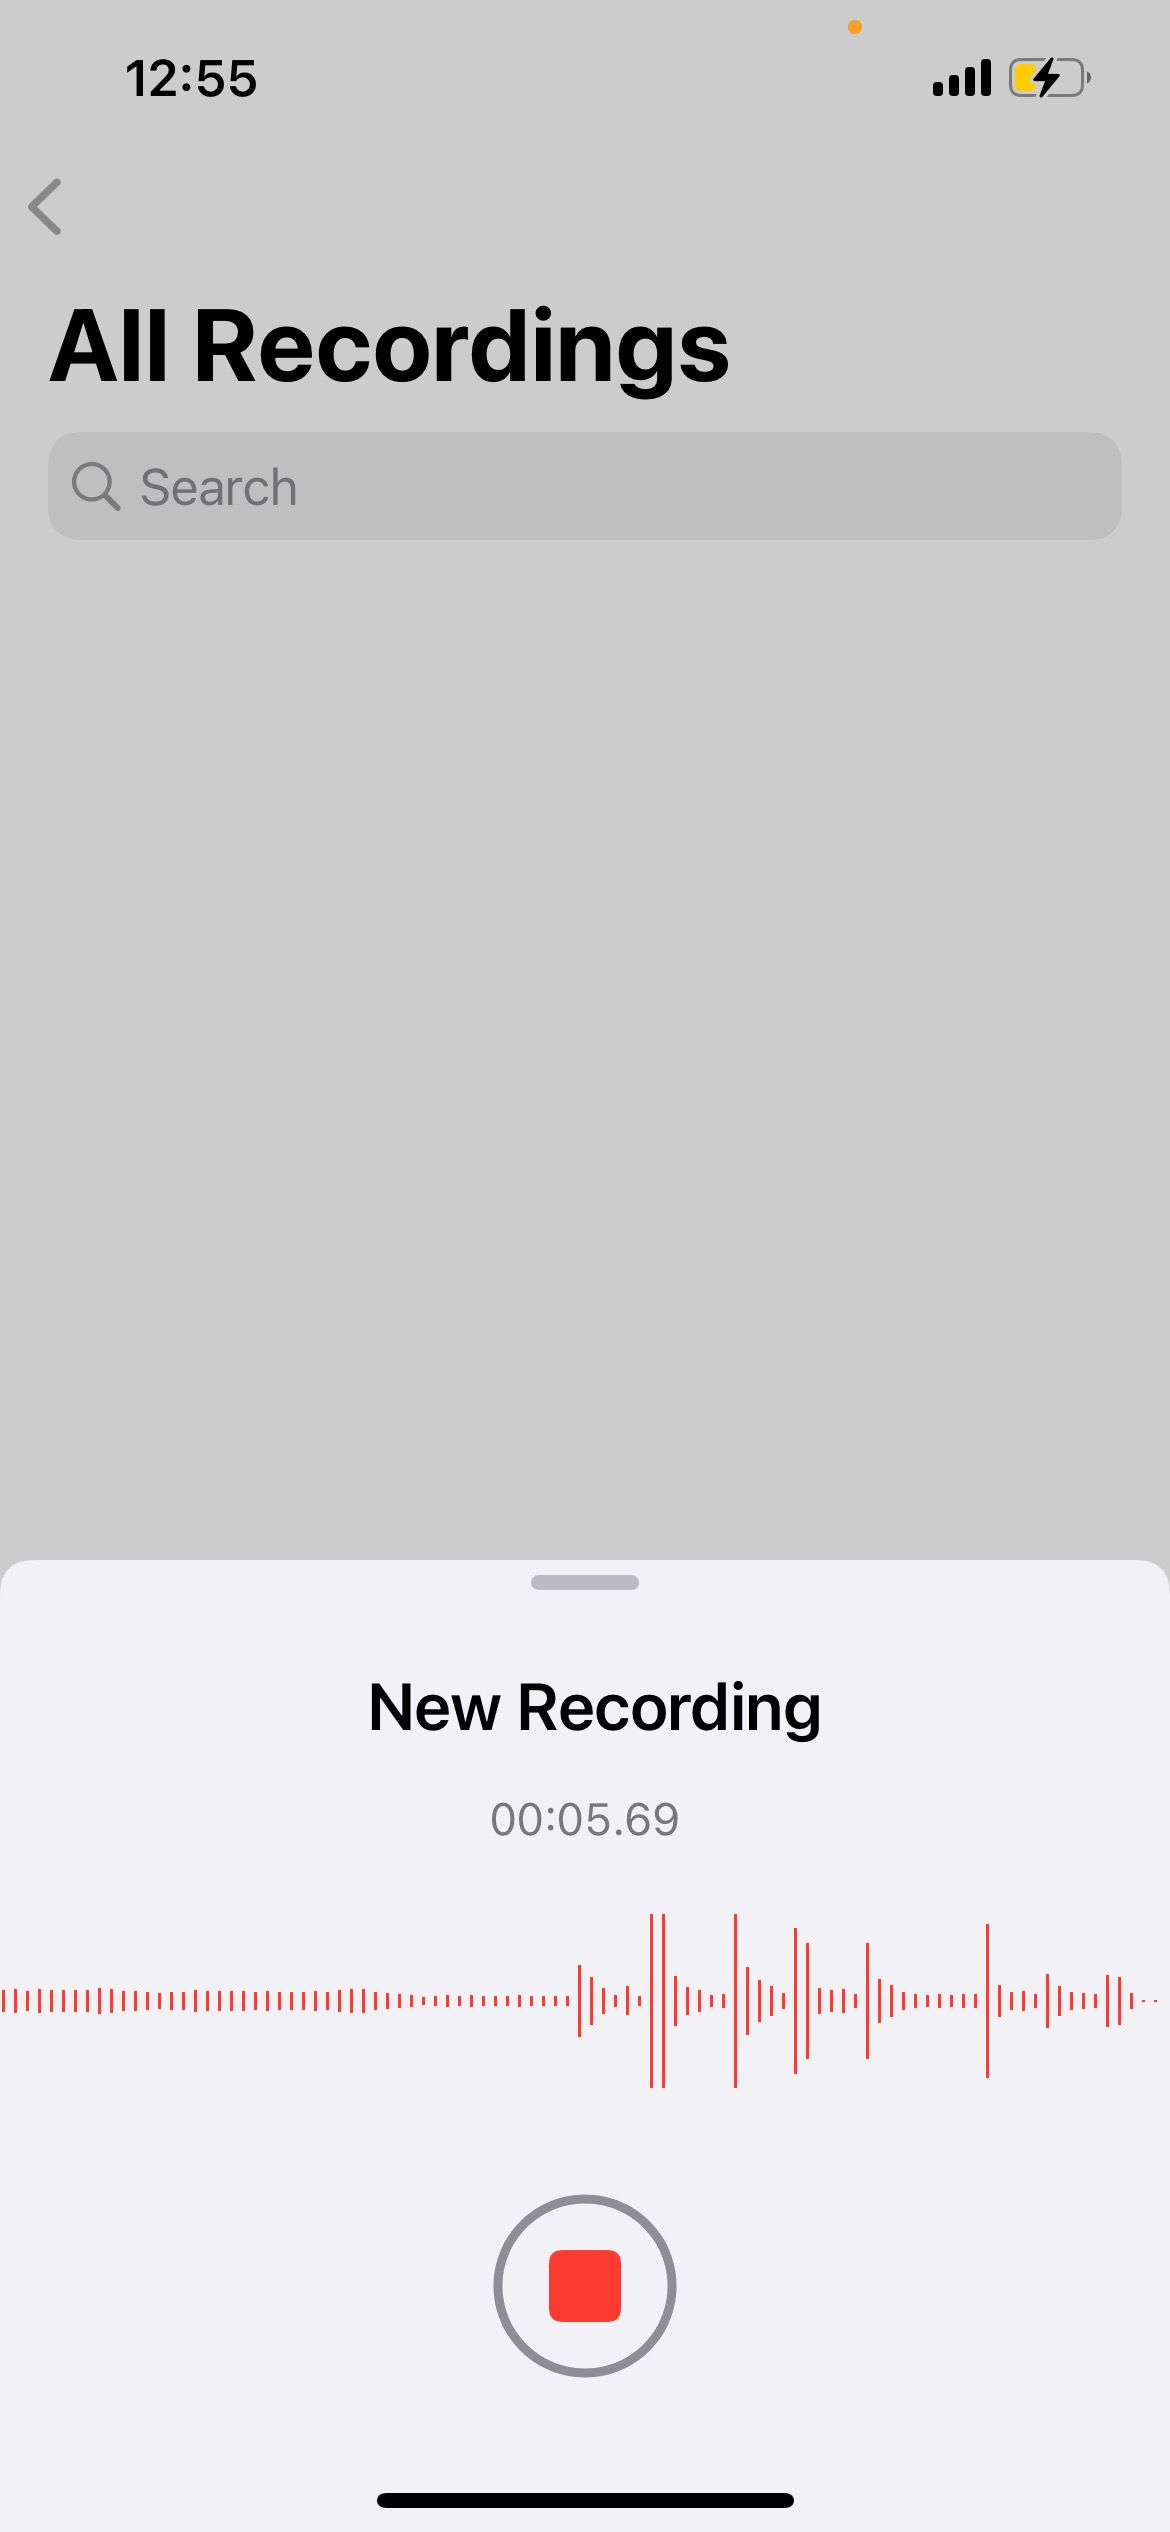
- While a recording is taking place, you'll see a moving waveform.
- Tap the red Stop button to stop recording.
- Your recording will be saved into the list of All Recordings.
How to Play a Recording in the Voice Memos App
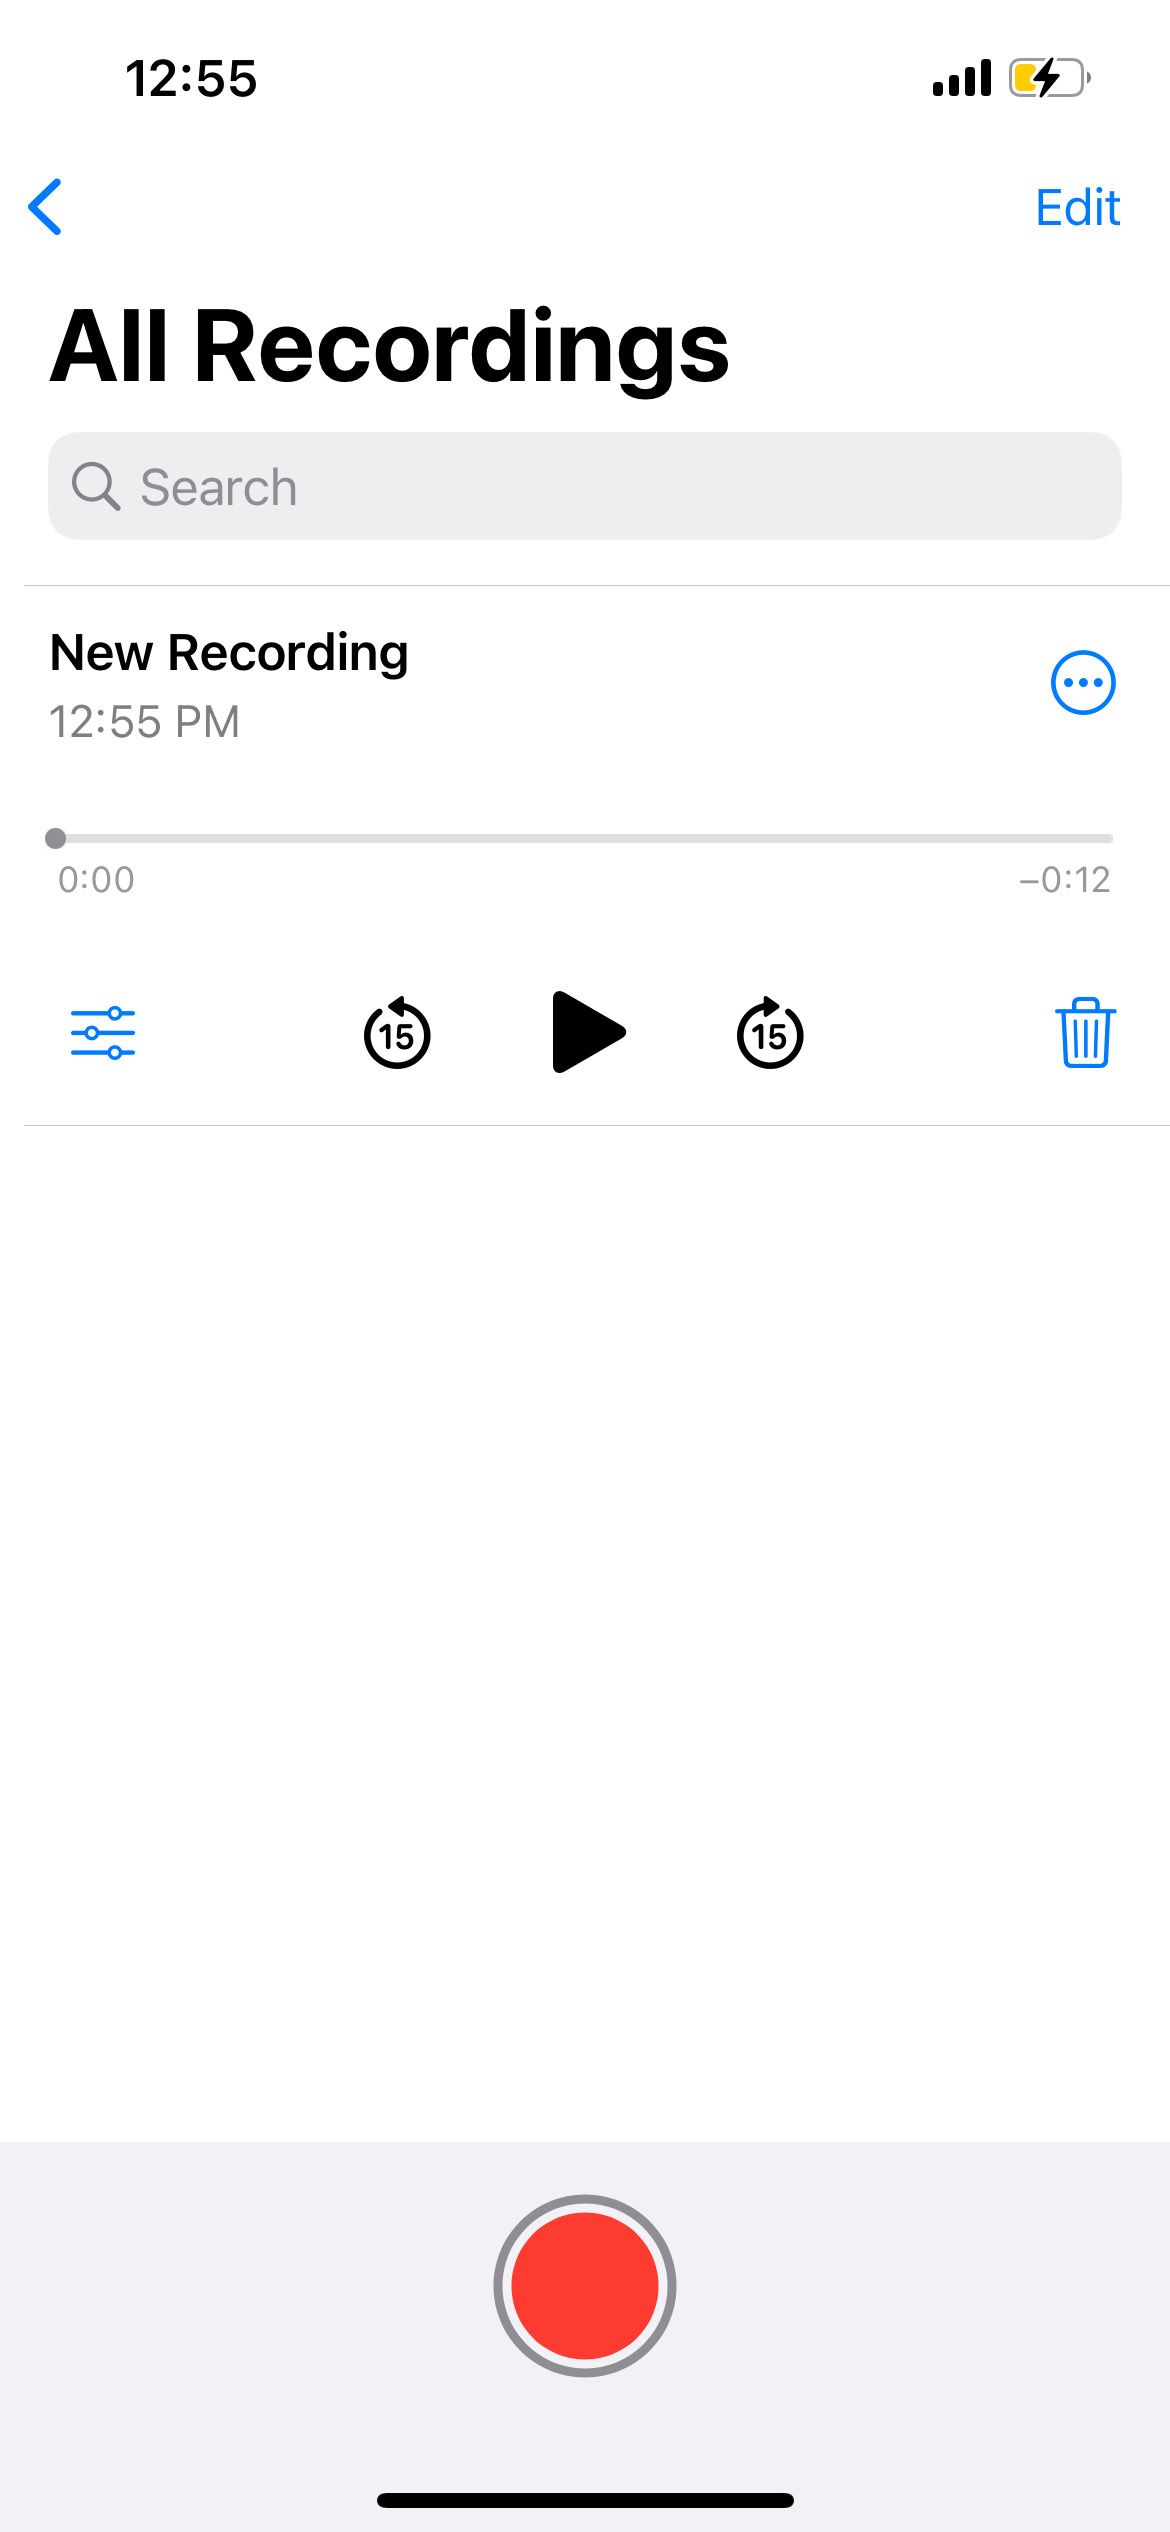
Once you recorded a voice memo on your iPhone, it's time to play it back to hear what it sounds like. Here's how:
- Open the Voice Memos app to see a list of recordings.
- Tap on your saved recording in the All Recordings list.
- Tap the Play button.
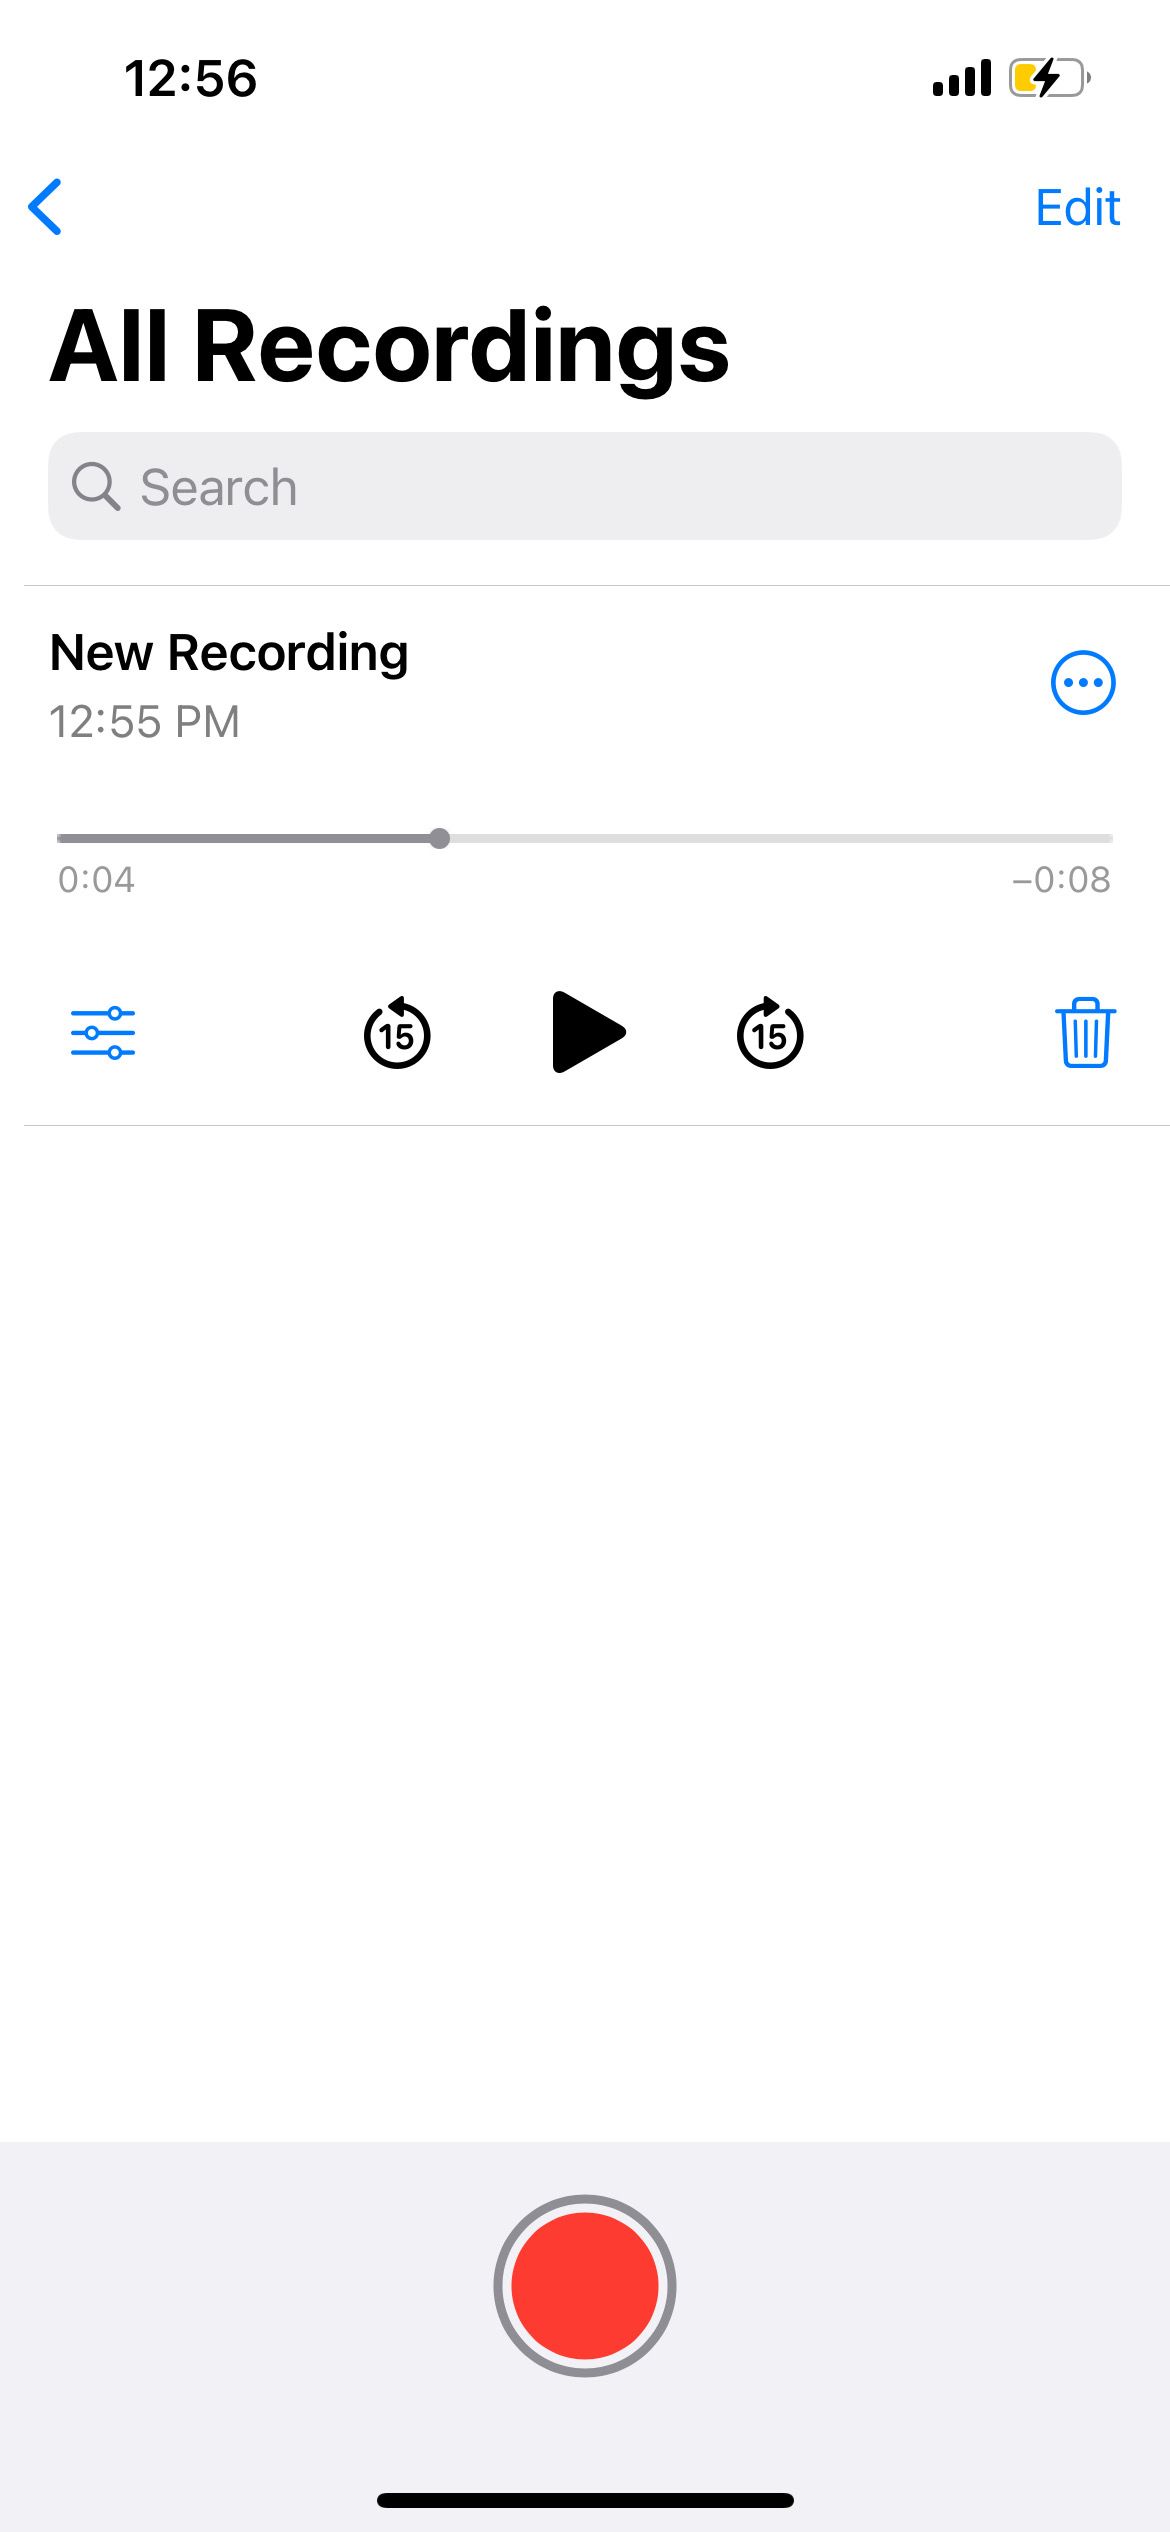
- To move to a specific point, you can drag the slider. Alternatively, you can use the Fast-Forward or Rewind buttons to jump 15 seconds forward or backwards.
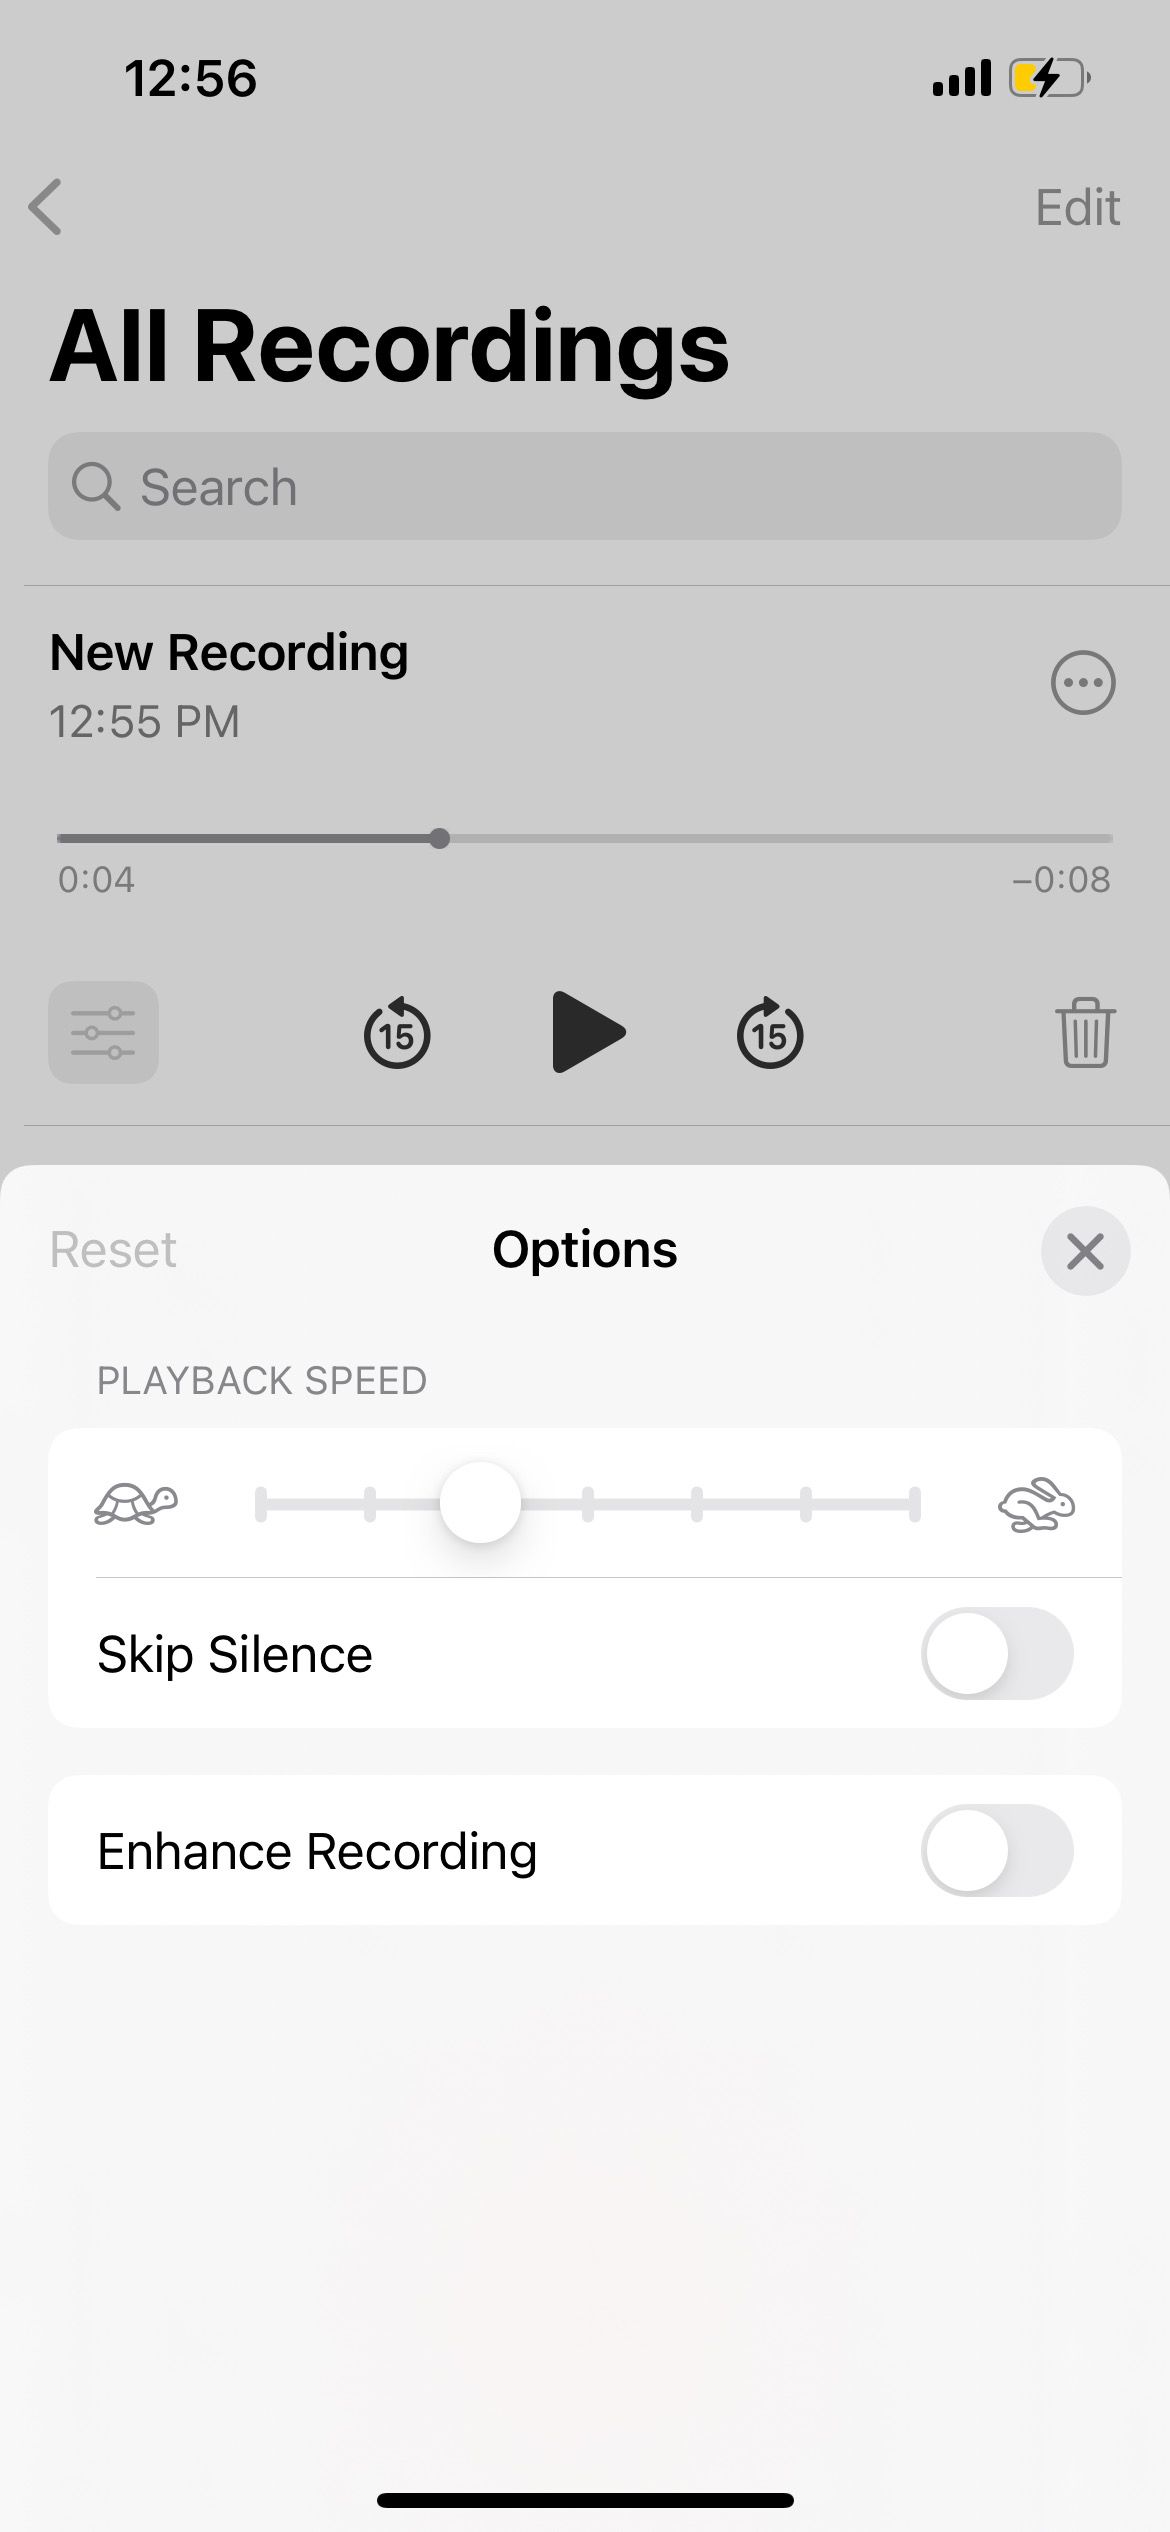
By tapping the Options button (which looks like three sliders), you'll find other features you can use with playback:
- Playback Speed: Dragging towards the turtle makes the playback slower. Dragging towards the rabbit speeds up the playback.
- Skip Silence: This feature jumps over gaps of silence in your recording.
How to Edit Voice Memos on Your iPhone
Now, let's look at the different edits you can make to a voice recording. These can include everything from changing the file name to re-recording sections of the audio.
How to Change the File Name of a Voice Memo
If you only have a couple of voice memos, it's easy to remember which is which by just looking at the date. But as the list grows, it's better to label each voice memo with a descriptive name. Here's how to change your voice memo's file name:
- Open the Voice Memos app to view all your recordings.
- Tap on the recording you want to edit.
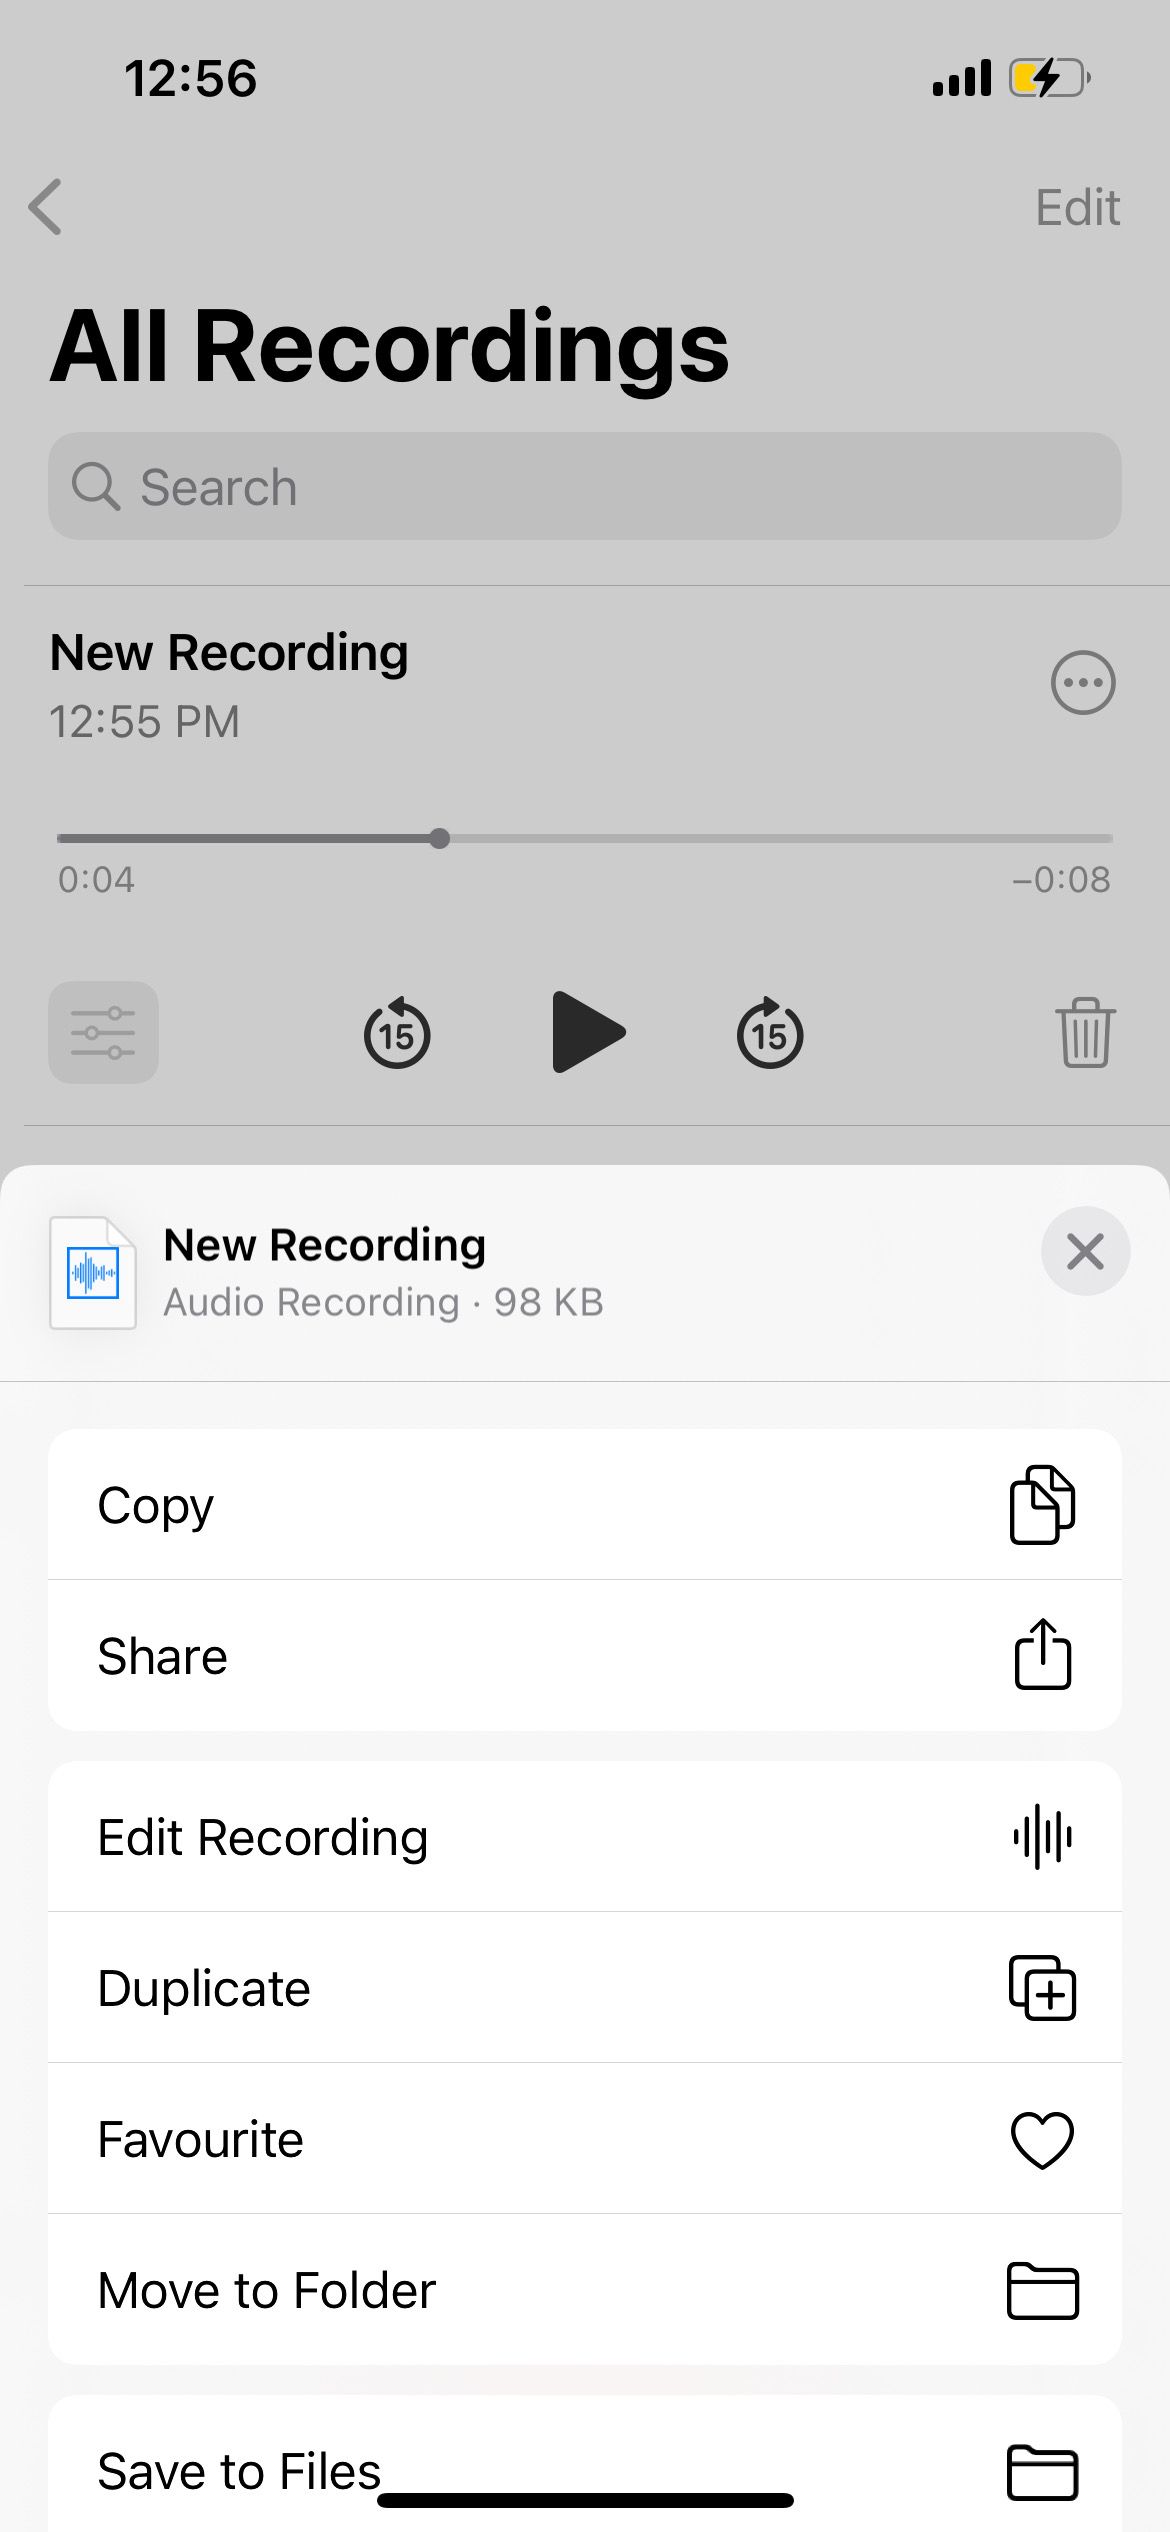
- Hit the More button (which looks like three dots).
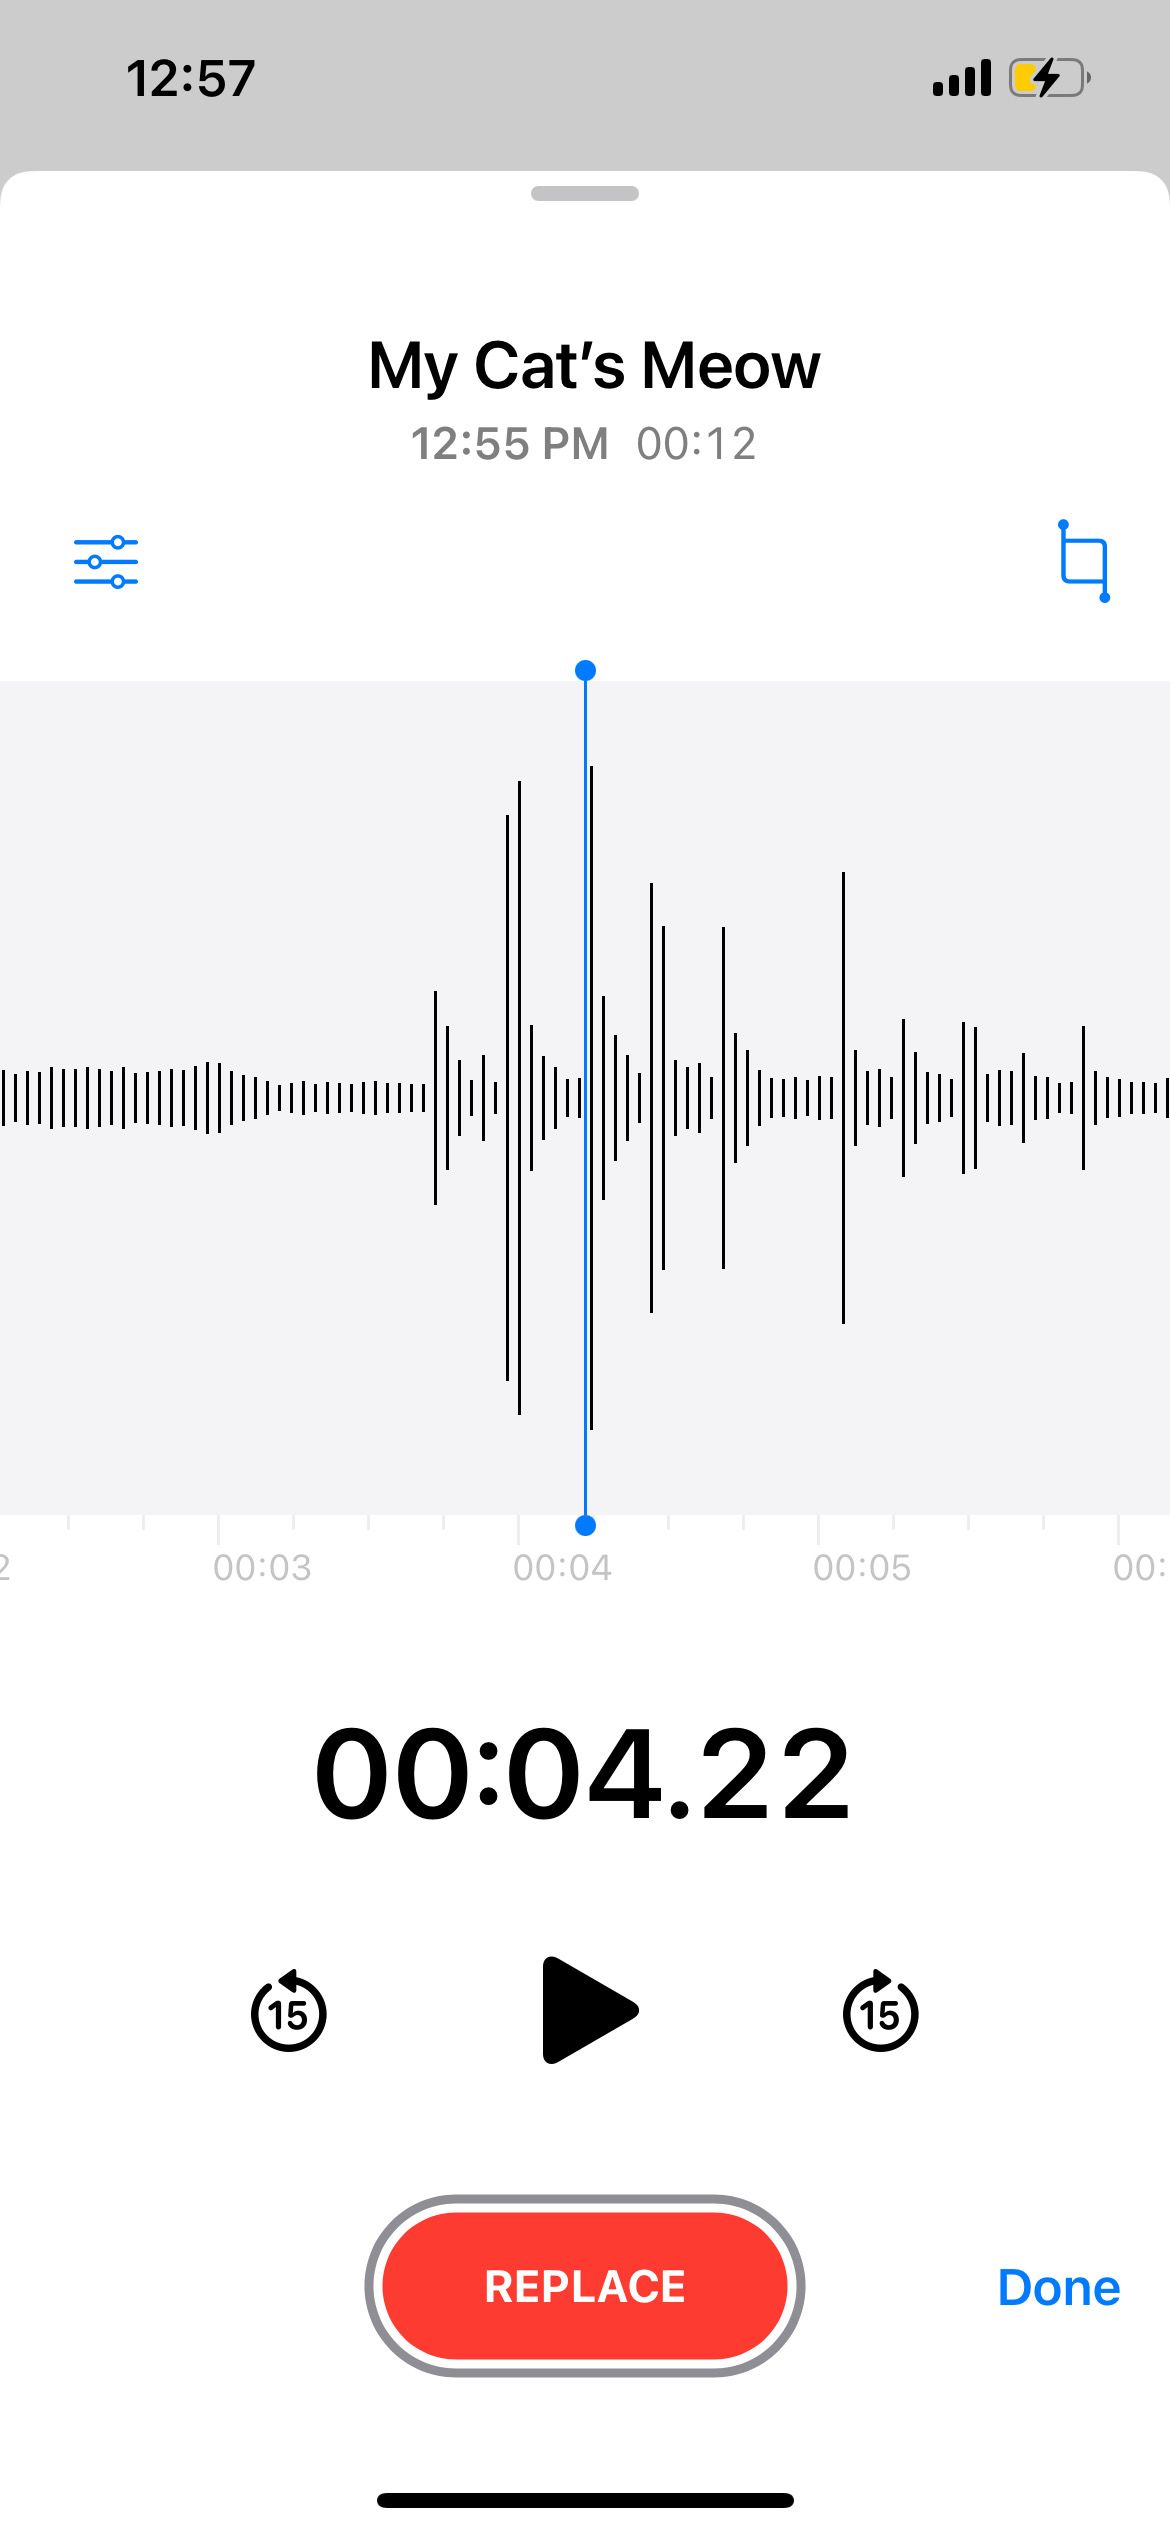
- Choose Edit Recording.
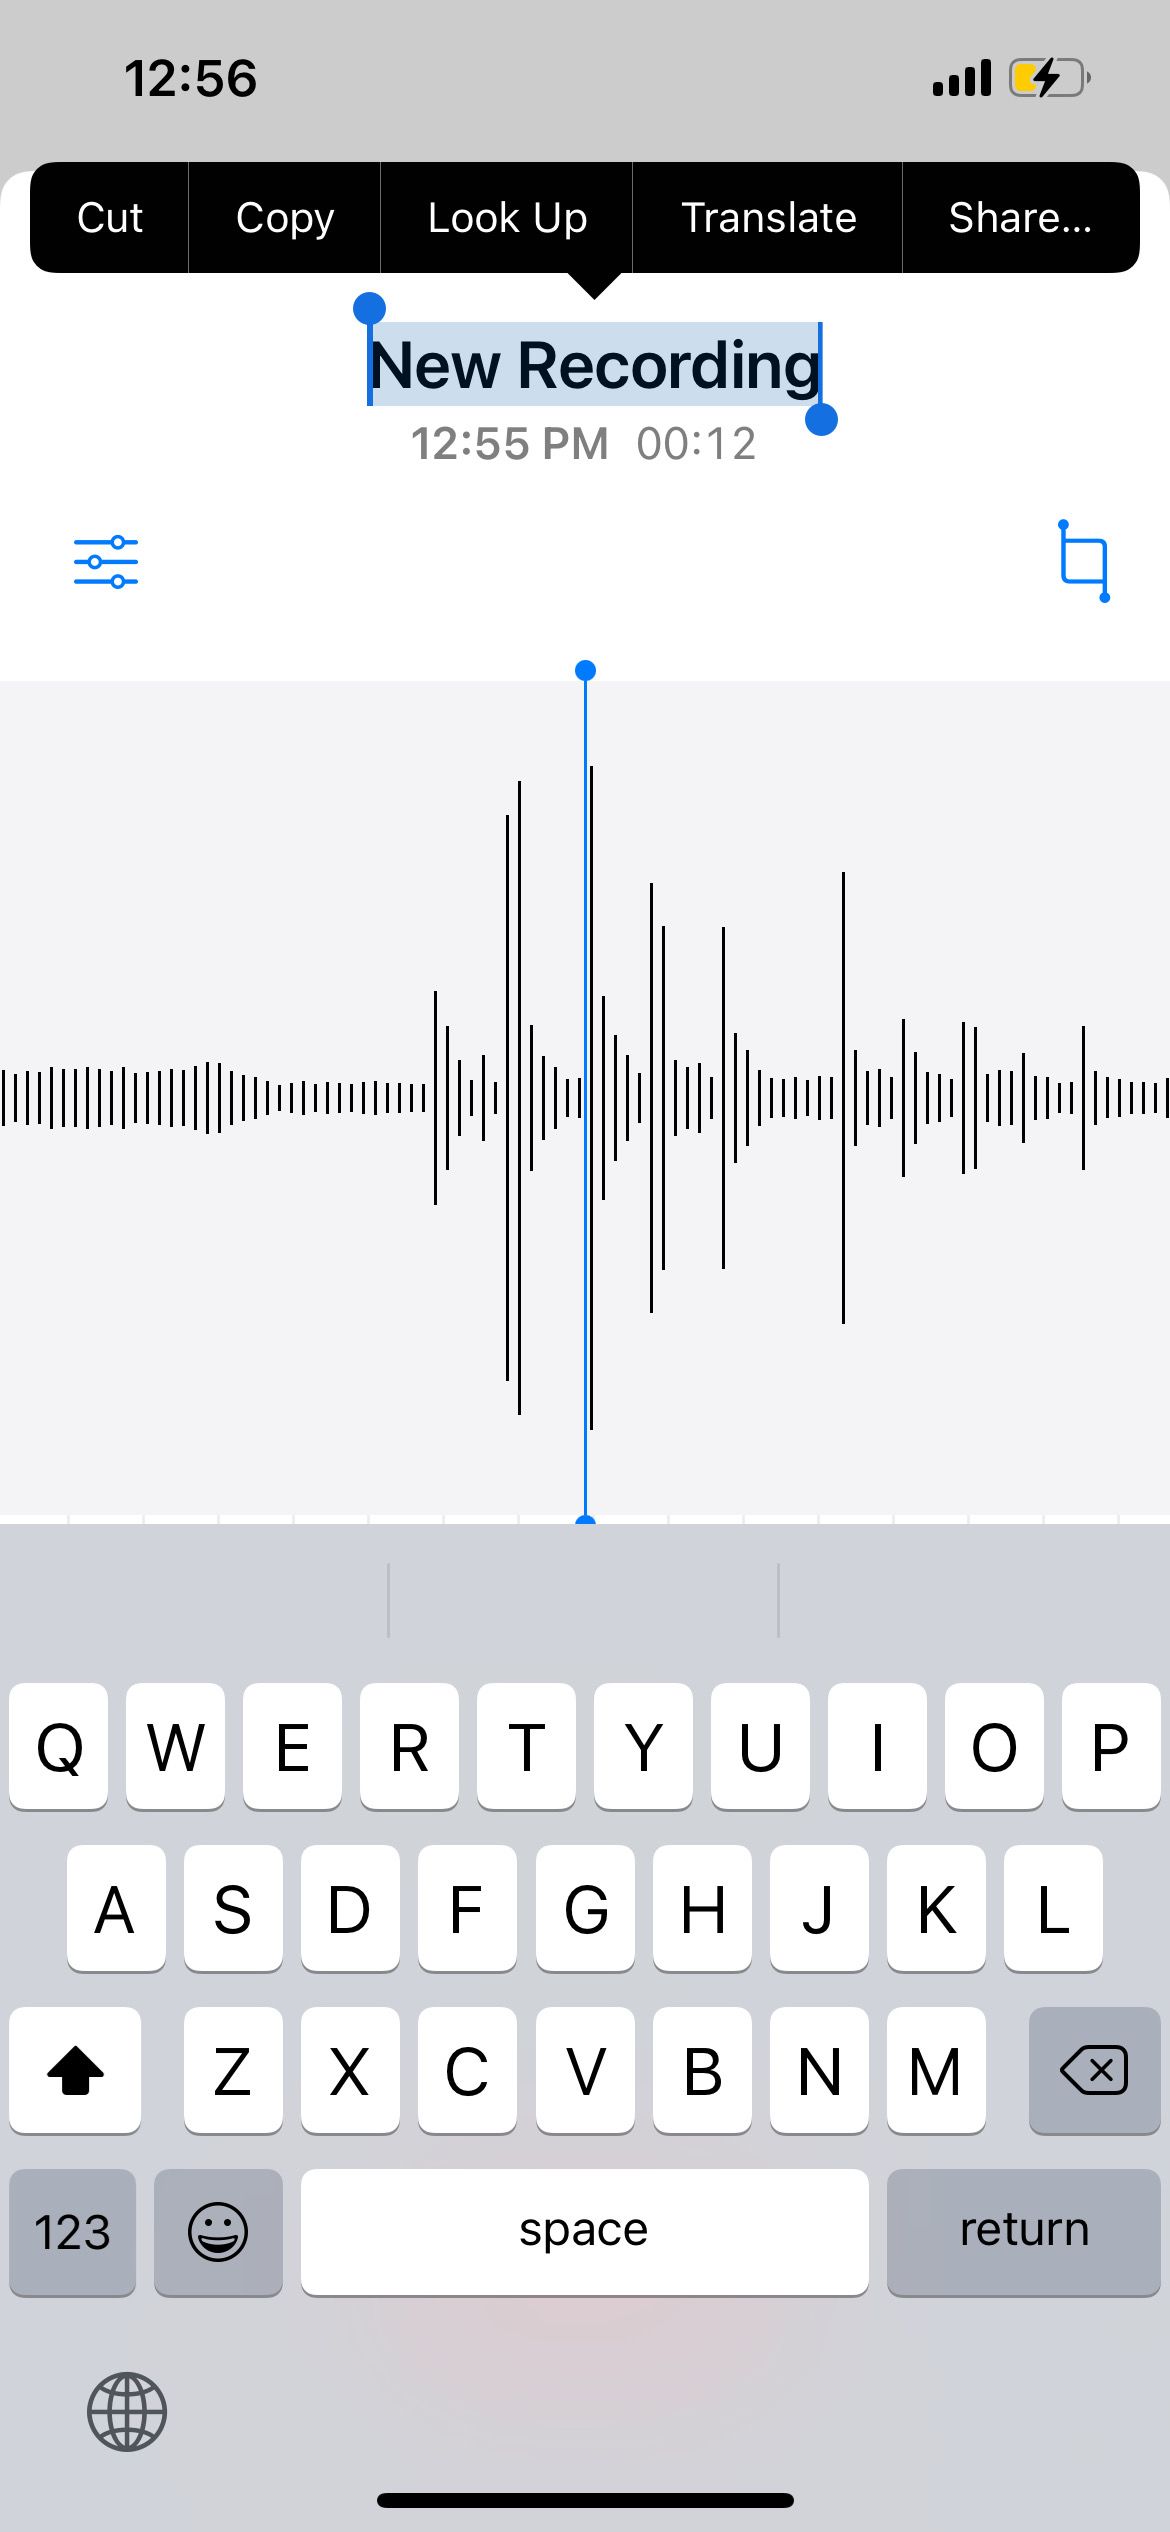
- Tap the file name to change it to your preferred title.
How to Duplicate a Voice Memo on Your iPhone
Before you move on to trimming or making other edits to your voice memos, it's a good idea to duplicate them first. For example, if you made a voice recording of an interview, it would be disastrous to lose any parts of the audio due to editing. While the Photos app lets you easily revert edited photos to their original state, the Voice Memos app doesn't offer this for audio.
Therefore, you should duplicate a voice memo before you start editing it:
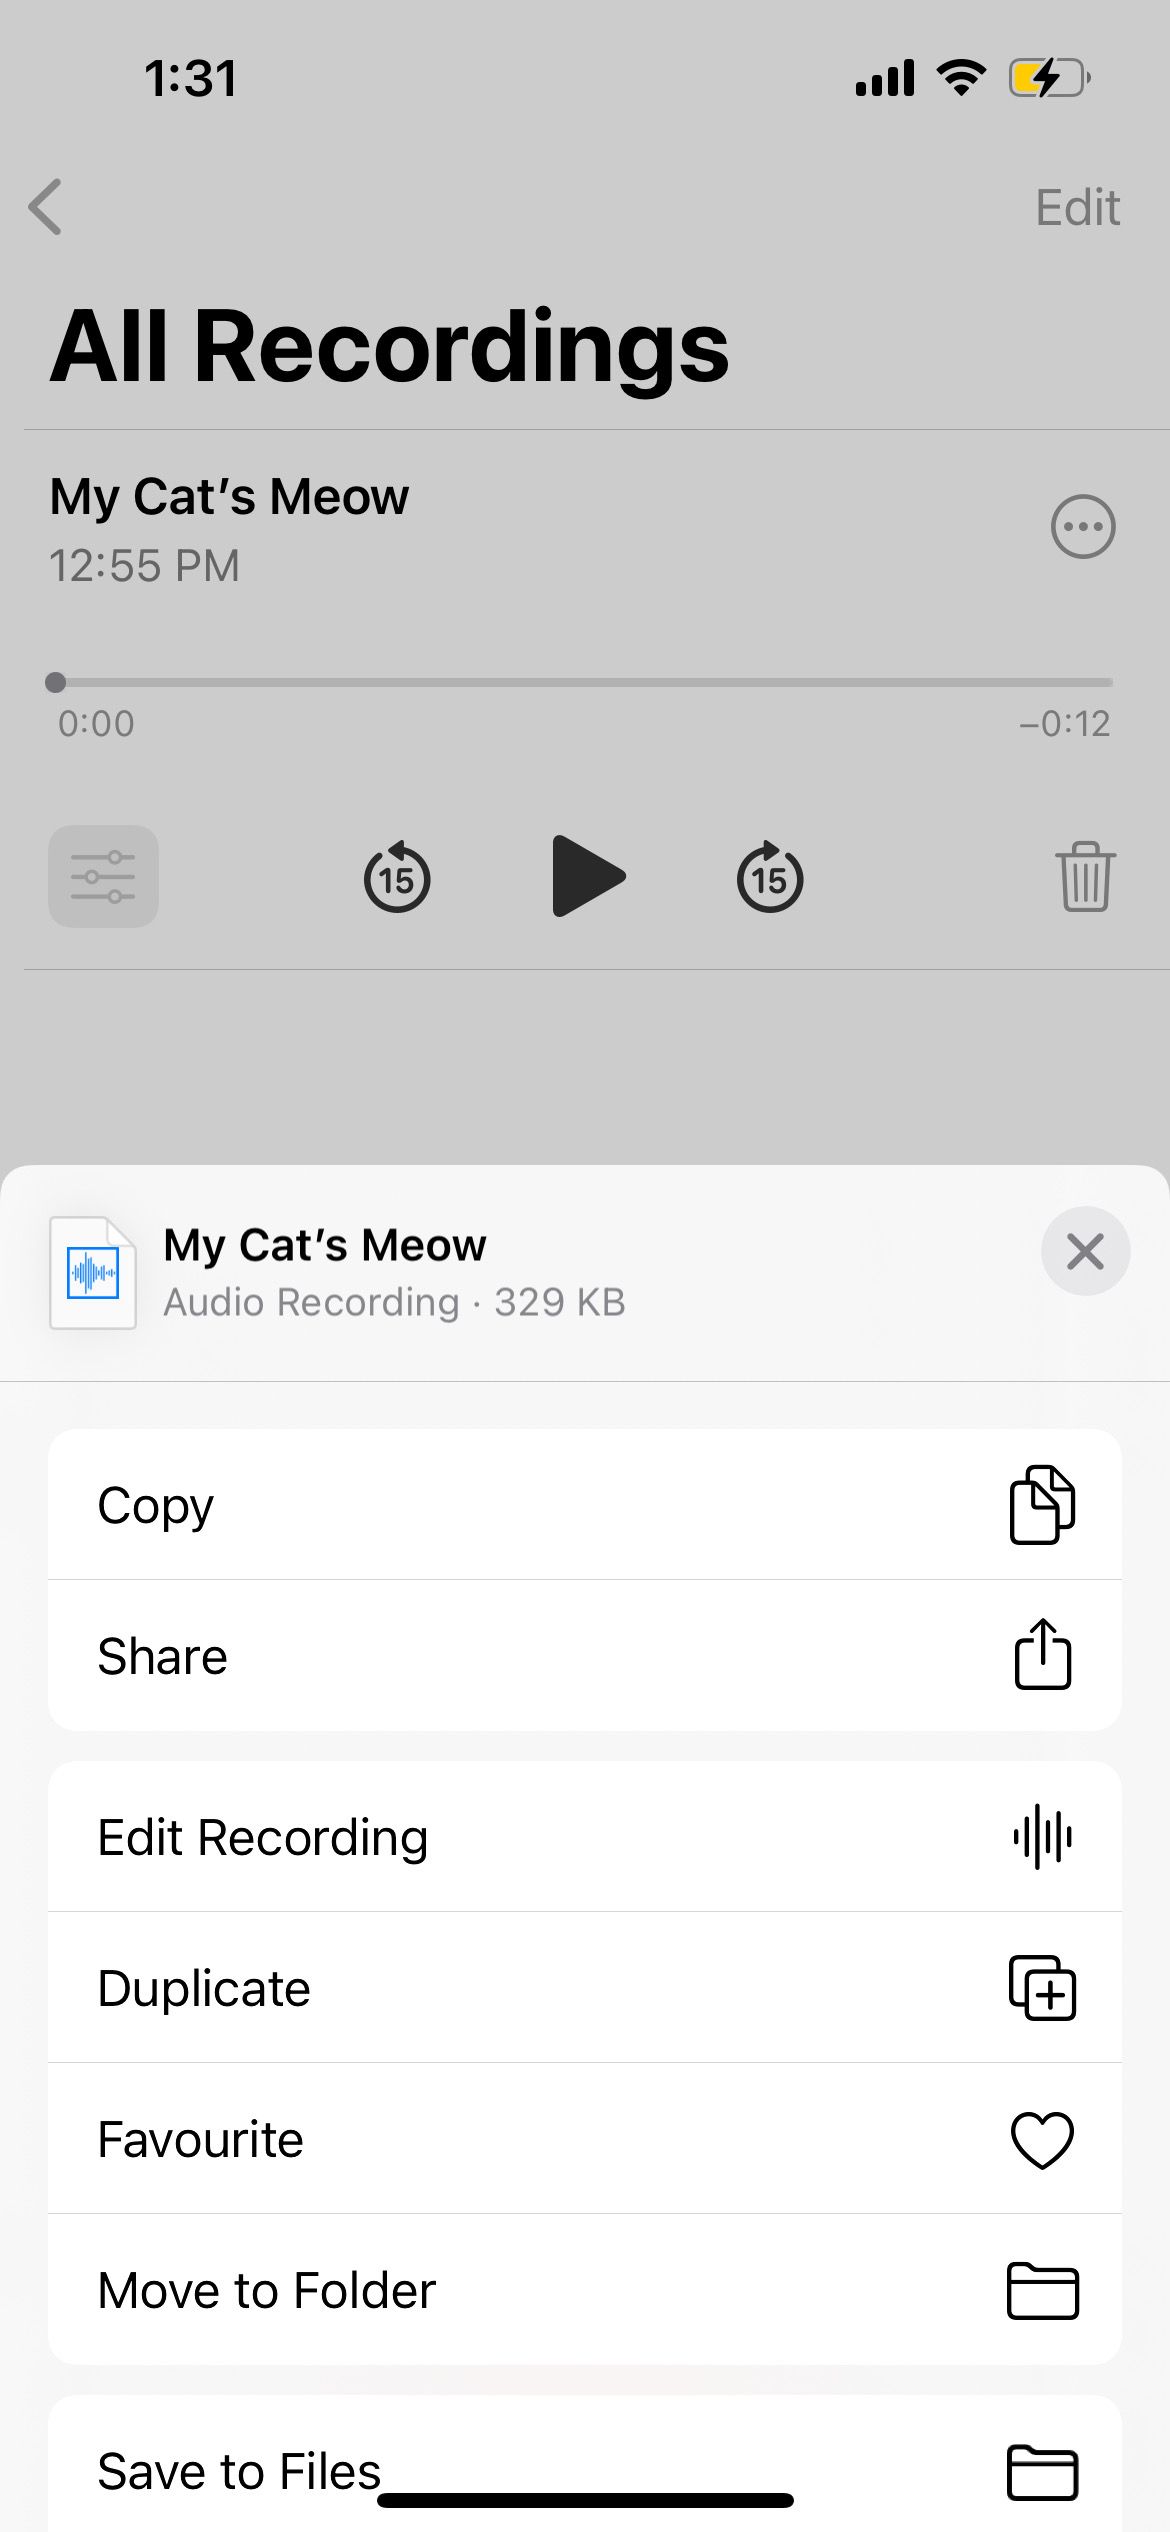
- Tap on your recording and hit the More button.
- Choose Duplicate.
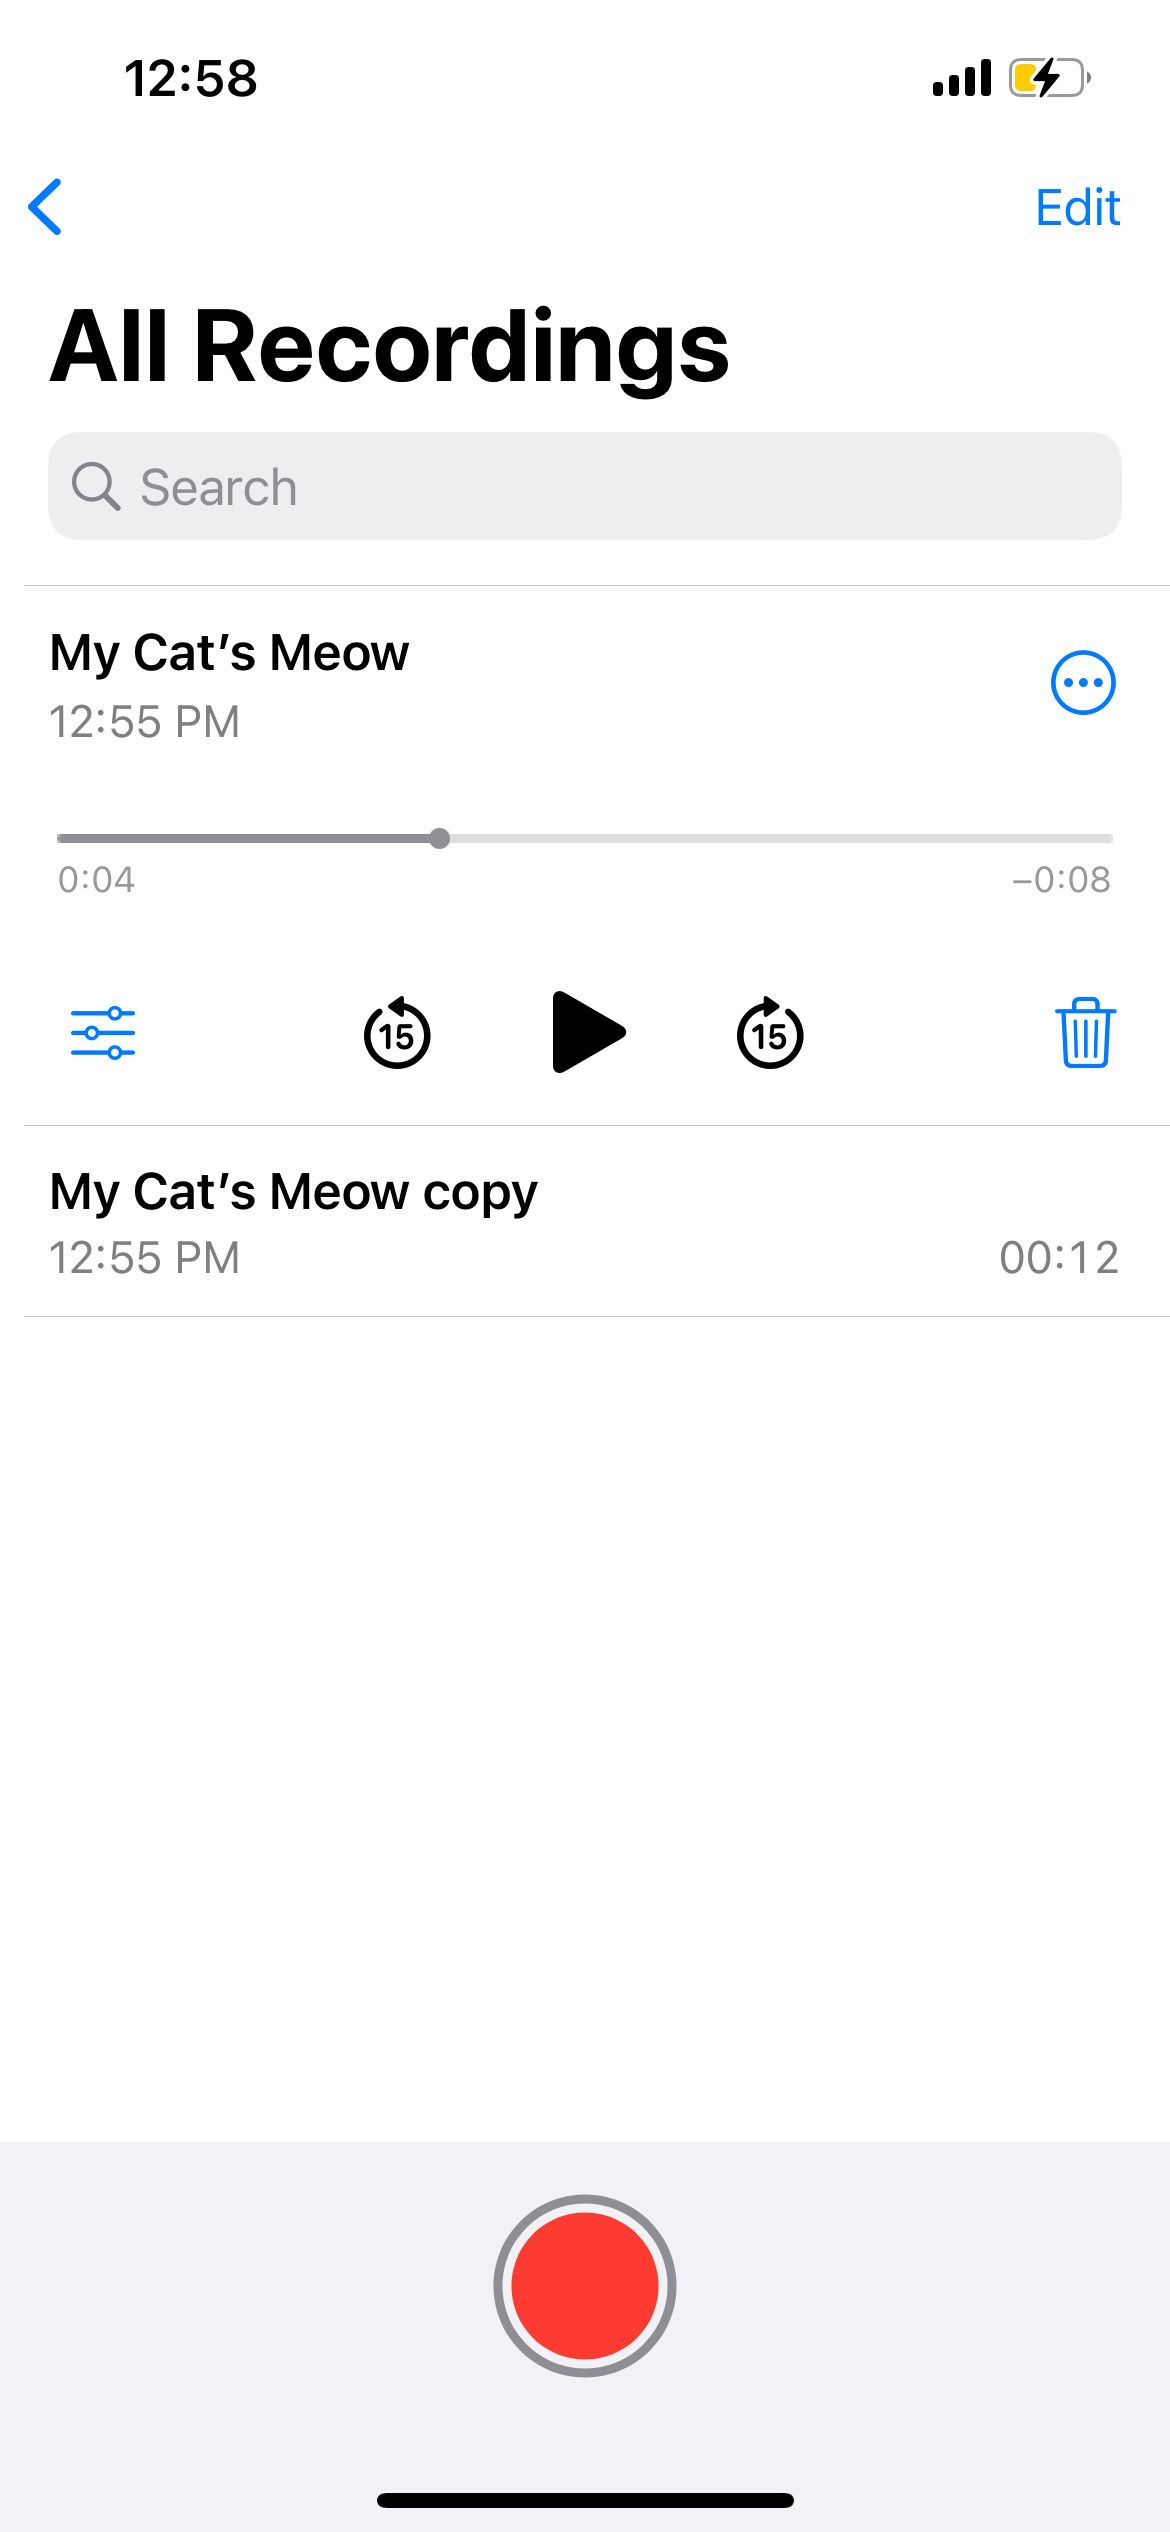
- An identical duplicate will appear, with the word copy at the end of its name.
How to Trim a Voice Memo on Your iPhone
To create a cleaner and more cohesive recording, you can remove sections of unnecessary audio that pad it out. Here's how to trim your voice memos:
- Tap on your recording and hit the More button.
- Choose Edit Recording.
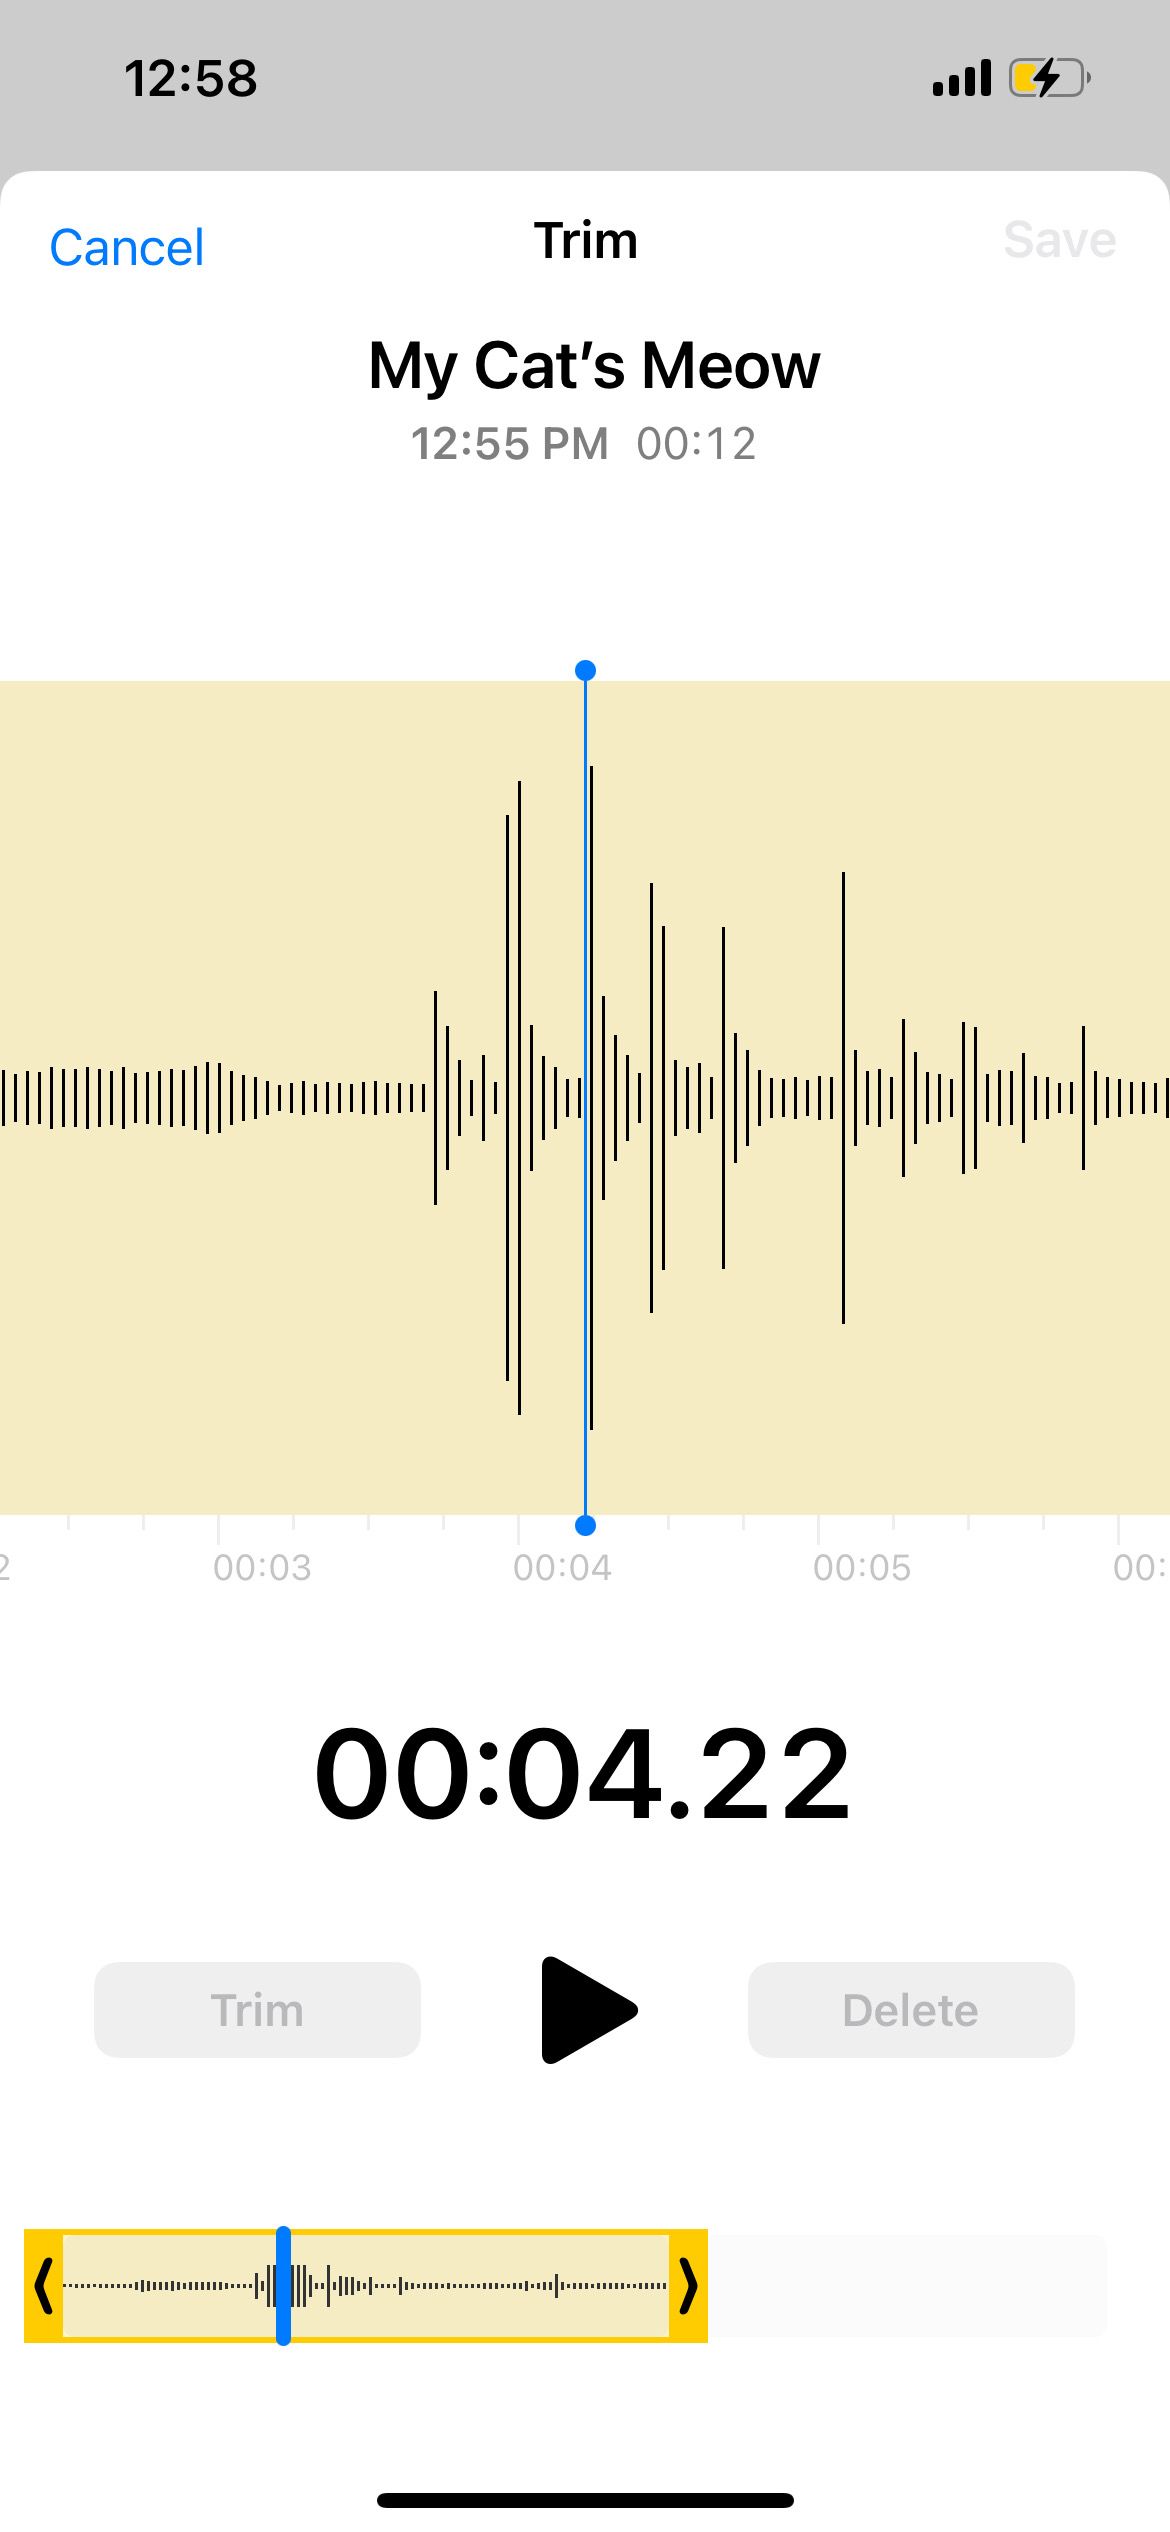
- Tap the Trim icon (which looks like a square with two extended sides).
- Drag the vertical slider on either side of the recording to highlight the section you want to keep or remove.
- To keep the highlighted section, choose Trim. To remove the highlighted section, choose Delete.

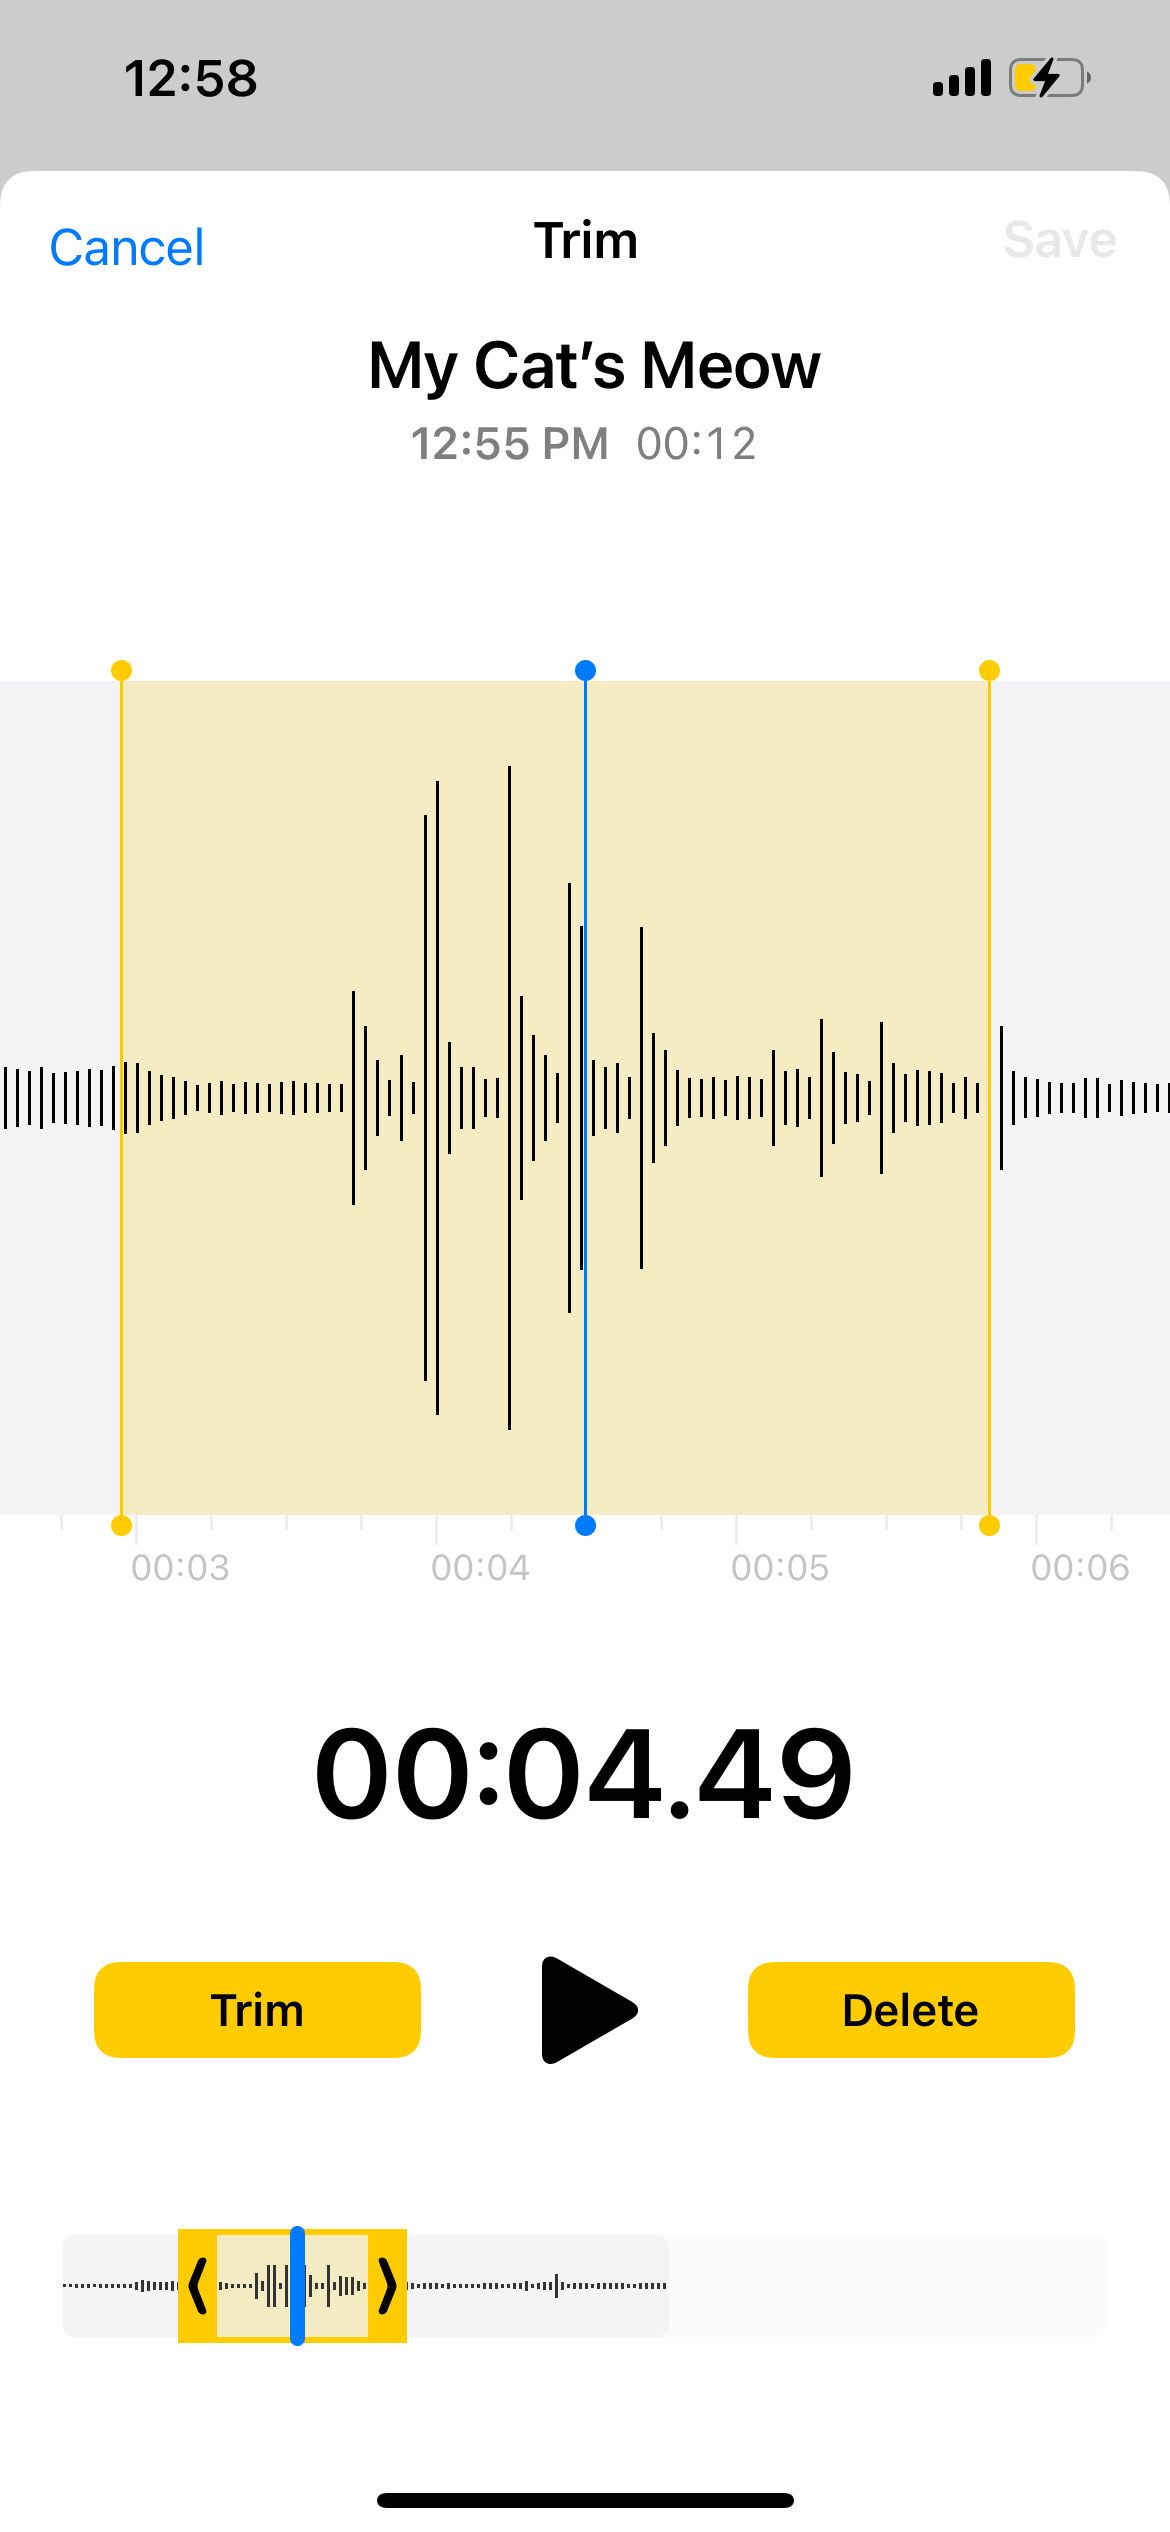
Right now, there is no way to undo individual edits in the iPhone's Voice Memos app. You can only tap Cancel while still within the editing window, to undo all the edits you've made in that editing session.
How to Replace Parts in a Voice Memo
You can overwrite parts of a voice memo by recording new audio during playback. Here's how to do that:
- Tap on your recording and hit the More button.
- Choose Edit Recording.
- In the Edit Recording window, drag the time slider to the part where you want to start overwriting with new audio.
- Tap Replace to start recording new audio, which will show up in red.
- Tap Done to save.


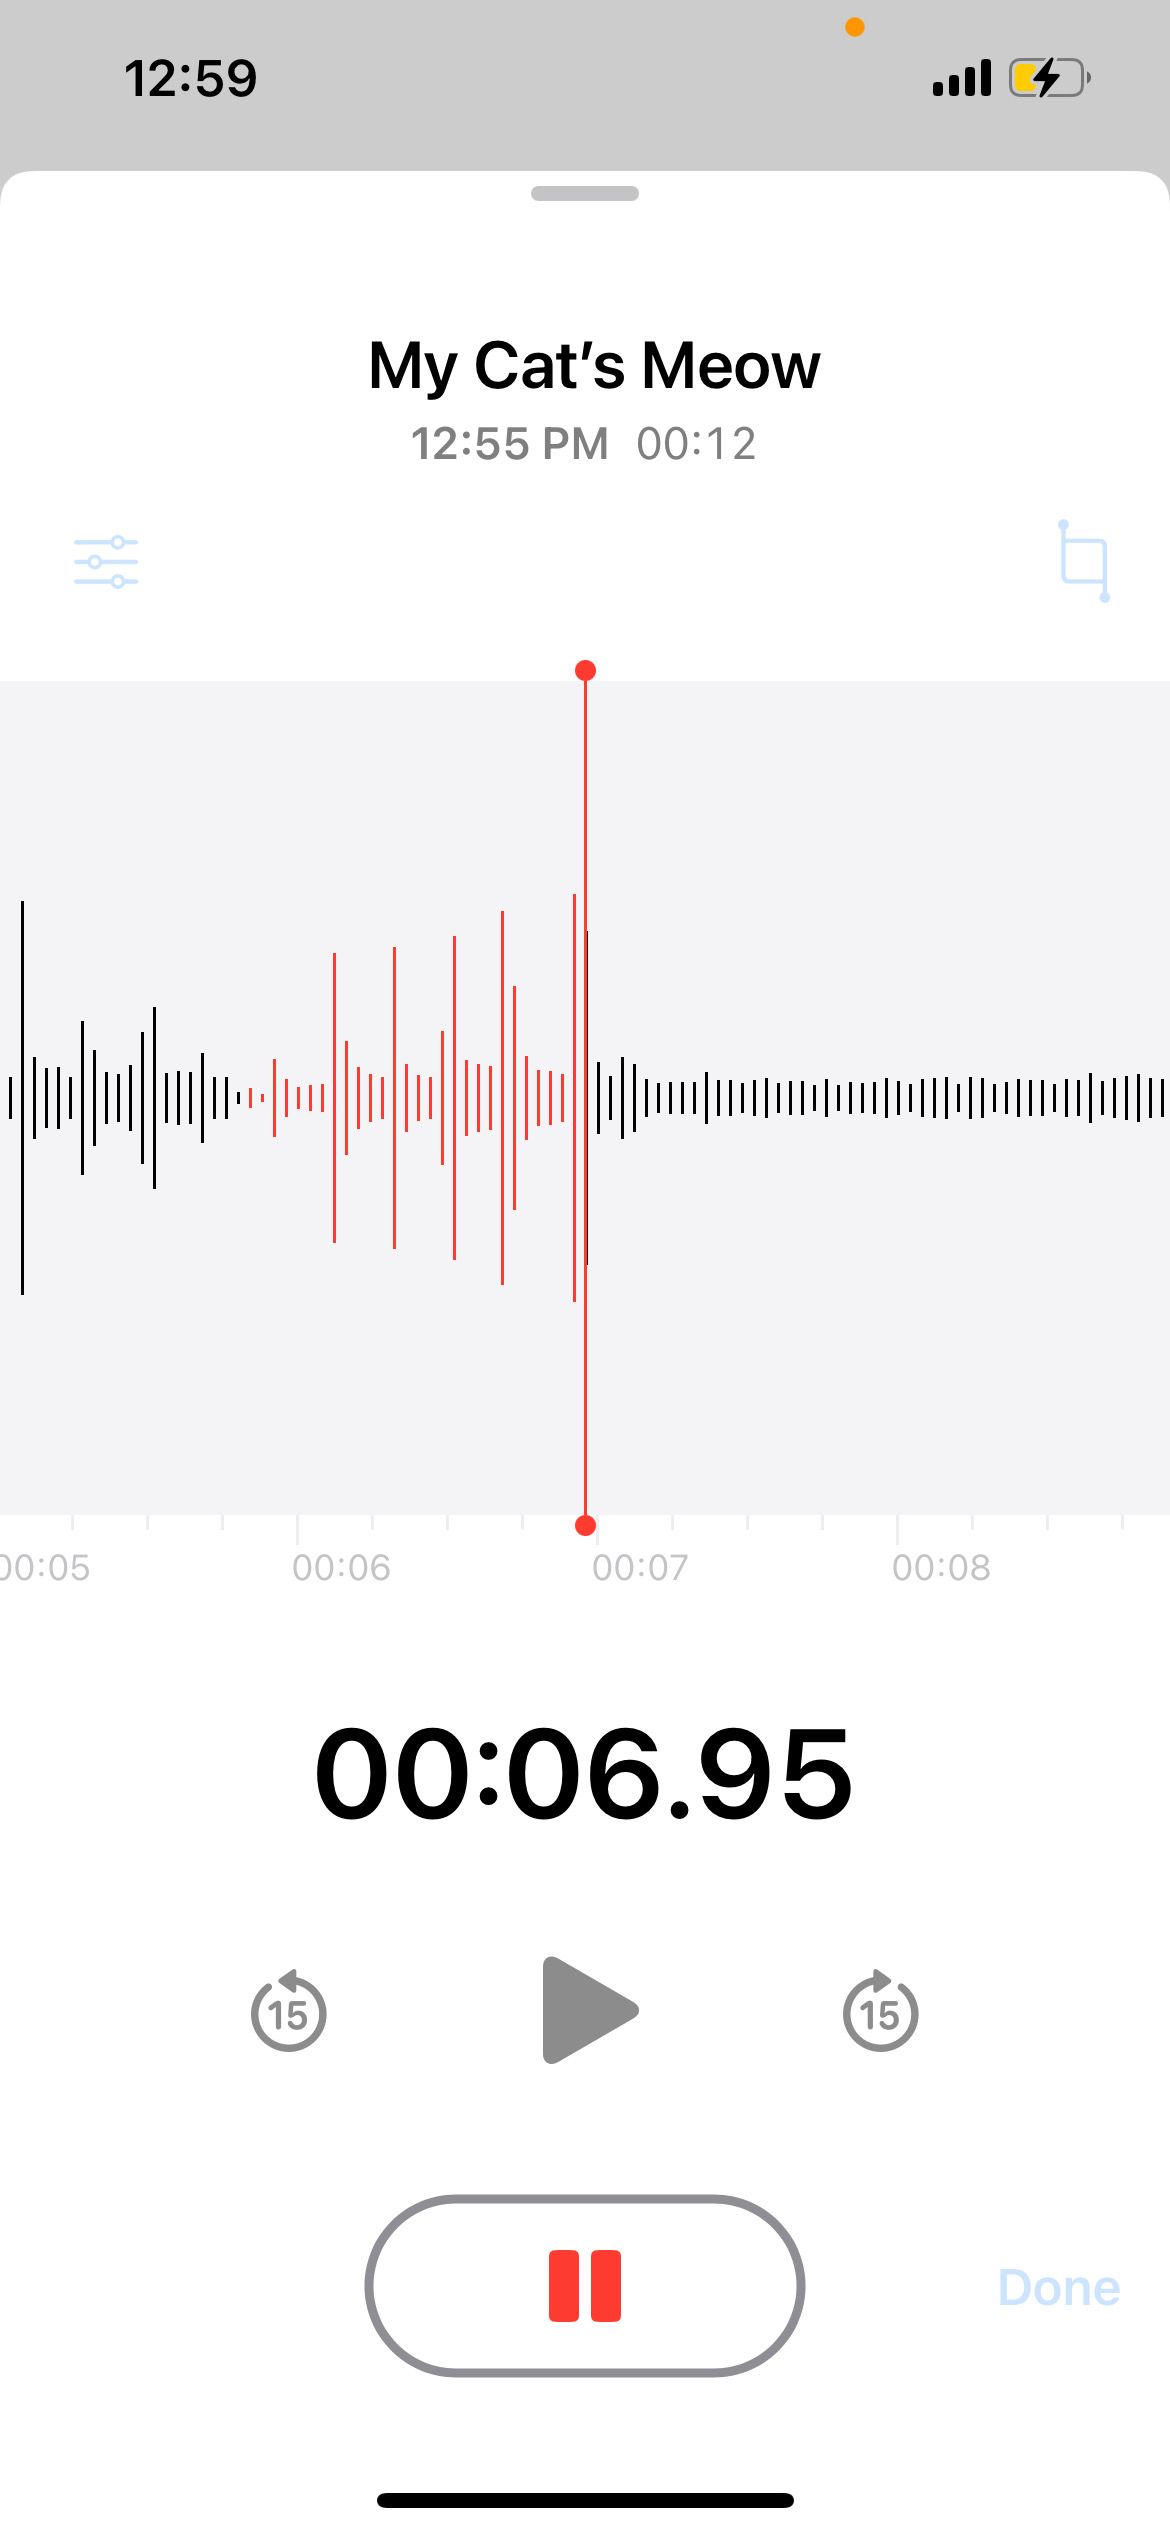
You cannot undo replaced audio. Unlike trimming, there is no Cancel button.
Even if you exit the Voice Memos app without tapping Done, the new audio will already be saved to the file. Therefore, be absolutely sure of what you want to replace before proceeding with such changes.
If you feel the Voice Memos app is too limited when it comes to editing, you should check out third-party audio editing apps for your iPhone, all of which offer greater flexibility and better options.
How to Organize Your iPhone Voice Memos Into Folders
Over time, you'll probably accumulate a long list of voice memos in the app. If you love keeping your iPhone's apps organized, you should do the same for your voice recordings!
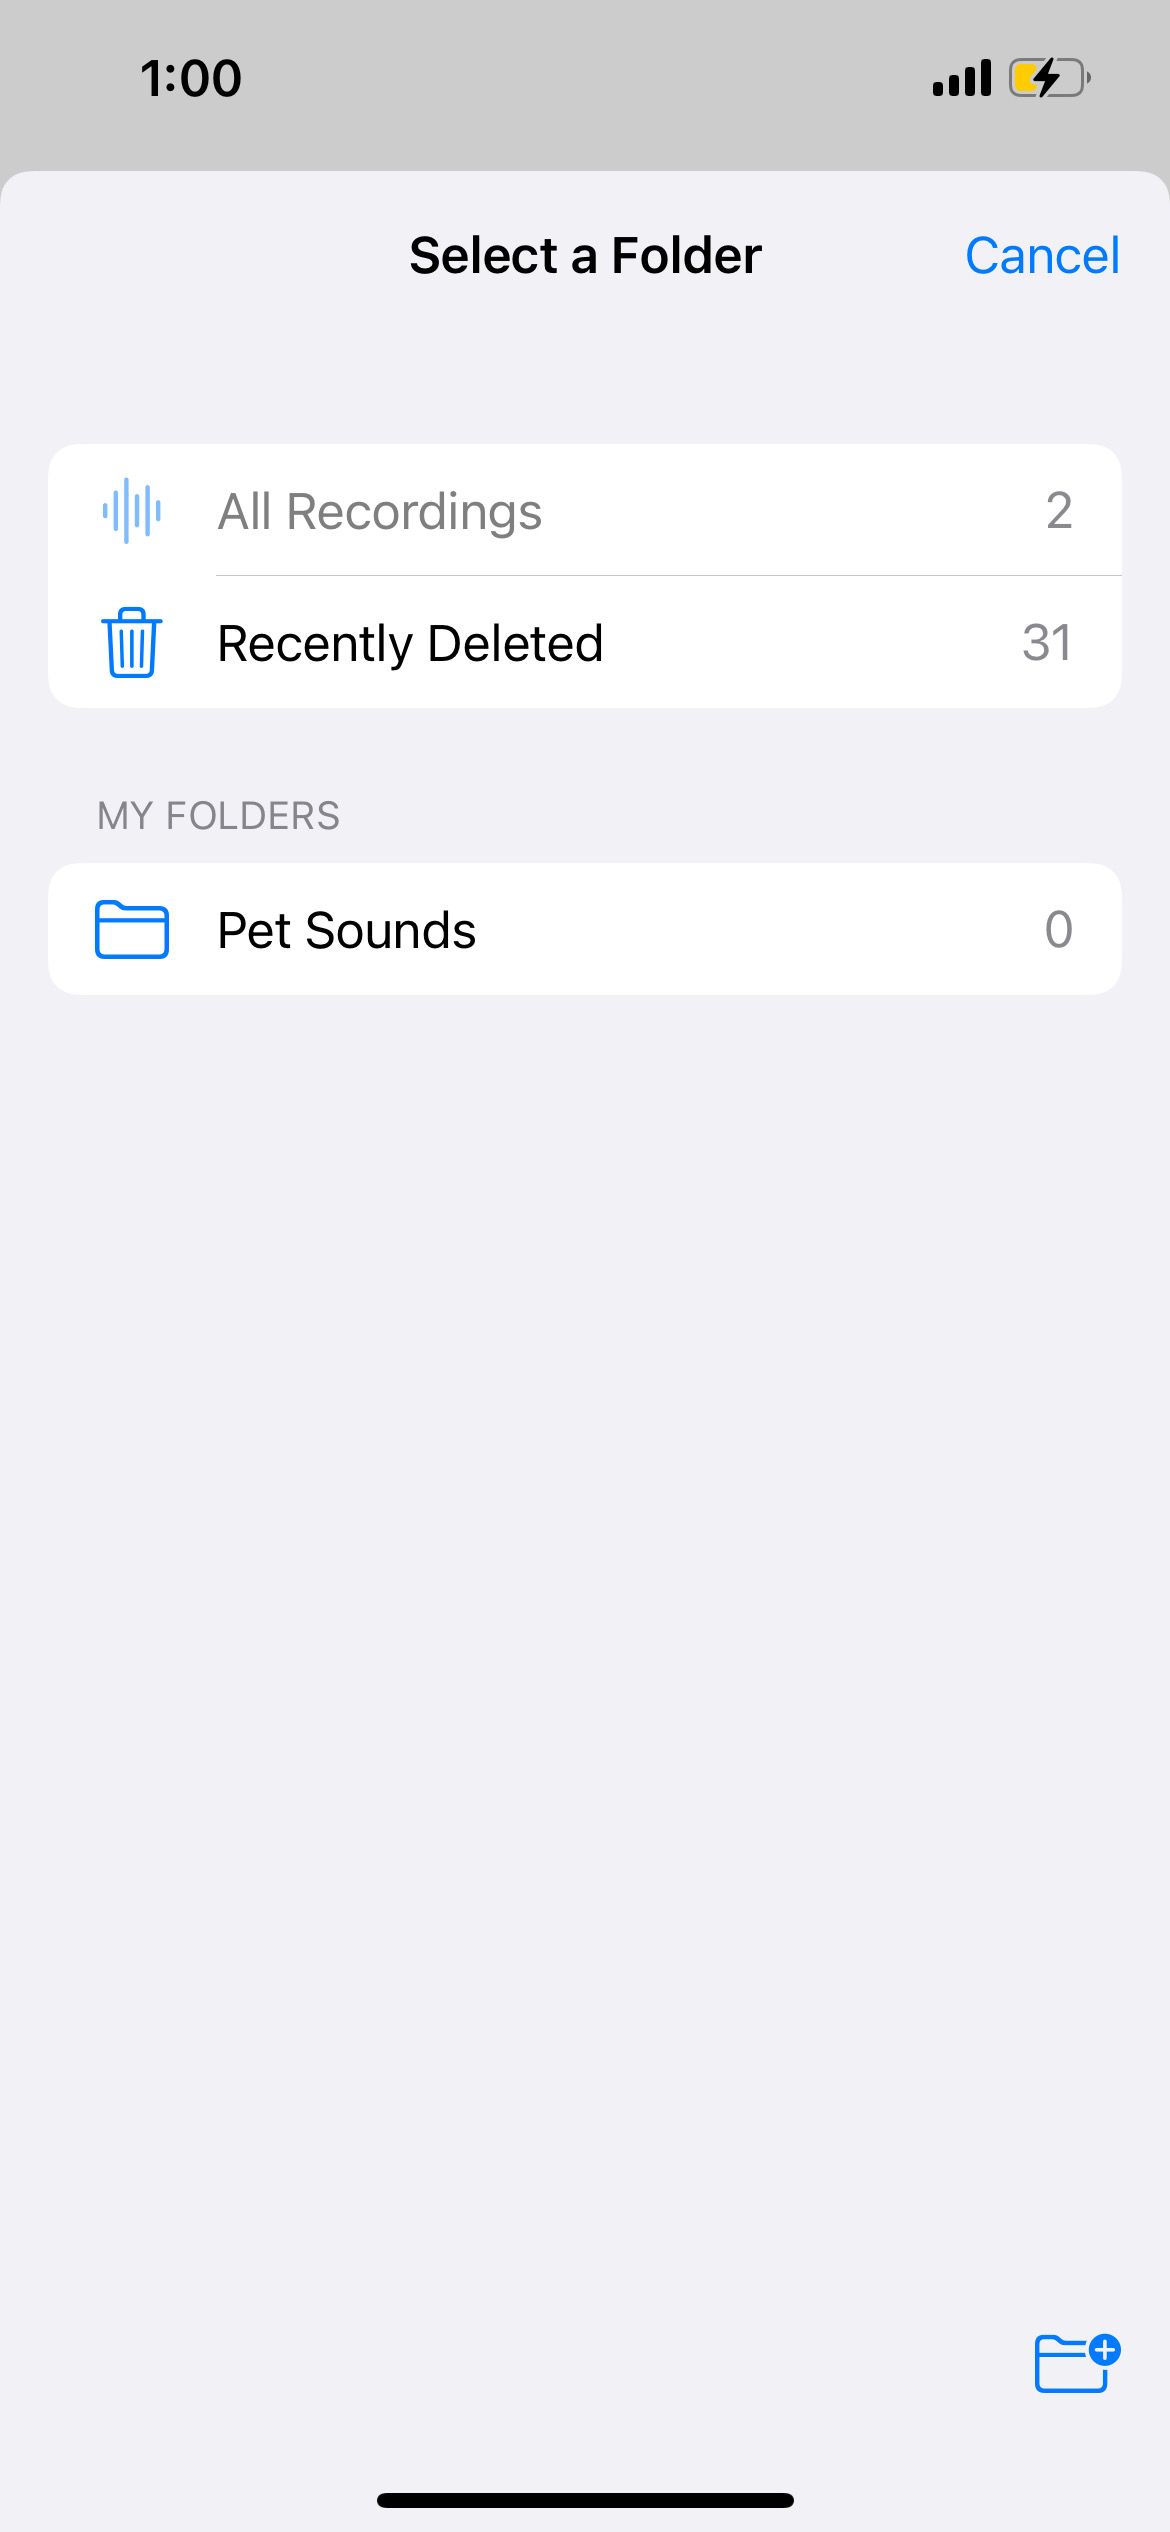
Here's how to move your voice memo recordings into different folders:
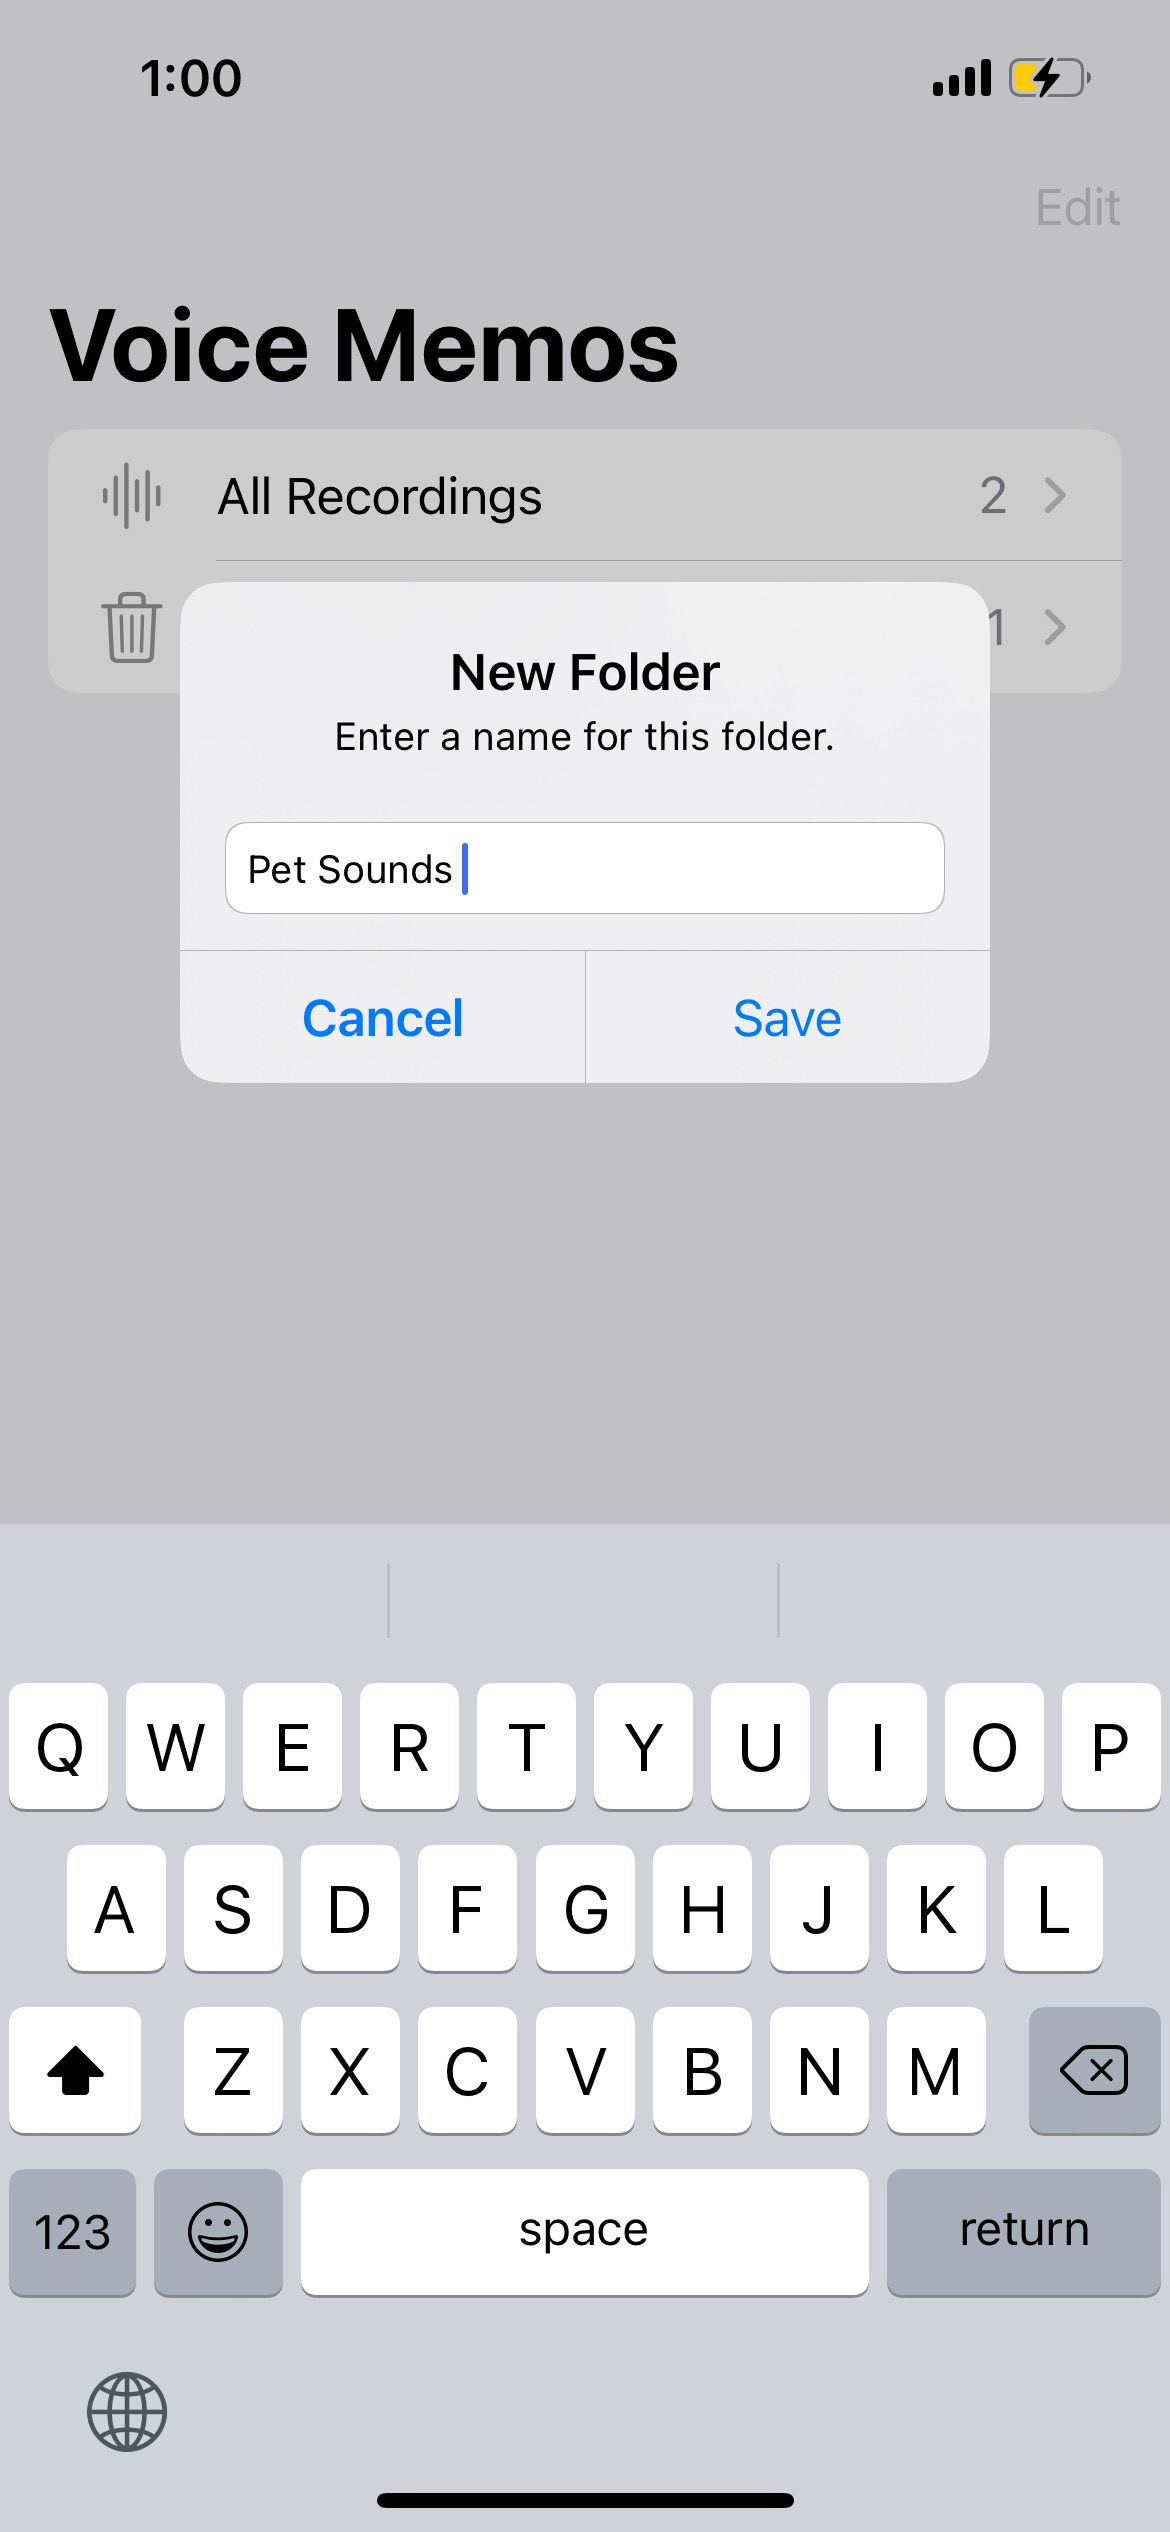
- From the All Recordings page in the Voice Memos app, tap the Back arrow to access the Voice Memos page.
- Tap the New Folder icon. Name your folder and select Save
- Return to the All Recordings page.
- Tap on a recording you want to move and hit the More button.
- Choose Move to Folder.
- Select the destination folder.

How to Delete and Restore Voice Memos
To delete a voice memo you longer need, simply tap the Trash icon to remove it.
If you accidentally deleted a recording you want back, follow these steps to recover it:
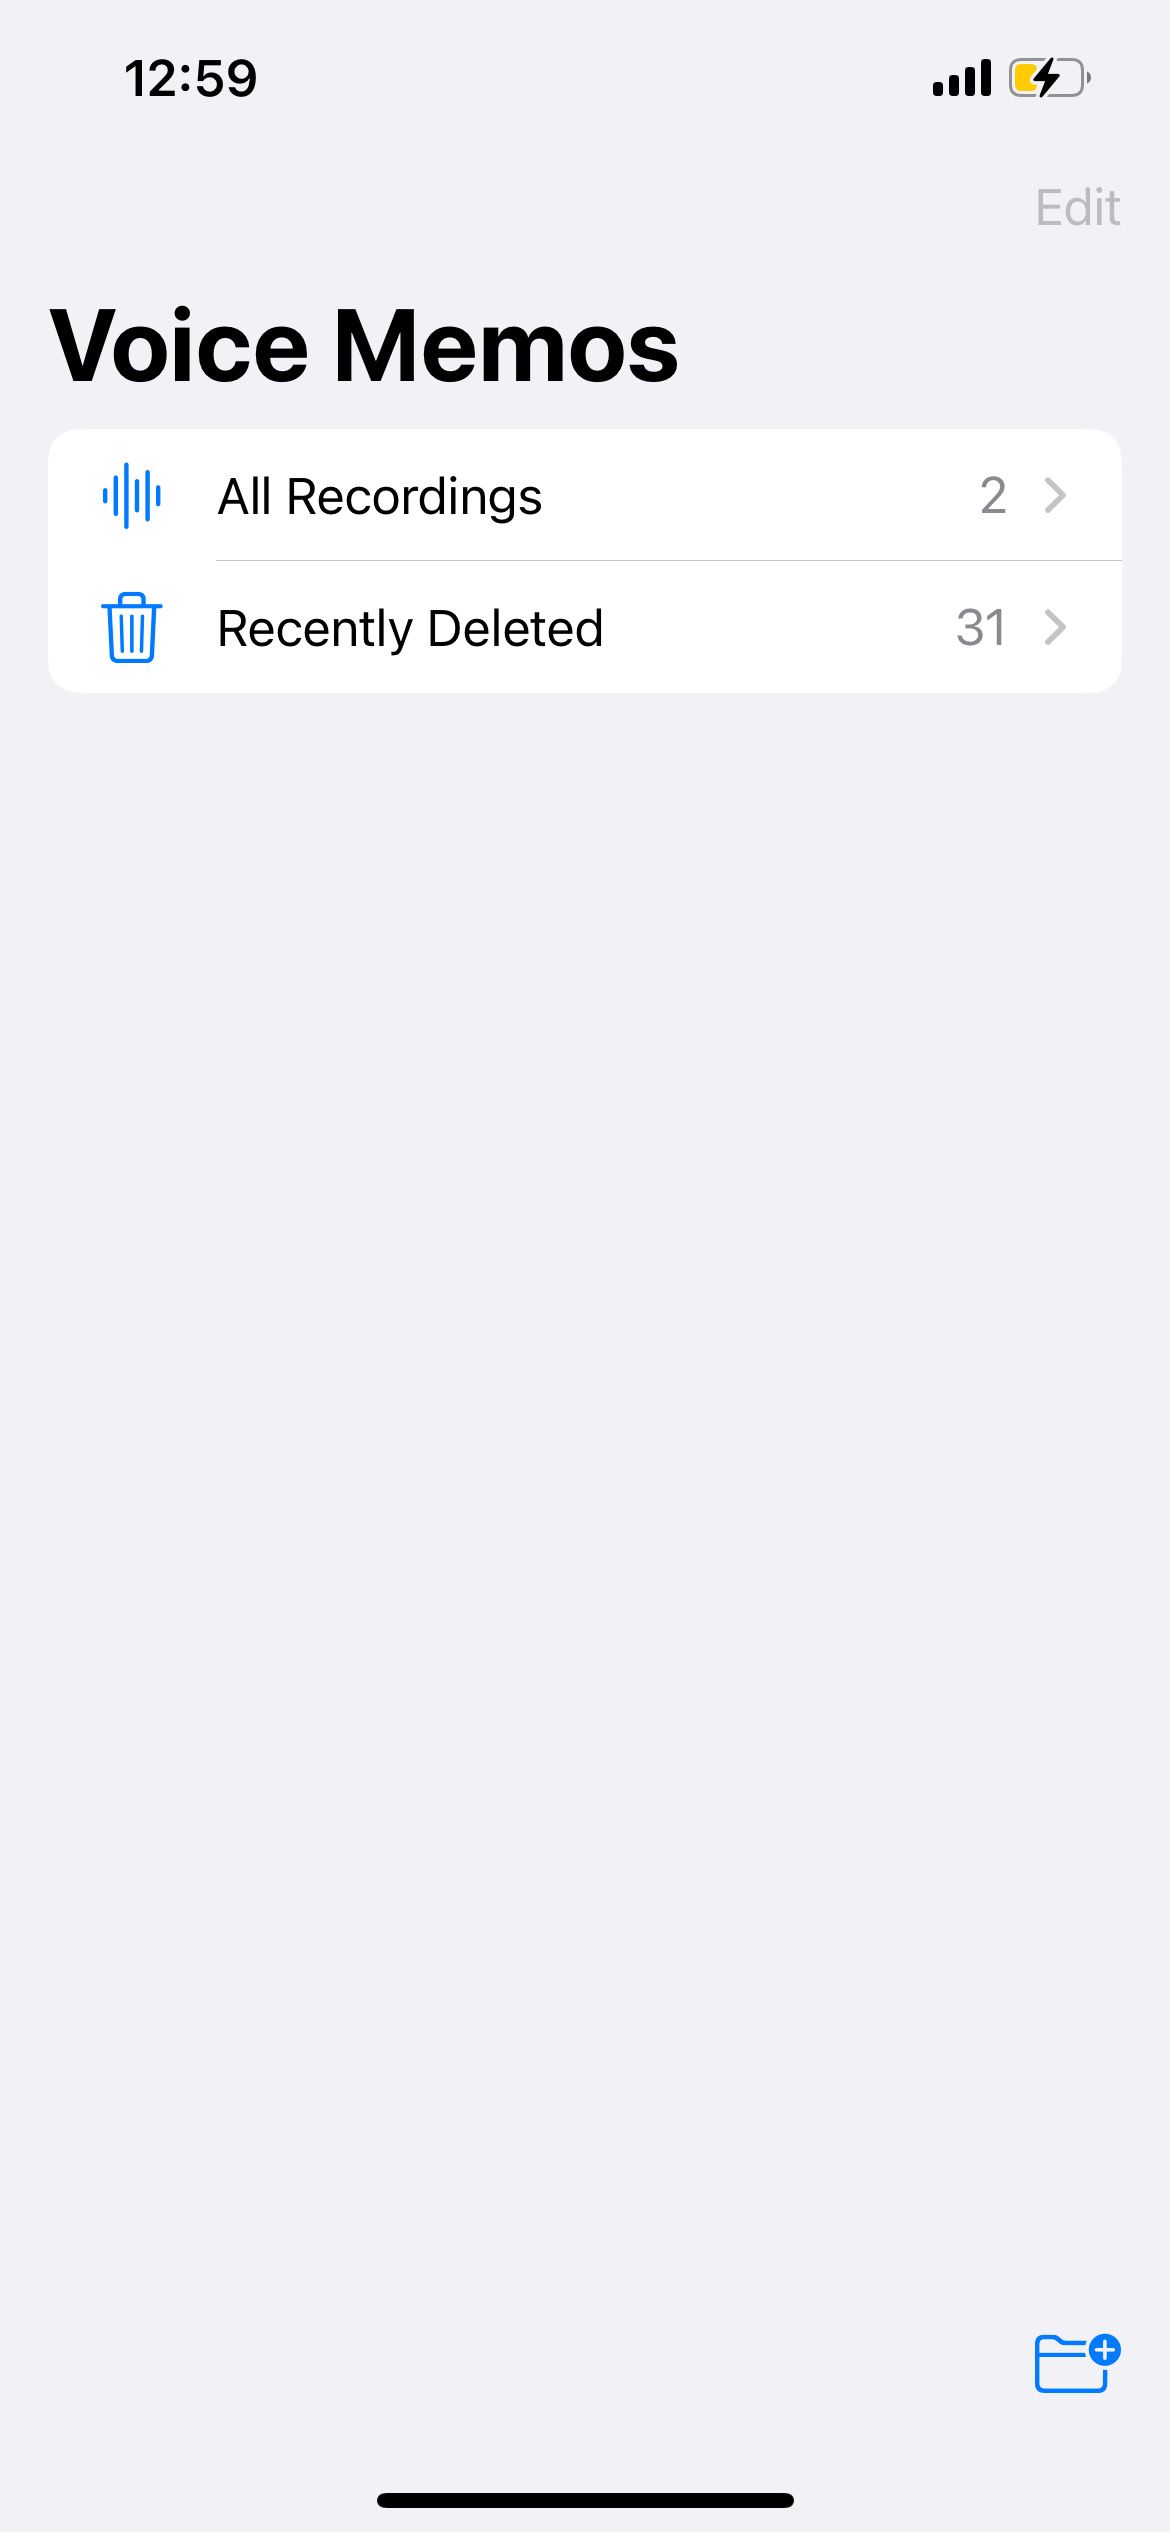
- From the All Recordings page, tap the Back arrow.
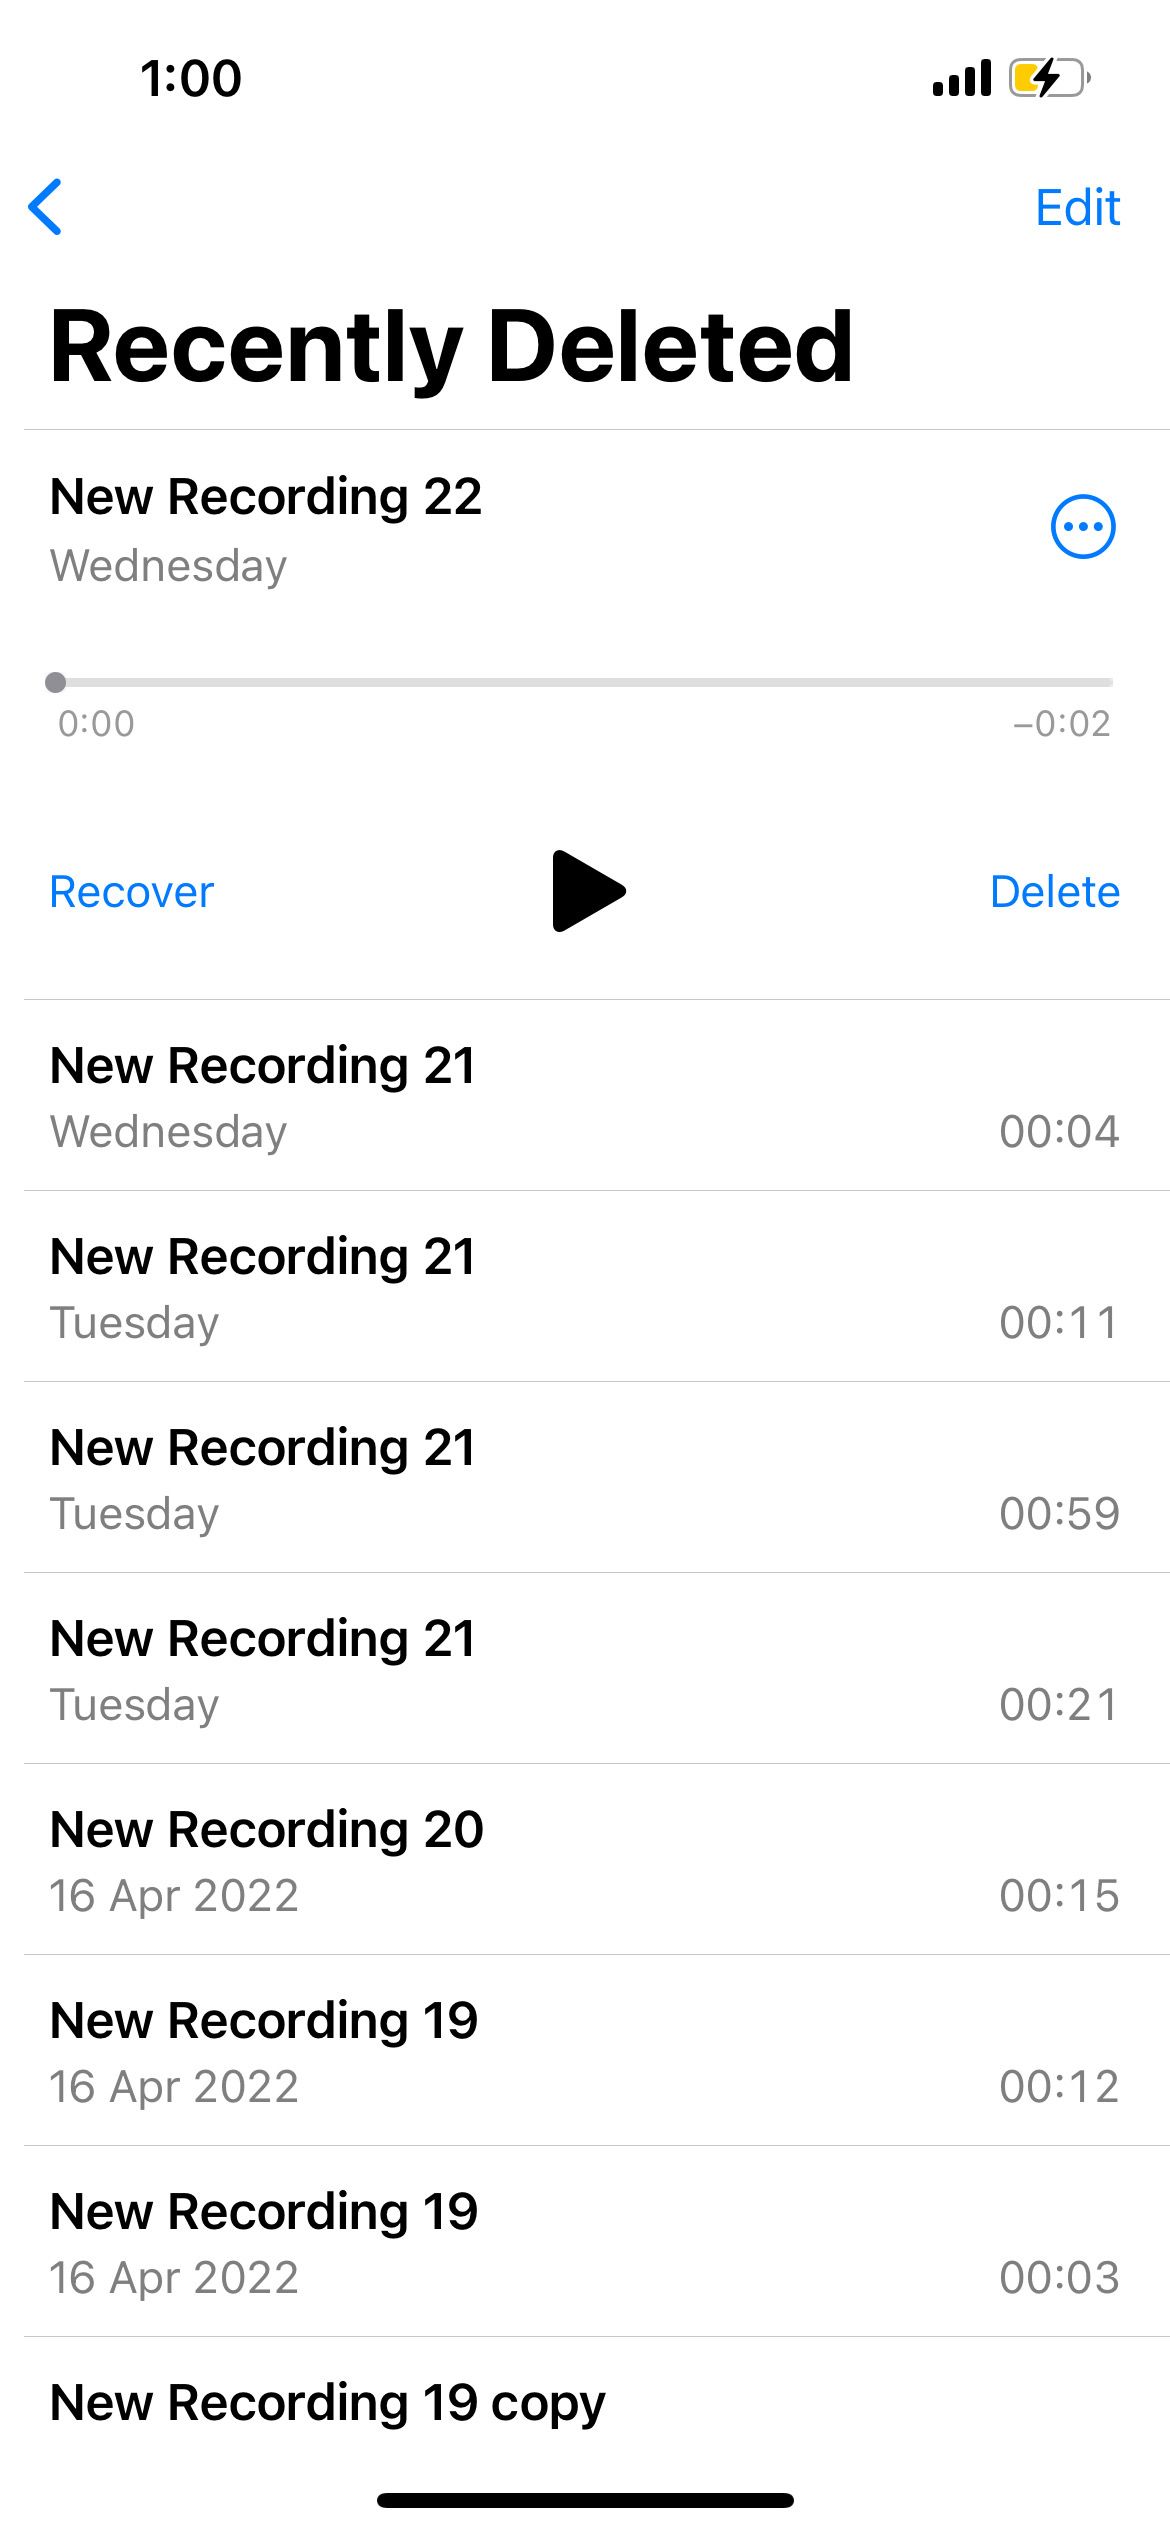
- Select Recently Deleted.
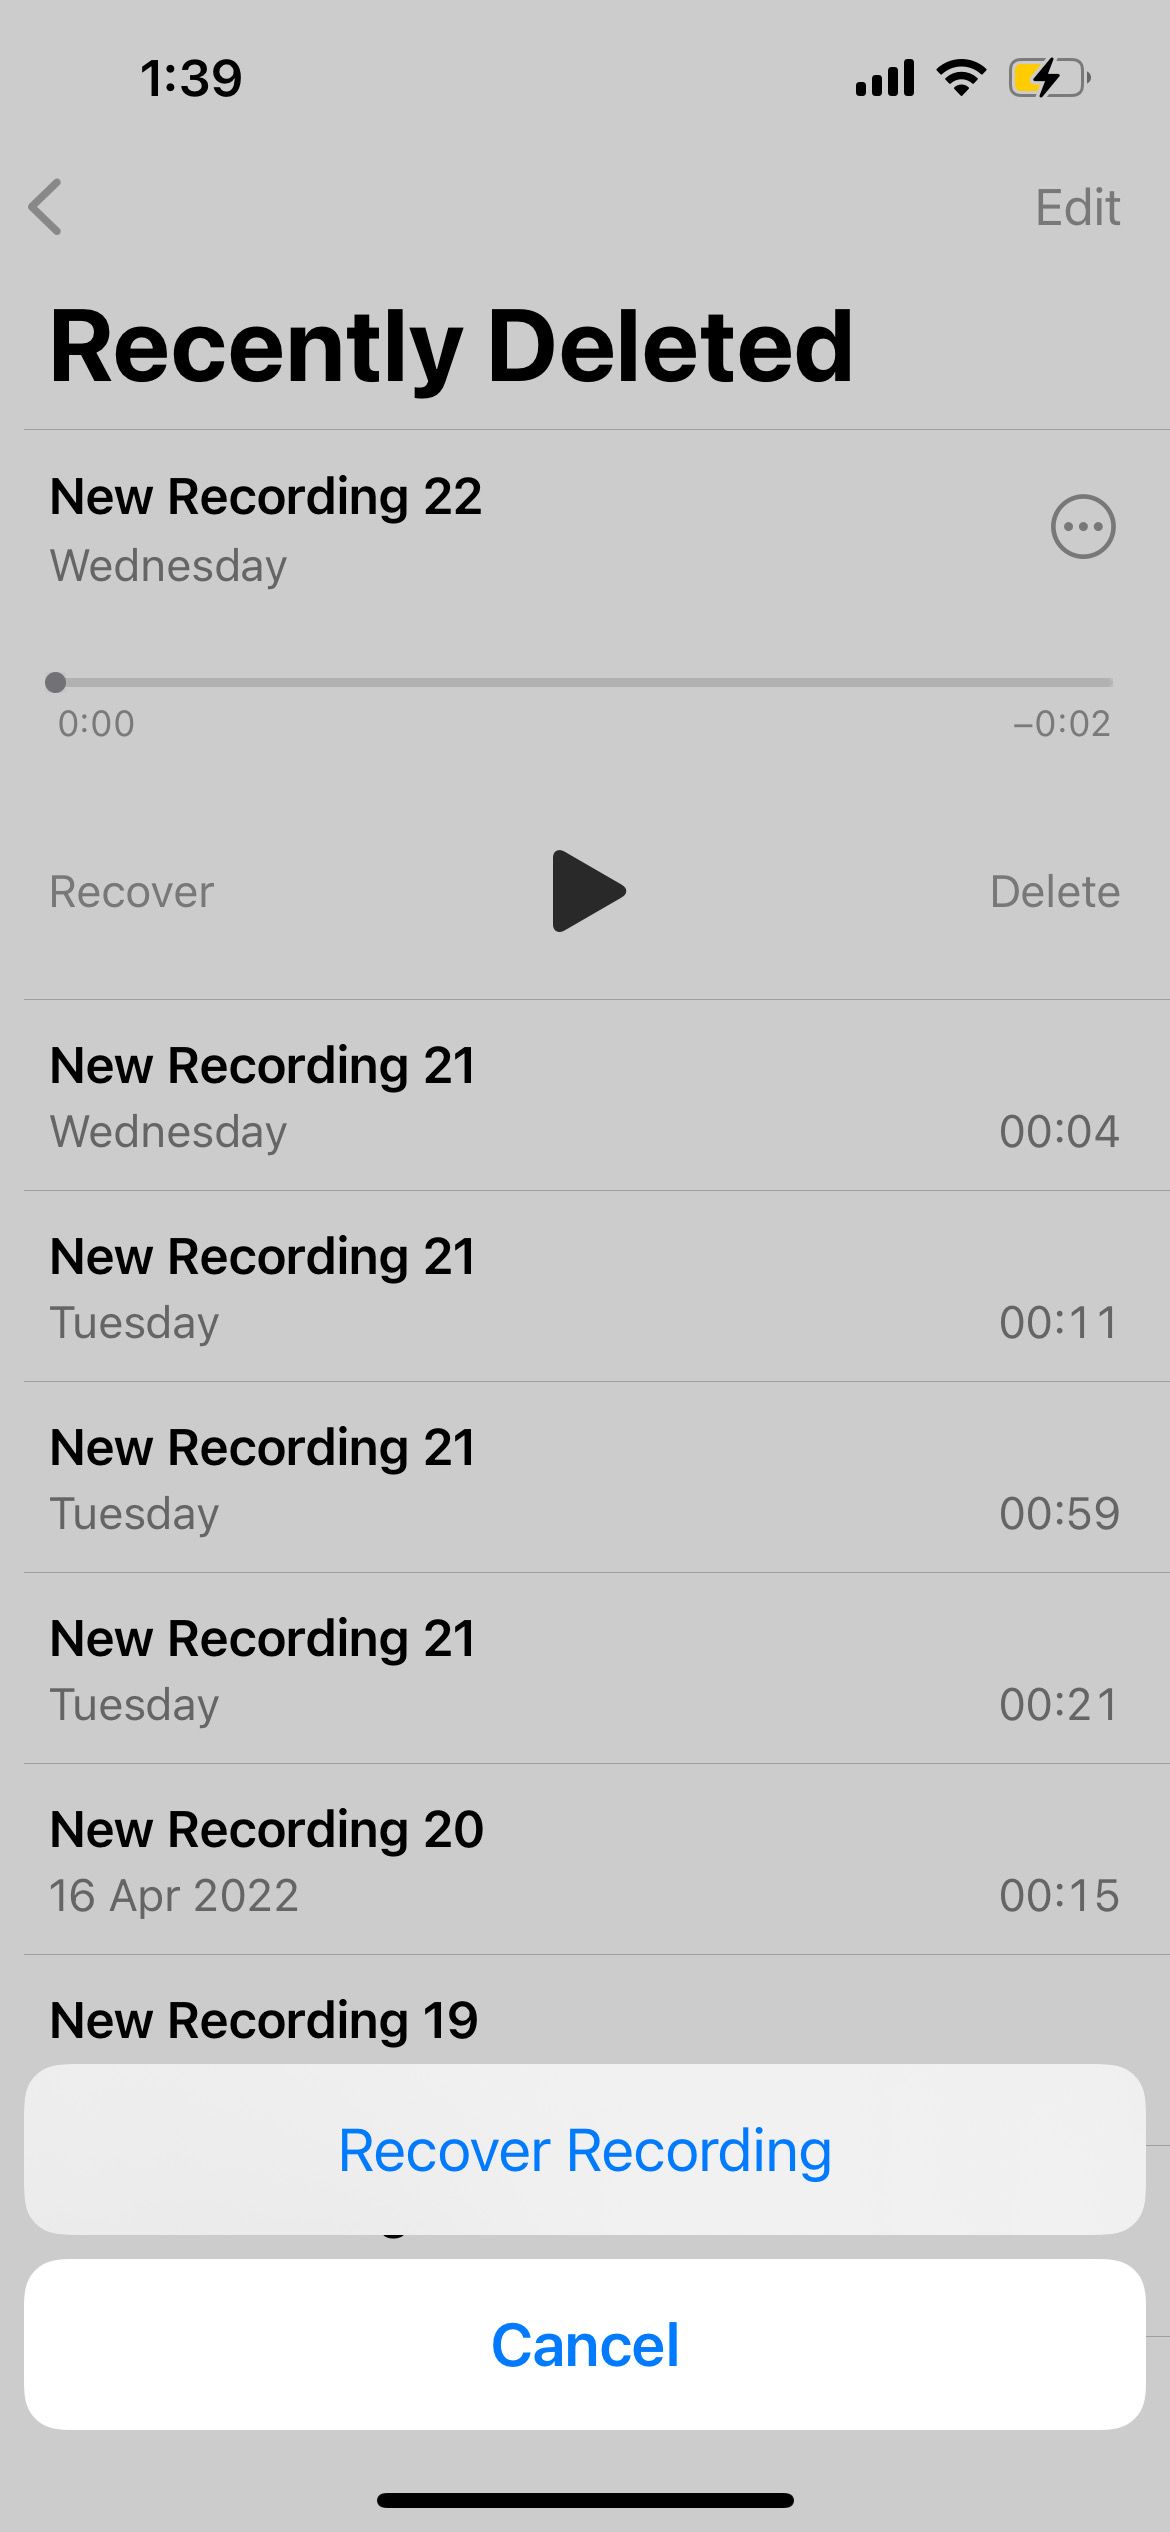
- Tap on the recording you want to restore. Select Recover.
- Tap Recover Recording to confirm.
Deleted recordings are only available to recover for 30 days.
How to Transcribe an iPhone Voice Memo
Apple's Voice Memo app can't transcribe voice memos just yet. Still, there are two easy ways to convert voice memos to text. The first method is to download a third-party iPhone app, such as Transcribe. These apps aren't 100 percent accurate, but they usually get the majority right. You may just need to edit it a little bit.
Download: Transcribe (Free, subscription available)
Follow these steps to convert your voice memo to text using the Transcribe app:
- In the Voice Memos app, tap on your recording and hit the More button.
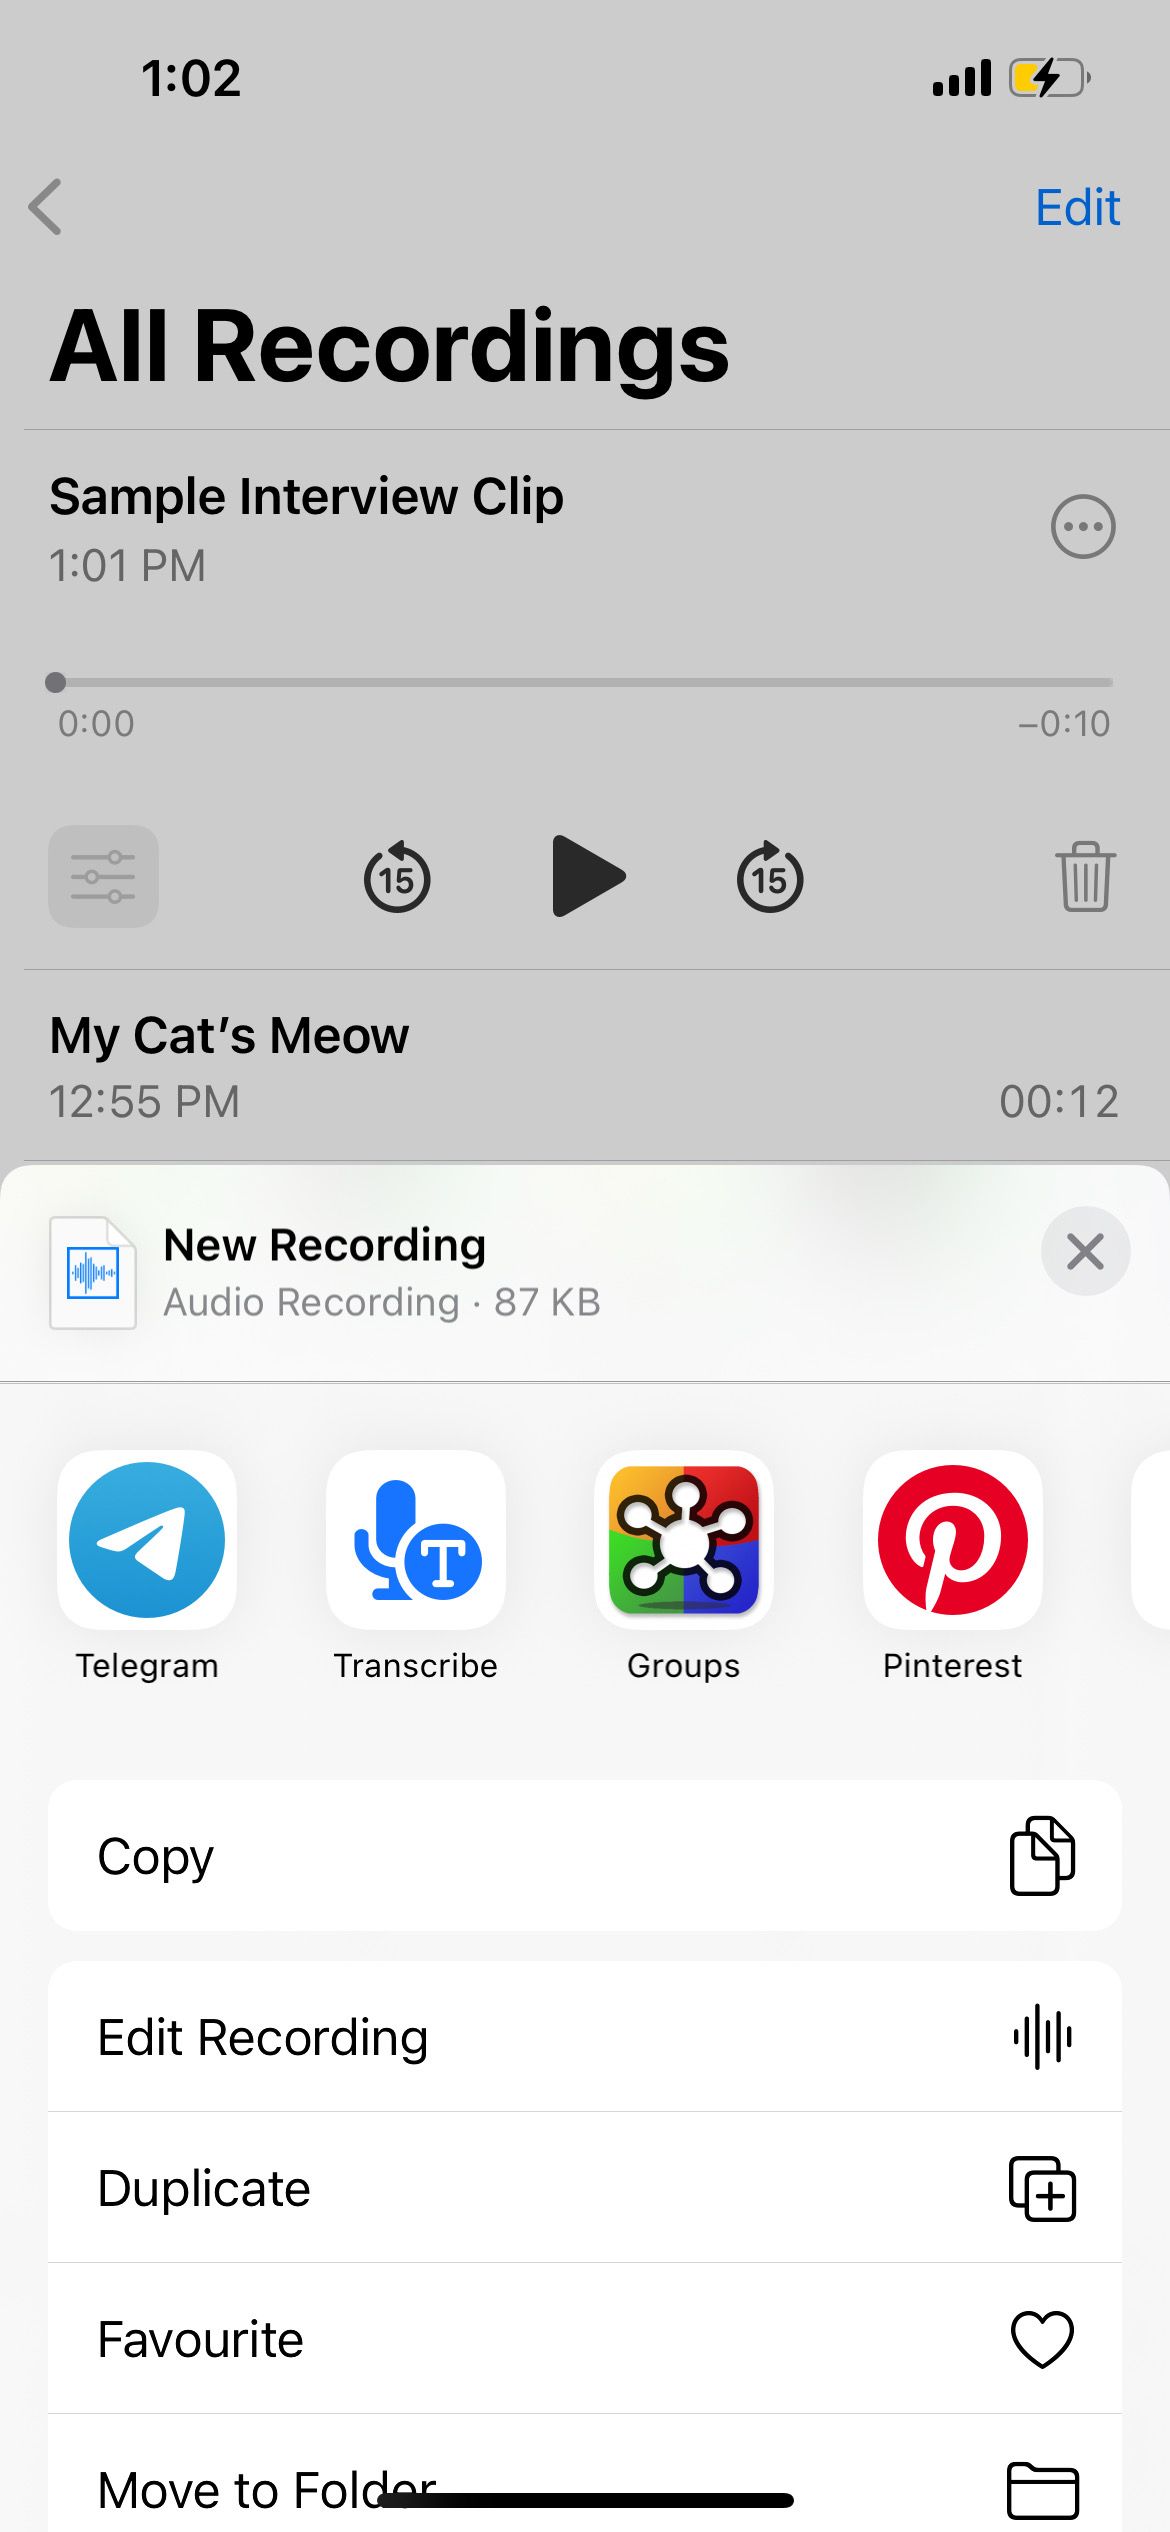
- Tap Share.
- Scroll along the horizontal list of apps and select Transcribe.
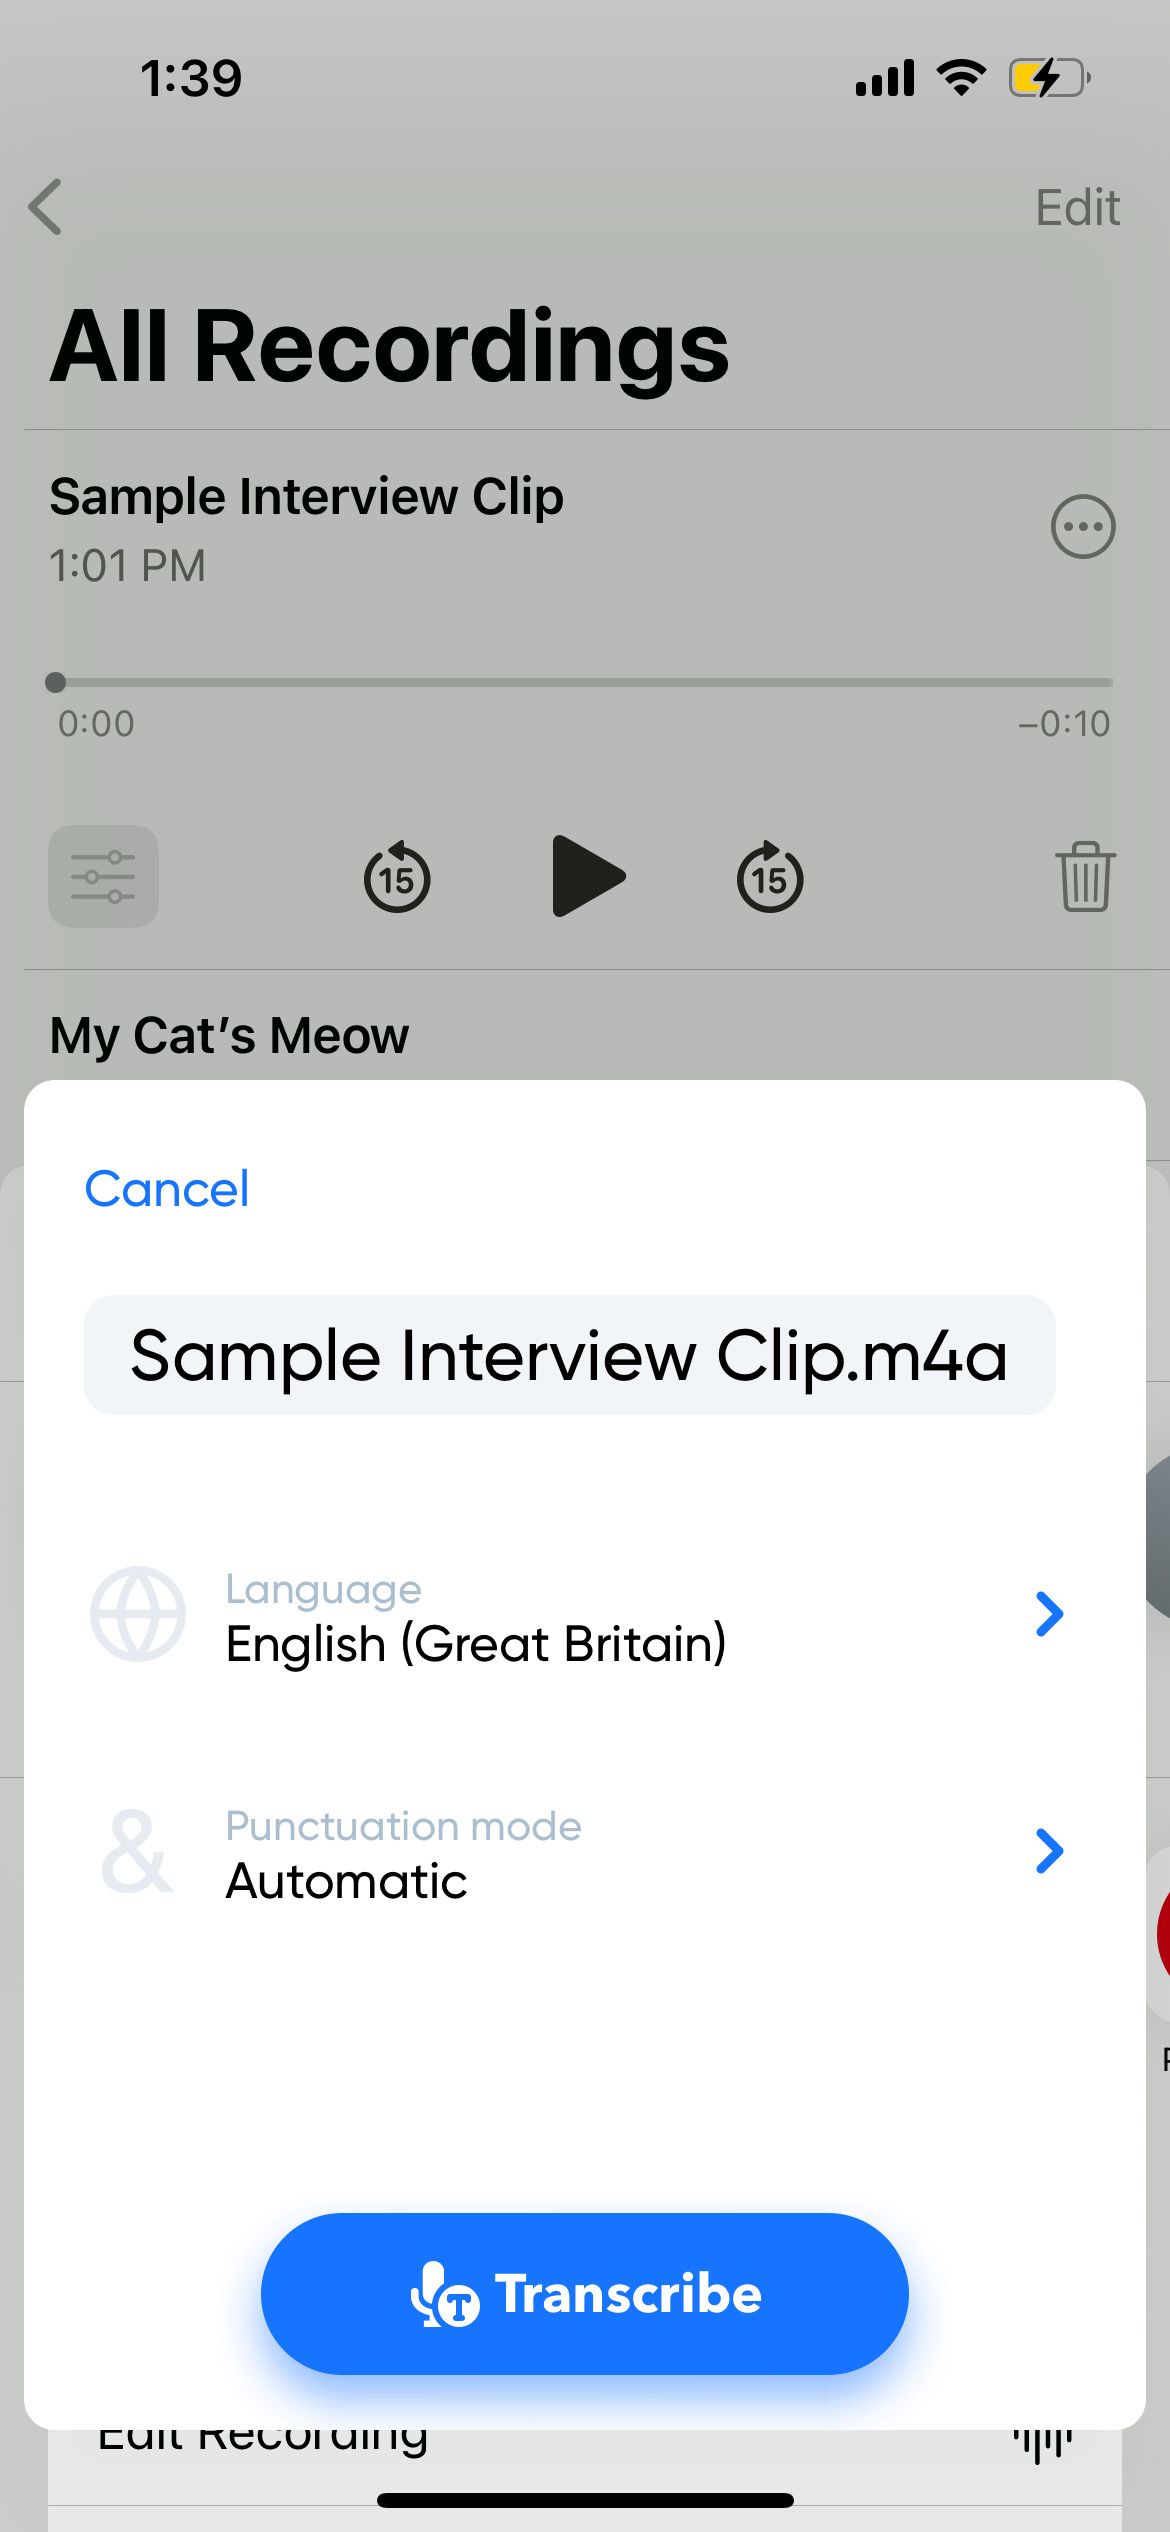
- Choose your Language and Punctuation mode. Then, tap Transcribe.
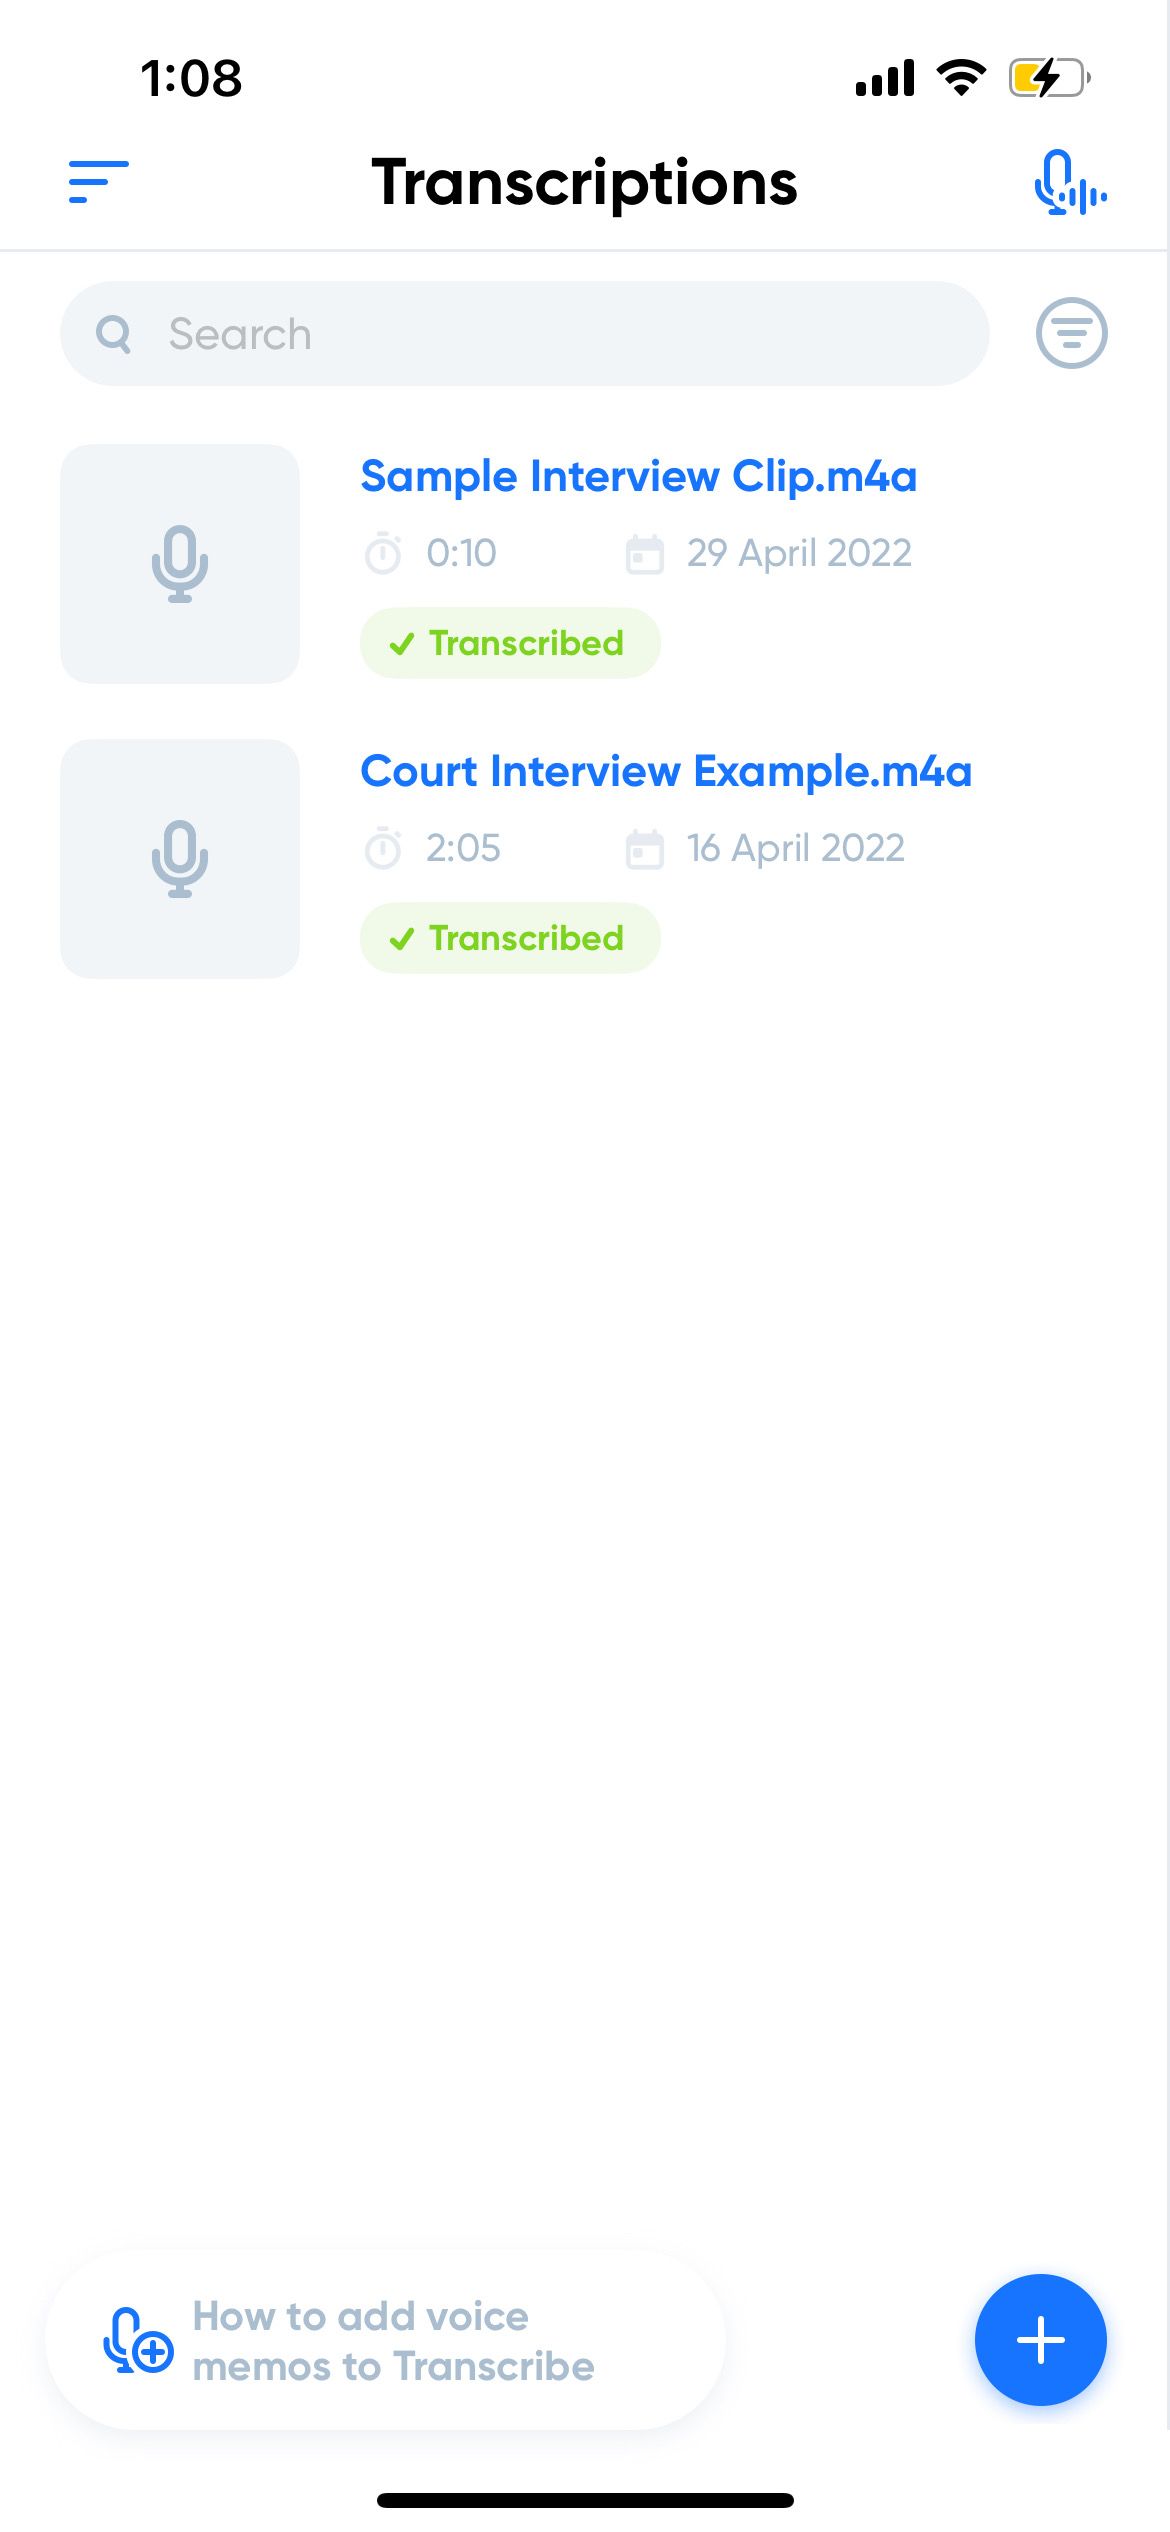
- Once the upload is complete, go to the Transcribe app to see your transcribed voice memo.
If your voice memo is lengthy, most third-party apps require you to pay in order to transcribe your voice memo in full. Hence, for a completely free method to convert your iPhone voice memo to text, the second way is to use free dictation tools on your Windows PC or Mac.
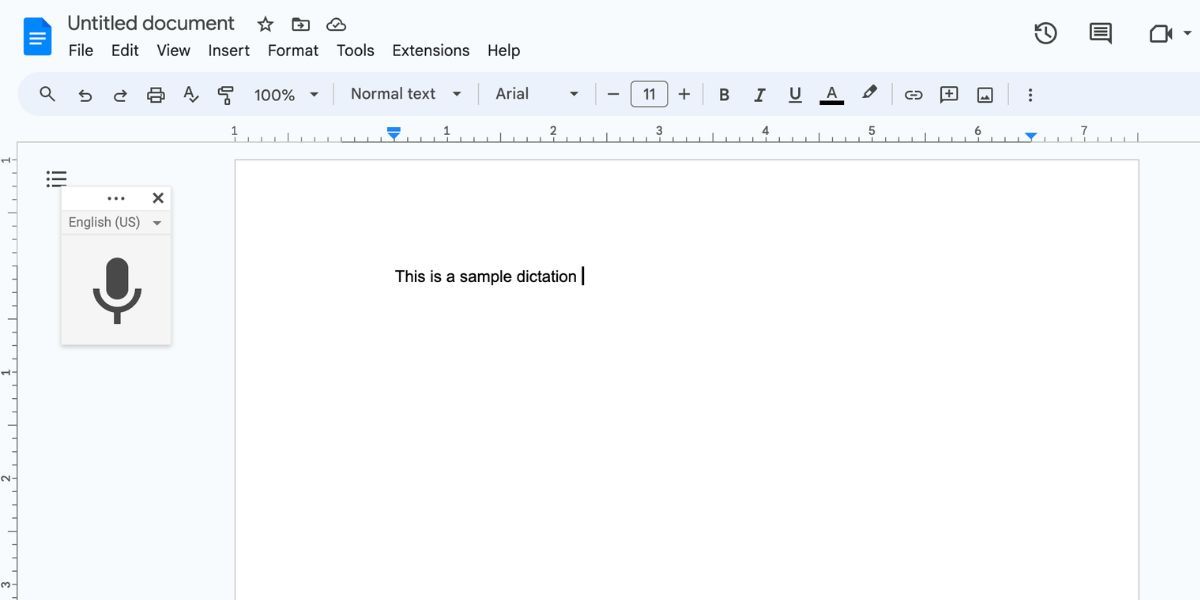
For example, you can use the voice typing feature in Google Docs on a desktop. In a new document, go to Tools > Voice Typing. Click on the microphone icon, then play the voice memo on your iPhone.
Place your iPhone next to your computer's microphone and increase the playback volume as much as possible to allow the dictation tool to capture the words more accurately.
Start Recording Audio With the Voice Memos App
Whenever you need to record audio for an interview or a similar project, your iPhone's Voice Memos app is a simple tool that will get the job done. It's sufficient for basic voice recording and editing.
Unfortunately, the iPhone doesn't have a built-in feature that transcribes voice memos, so you'll still have to use third-party apps or dictation tools on your computer to convert those voice recordings to text.

