Creating regular backups of your iPhone or iPad using iTunes on Windows 10 is a good practice. Before you know it, the backup is taking up heaps of space on your drive. It's cumbersome if you use a small SSD to boot Windows 10.
Thankfully, you can move the iTunes backup folder to free up space without breaking anything in the process.
Read on to find out how to change the iTunes backup location to a different partition or an external drive.
Find iTunes Backup Location on Windows 10
While iCloud backups are easy, retaining copies of music using iTunes on Windows is a good idea. iTunes on Windows uses the same backup location for the desktop version and Microsoft Store version.
If you aren't sure which iTunes your PC runs, here's a simple way to check that.
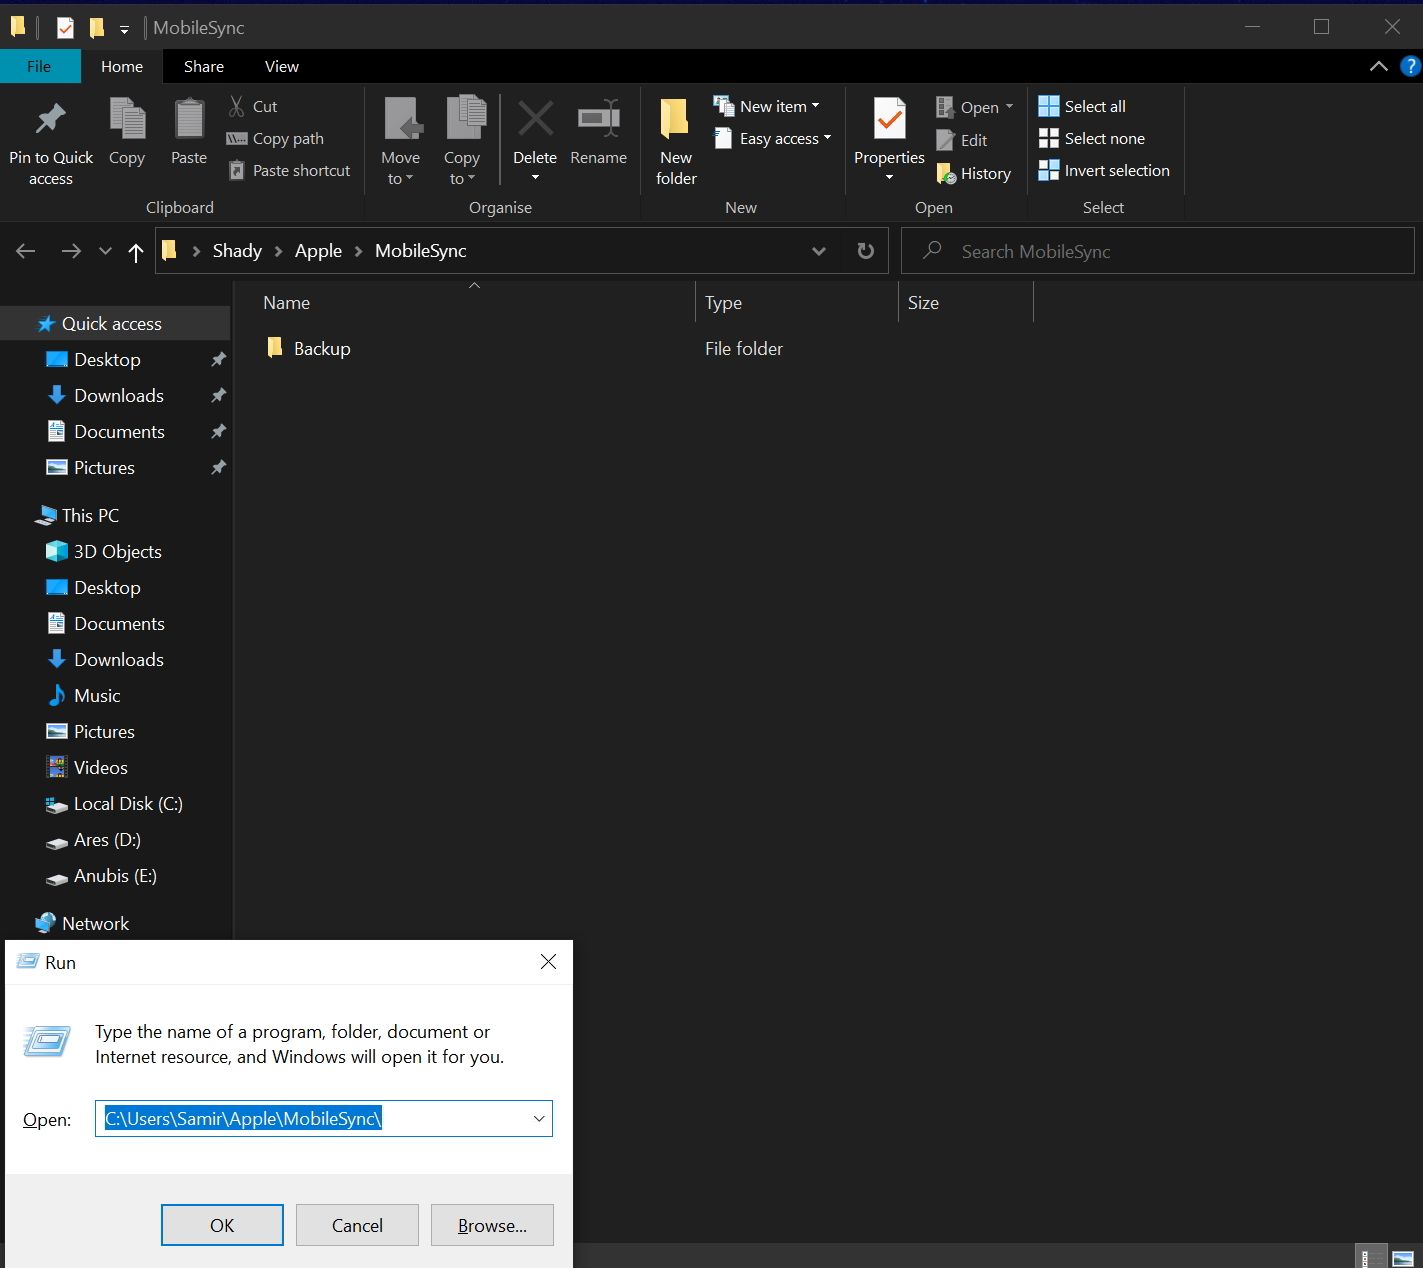
Open the Run window with Windows Key + R and enter the following path:
C:\Users\USERNAME\Apple\MobileSync\
Replace C in the path with the drive letter where you've installed the Windows OS and USERNAME with your account name on the PC.
Hit Enter after adding the path. If the Explorer opens, your PC runs the Microsoft Store version of iTunes.
For the iTunes desktop version, you can quickly open the iTunes backup location using this simple trick.
You can use Windows Key + R to open the Run window and then enter the following path:
%APPDATA%\Apple Computer\MobileSync
Press Enter, and it should open the iTunes backup location in Explorer.
You can switch from the iTunes desktop version to the modern, improved Microsoft Store version to remove unwanted garbage from your Windows PC.
Change the iTunes Backup Location on Windows 10
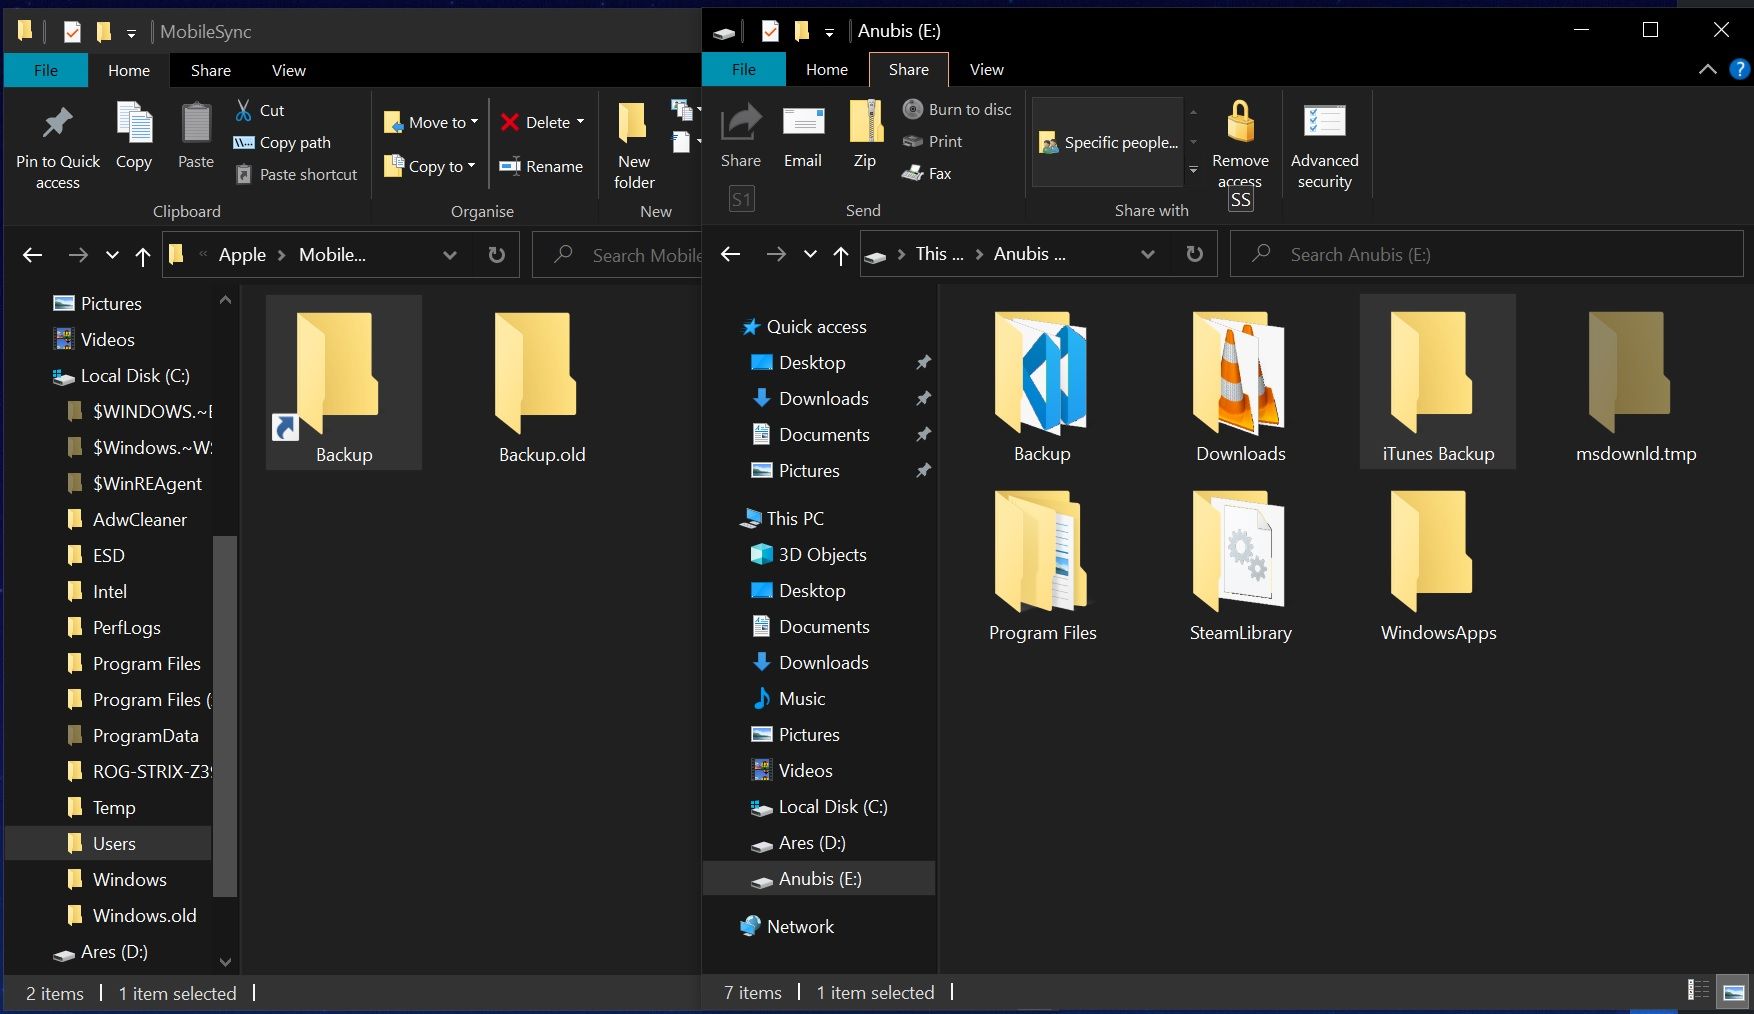
Before you redirect iTunes backup location, rename the current backup folder so that it doesn't get overwritten. In the original iTunes backup location, select the Backup folder, right-click on it and select Rename. Change its name to Backup.old and press Enter to save it.
After that, go to a different drive partition or an external drive to create a new iTunes backup folder and give it the name you want. Transfer the contents of Backup.old to the freshly-made iTunes backup folder.
Next, create a symlink to redirect the old iTunes backup location to the new one. A symlink is like a shortcut that makes the file or folder appear like it's actually there.
While the command remains the same for either of the iTunes versions, the only change is the path.
Create a Symlink for the Microsoft Store Version of iTunes
Here's how you create the symlink for the Microsoft Store version of iTunes.
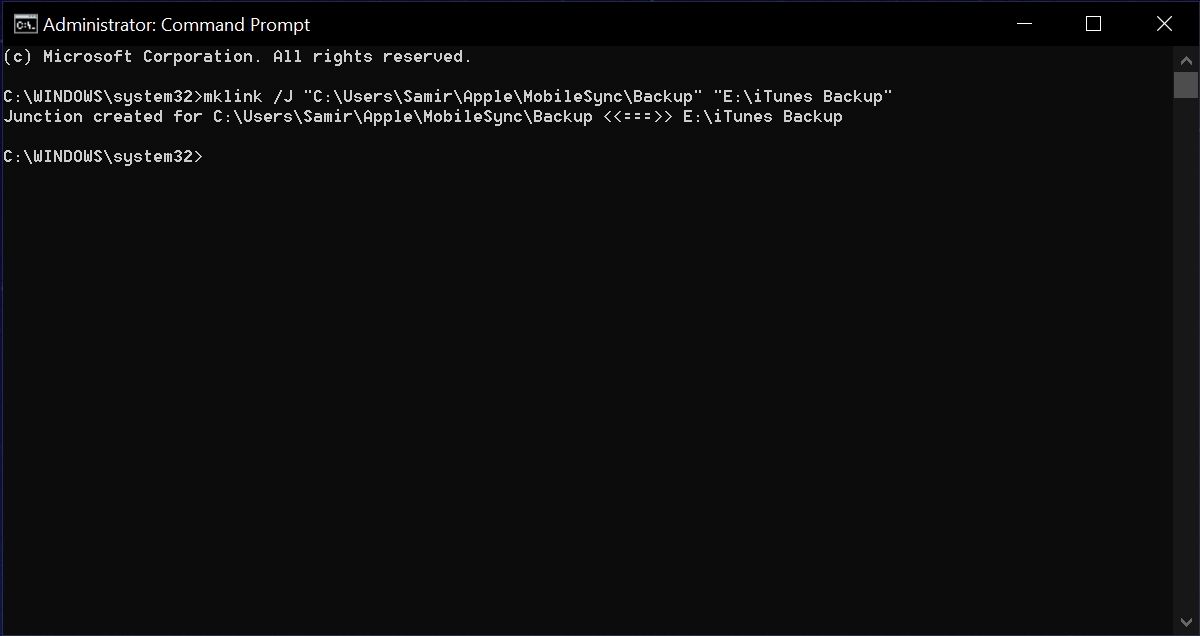
Type command prompt in the Start menu search bar, right-click on the Best Match and select Run as administrator.
Then, use the following command:
mklink /J “C:\Users\Samir\Apple\MobileSync\Backup” “E:\iTunes Backup”
In the above command, replace the C with the actual drive letter for your Windows OS partition and USERNAME with your Window account name.
Create a Symlink for the Desktop Version of iTunes
For the iTunes desktop version, here's what you need to do.
Type command prompt in the Start menu search bar, then right-click on the relevant match and select Run as administrator to open the Command Prompt.
Use the following command there:
mklink /J "%APPDATA%\Apple Computer\MobileSync\Backup" "E:\iTunes Backup"
This command automatically generates a shortcut-like symlink that points the old iTunes backup folder to the new backup folder. Plug your iPhone or iPad into your Windows PC and take a fresh backup to confirm that.
To change the iTunes backup folder in the future to another partition or external drive, you'll have to delete the symlink folder. Then, run the command to create a new symlink by including the new destination path.
Move iTunes Backups and Reclaim Space
iTunes backups are essential, but they bloat up over time and consume space on smaller storage drives. Making a symlink to redirect iTunes' backup folder is a smart trick to save some space and move around the backup.
Taking regular backups helps you restore your devices easily and prevent data loss. Along with an offline version, you can back up Windows and its data to cloud storage.


